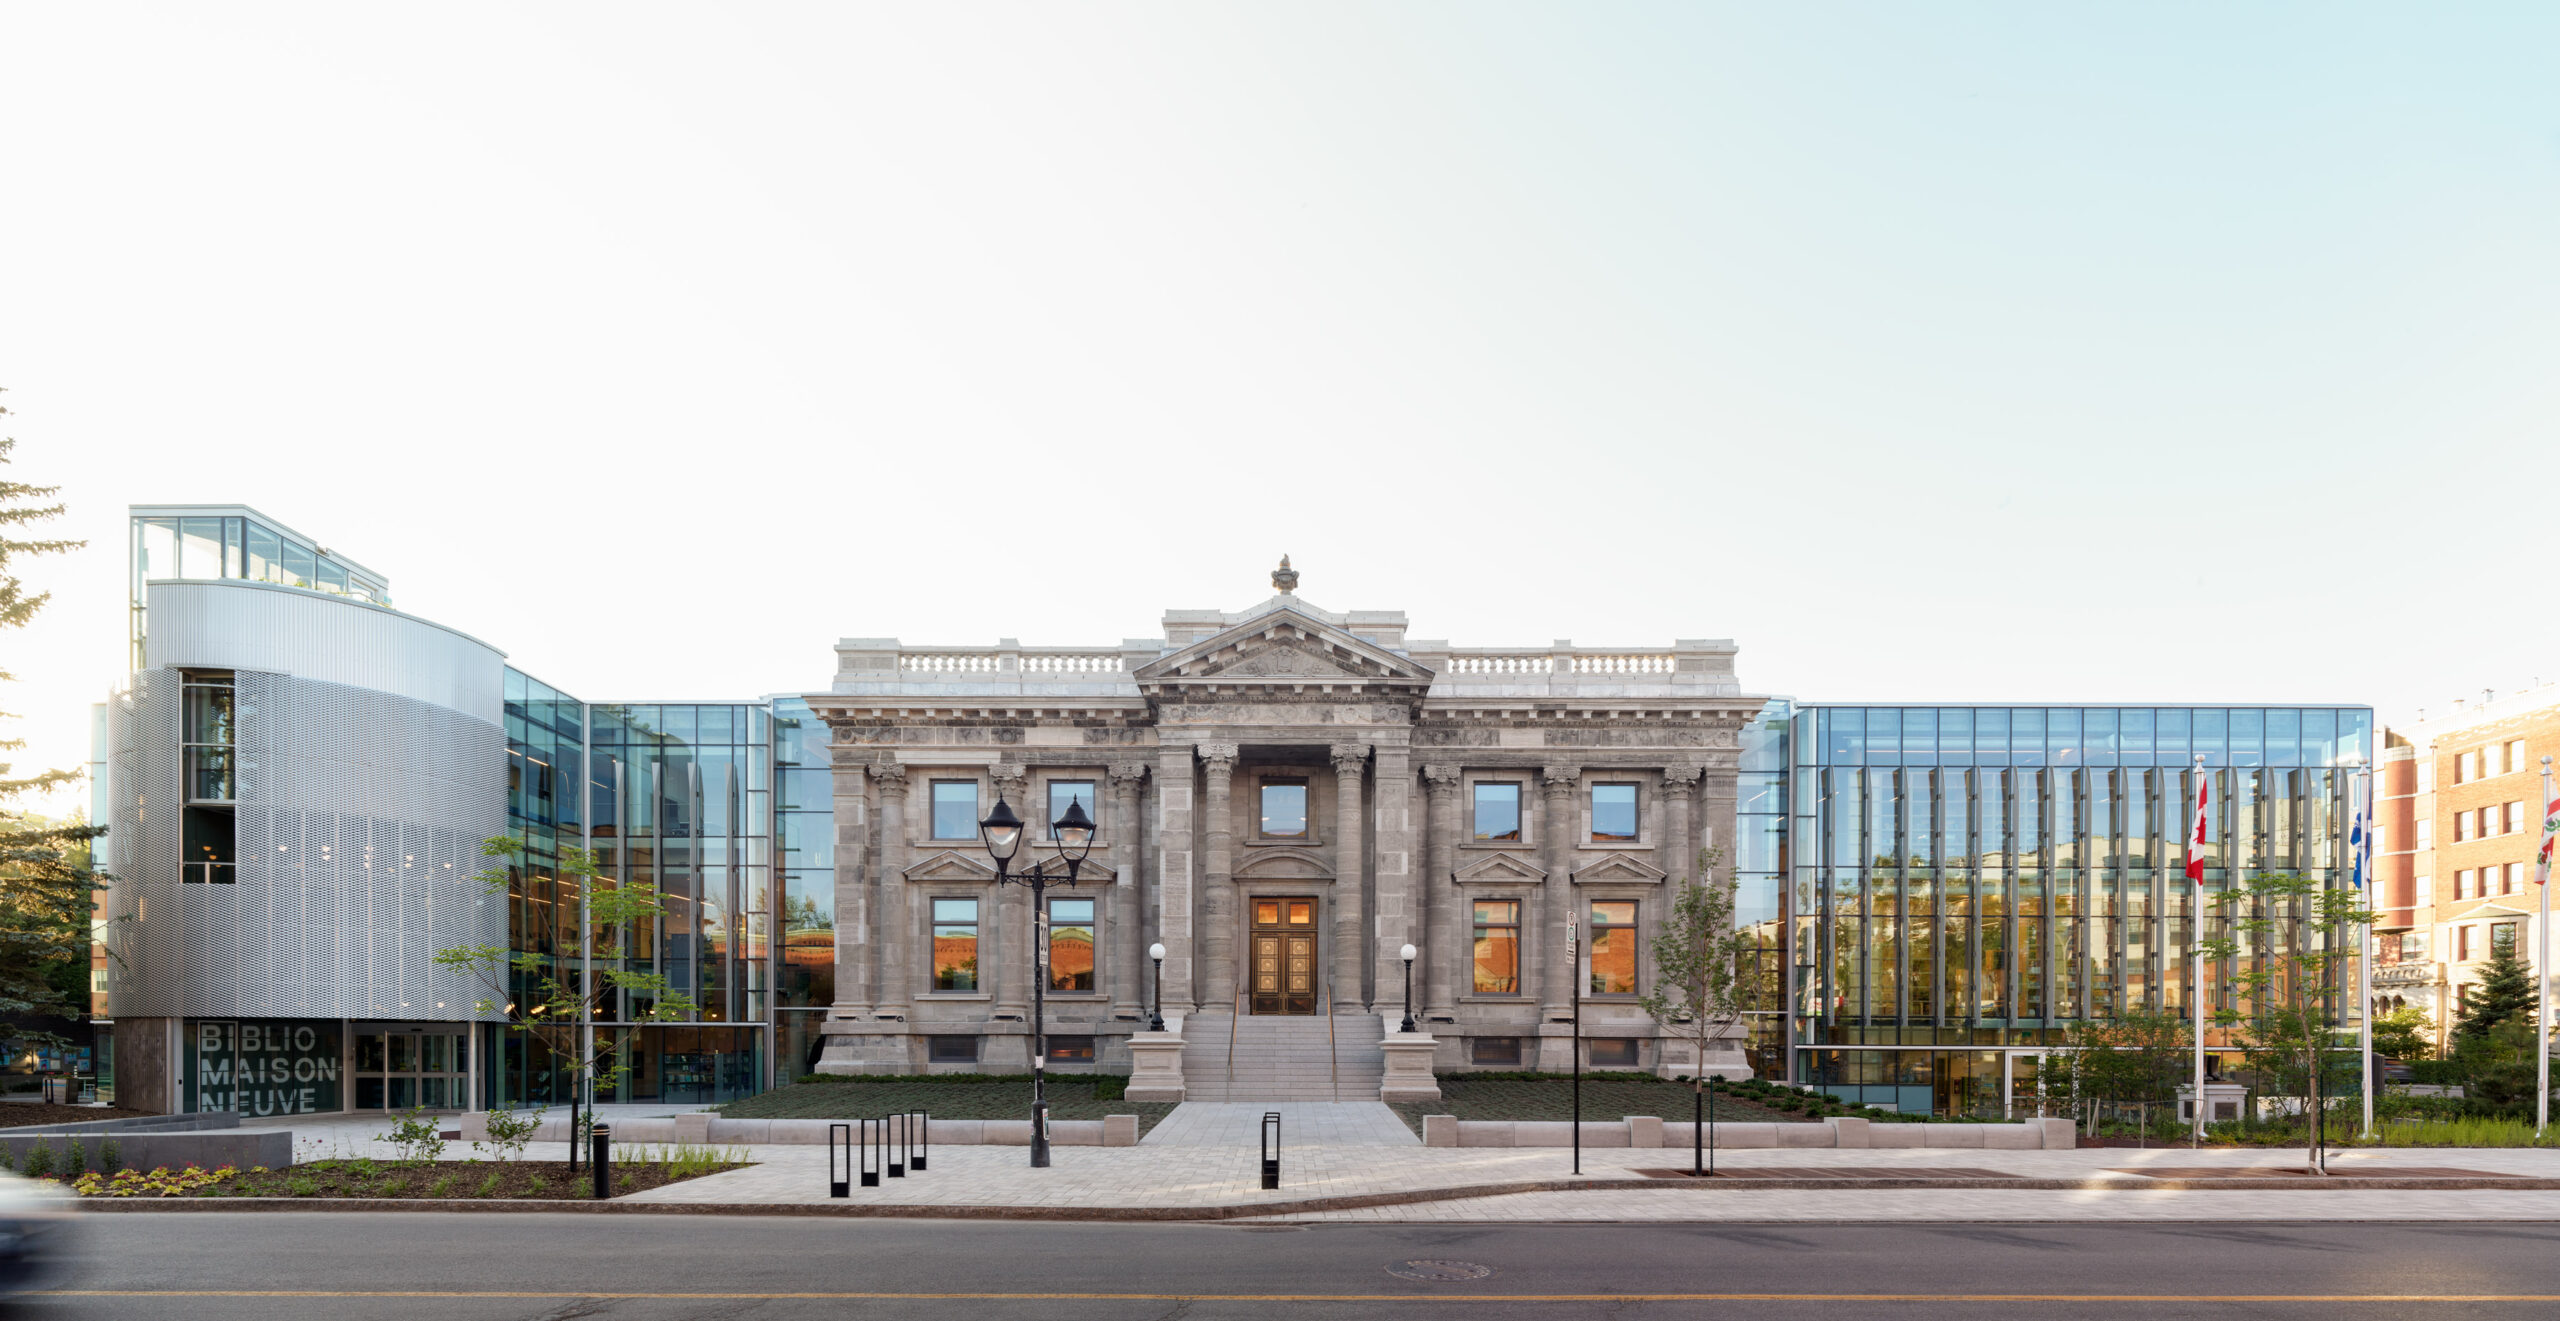
How to Start Your Design
Starting a project working with a new material can be daunting. Below are guidelines to help you start using AMICO Architectural Metal materials quickly.
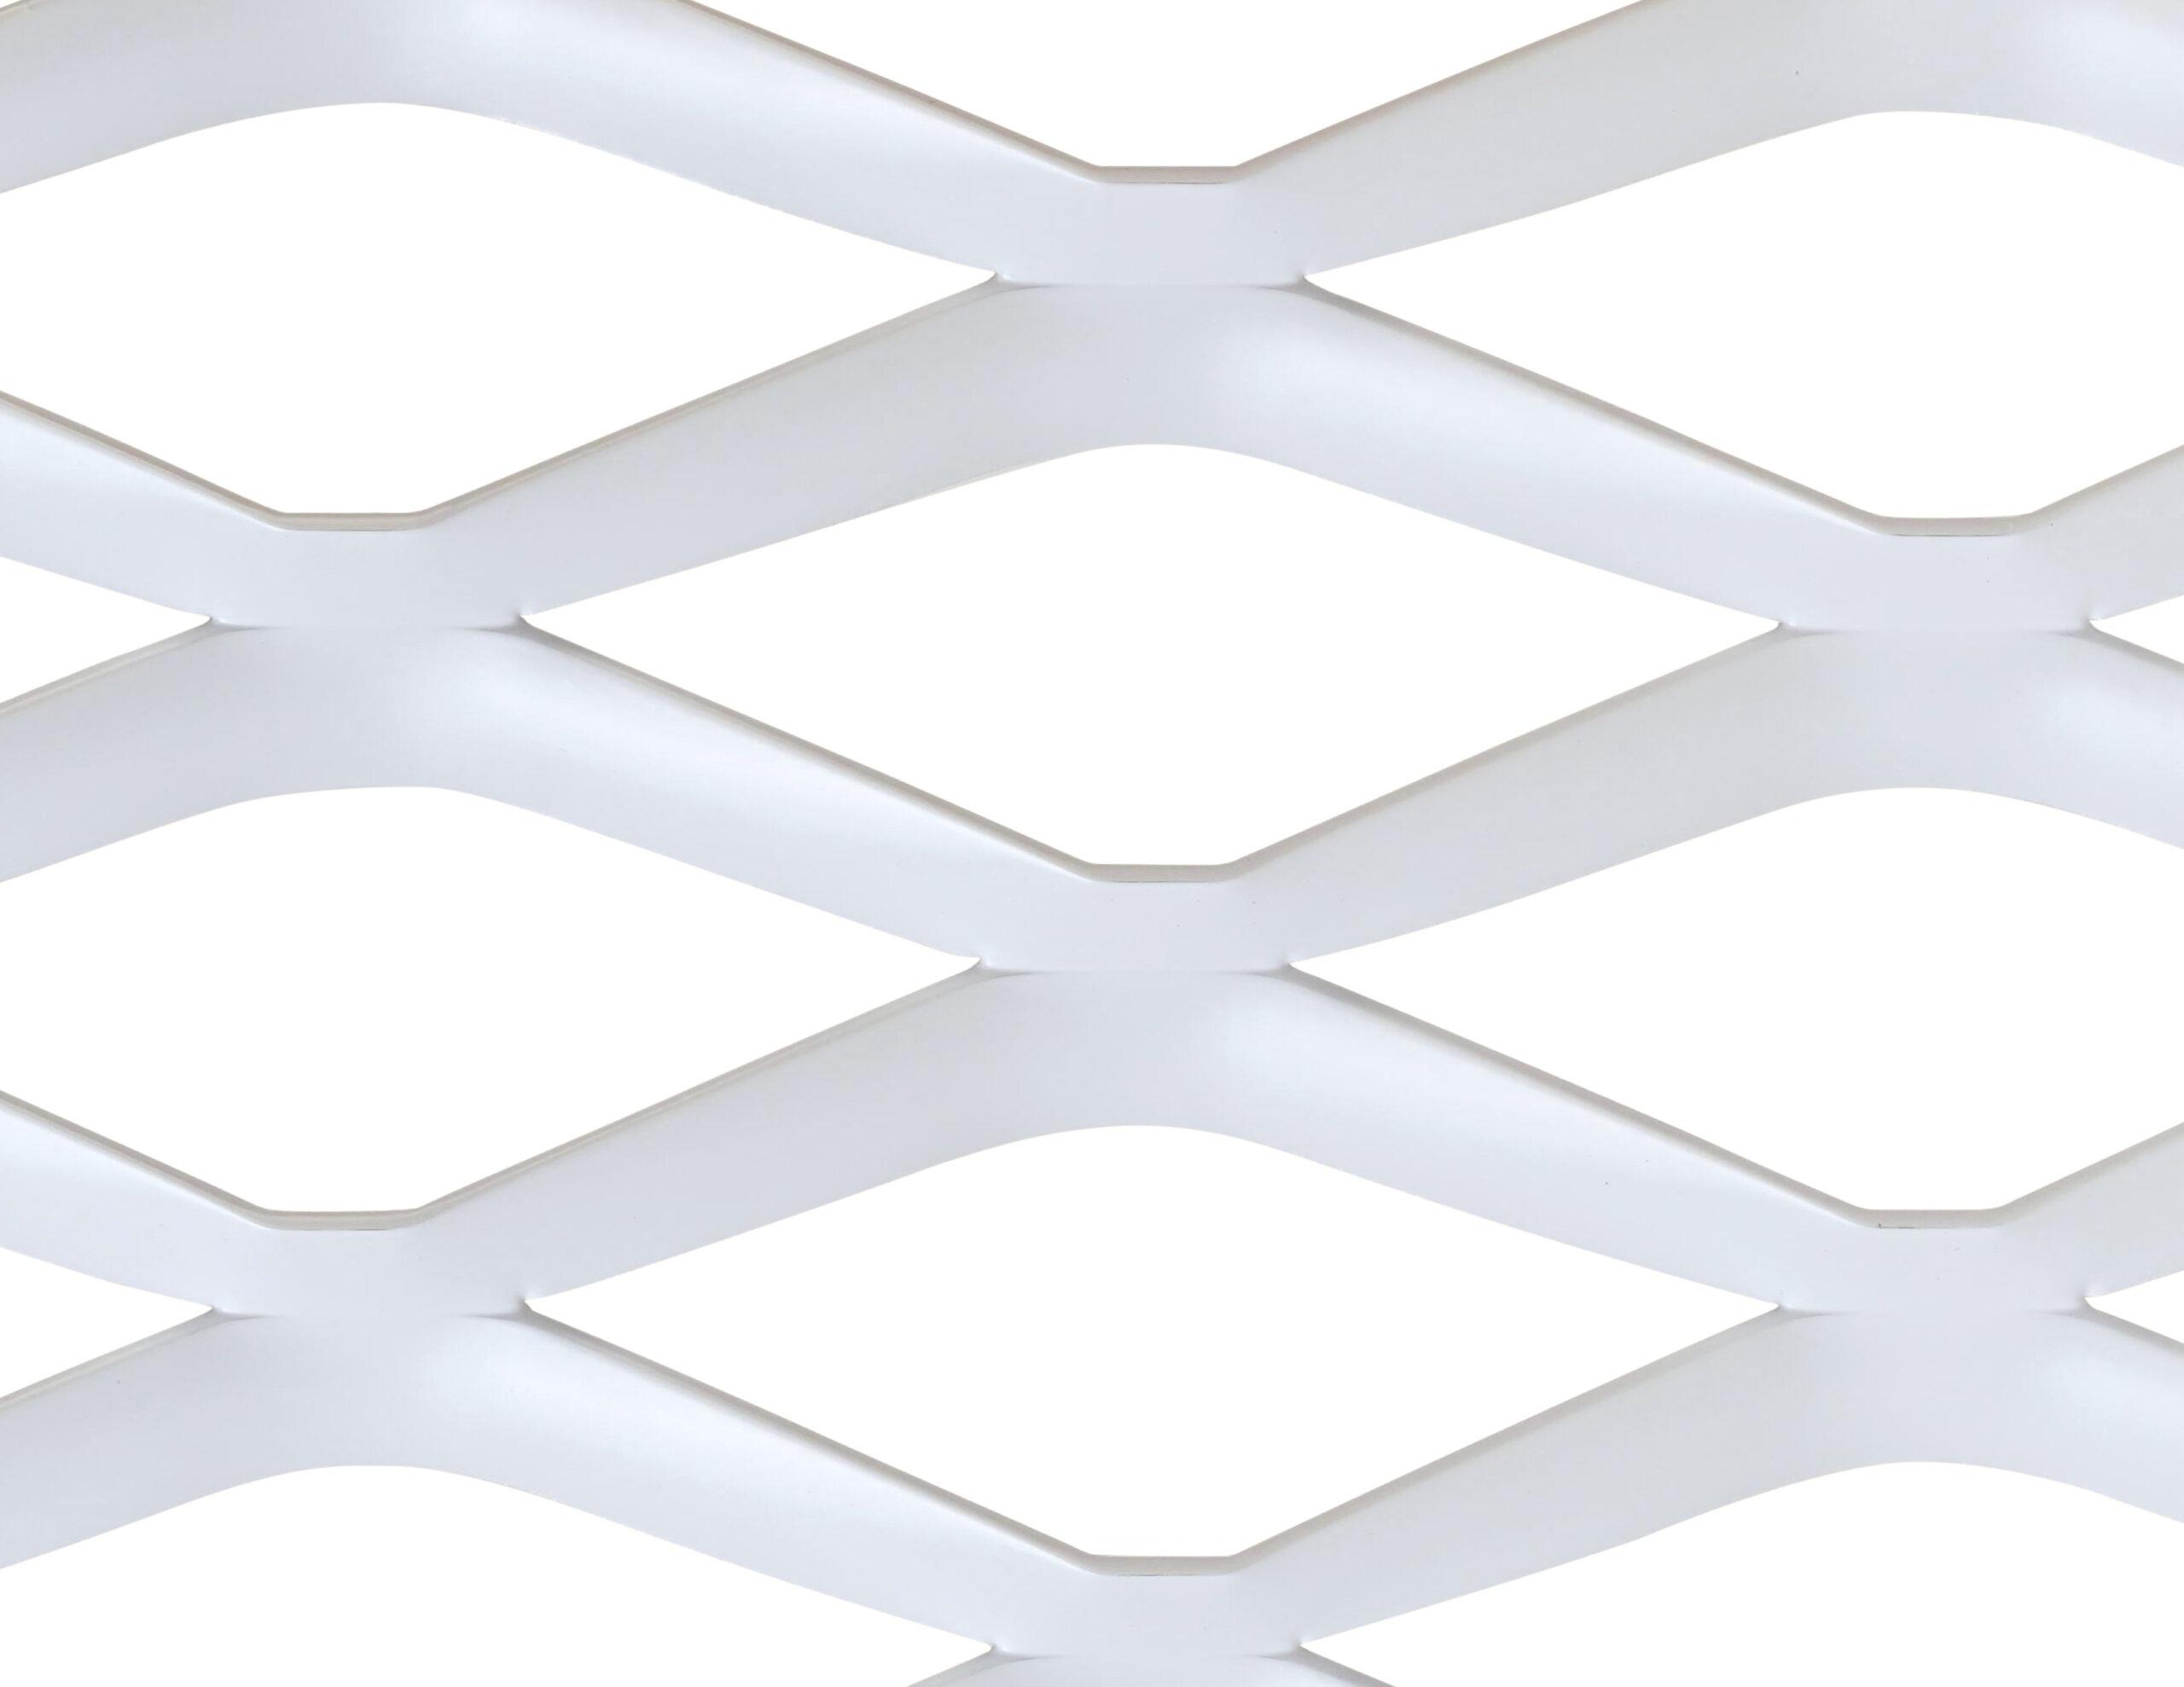
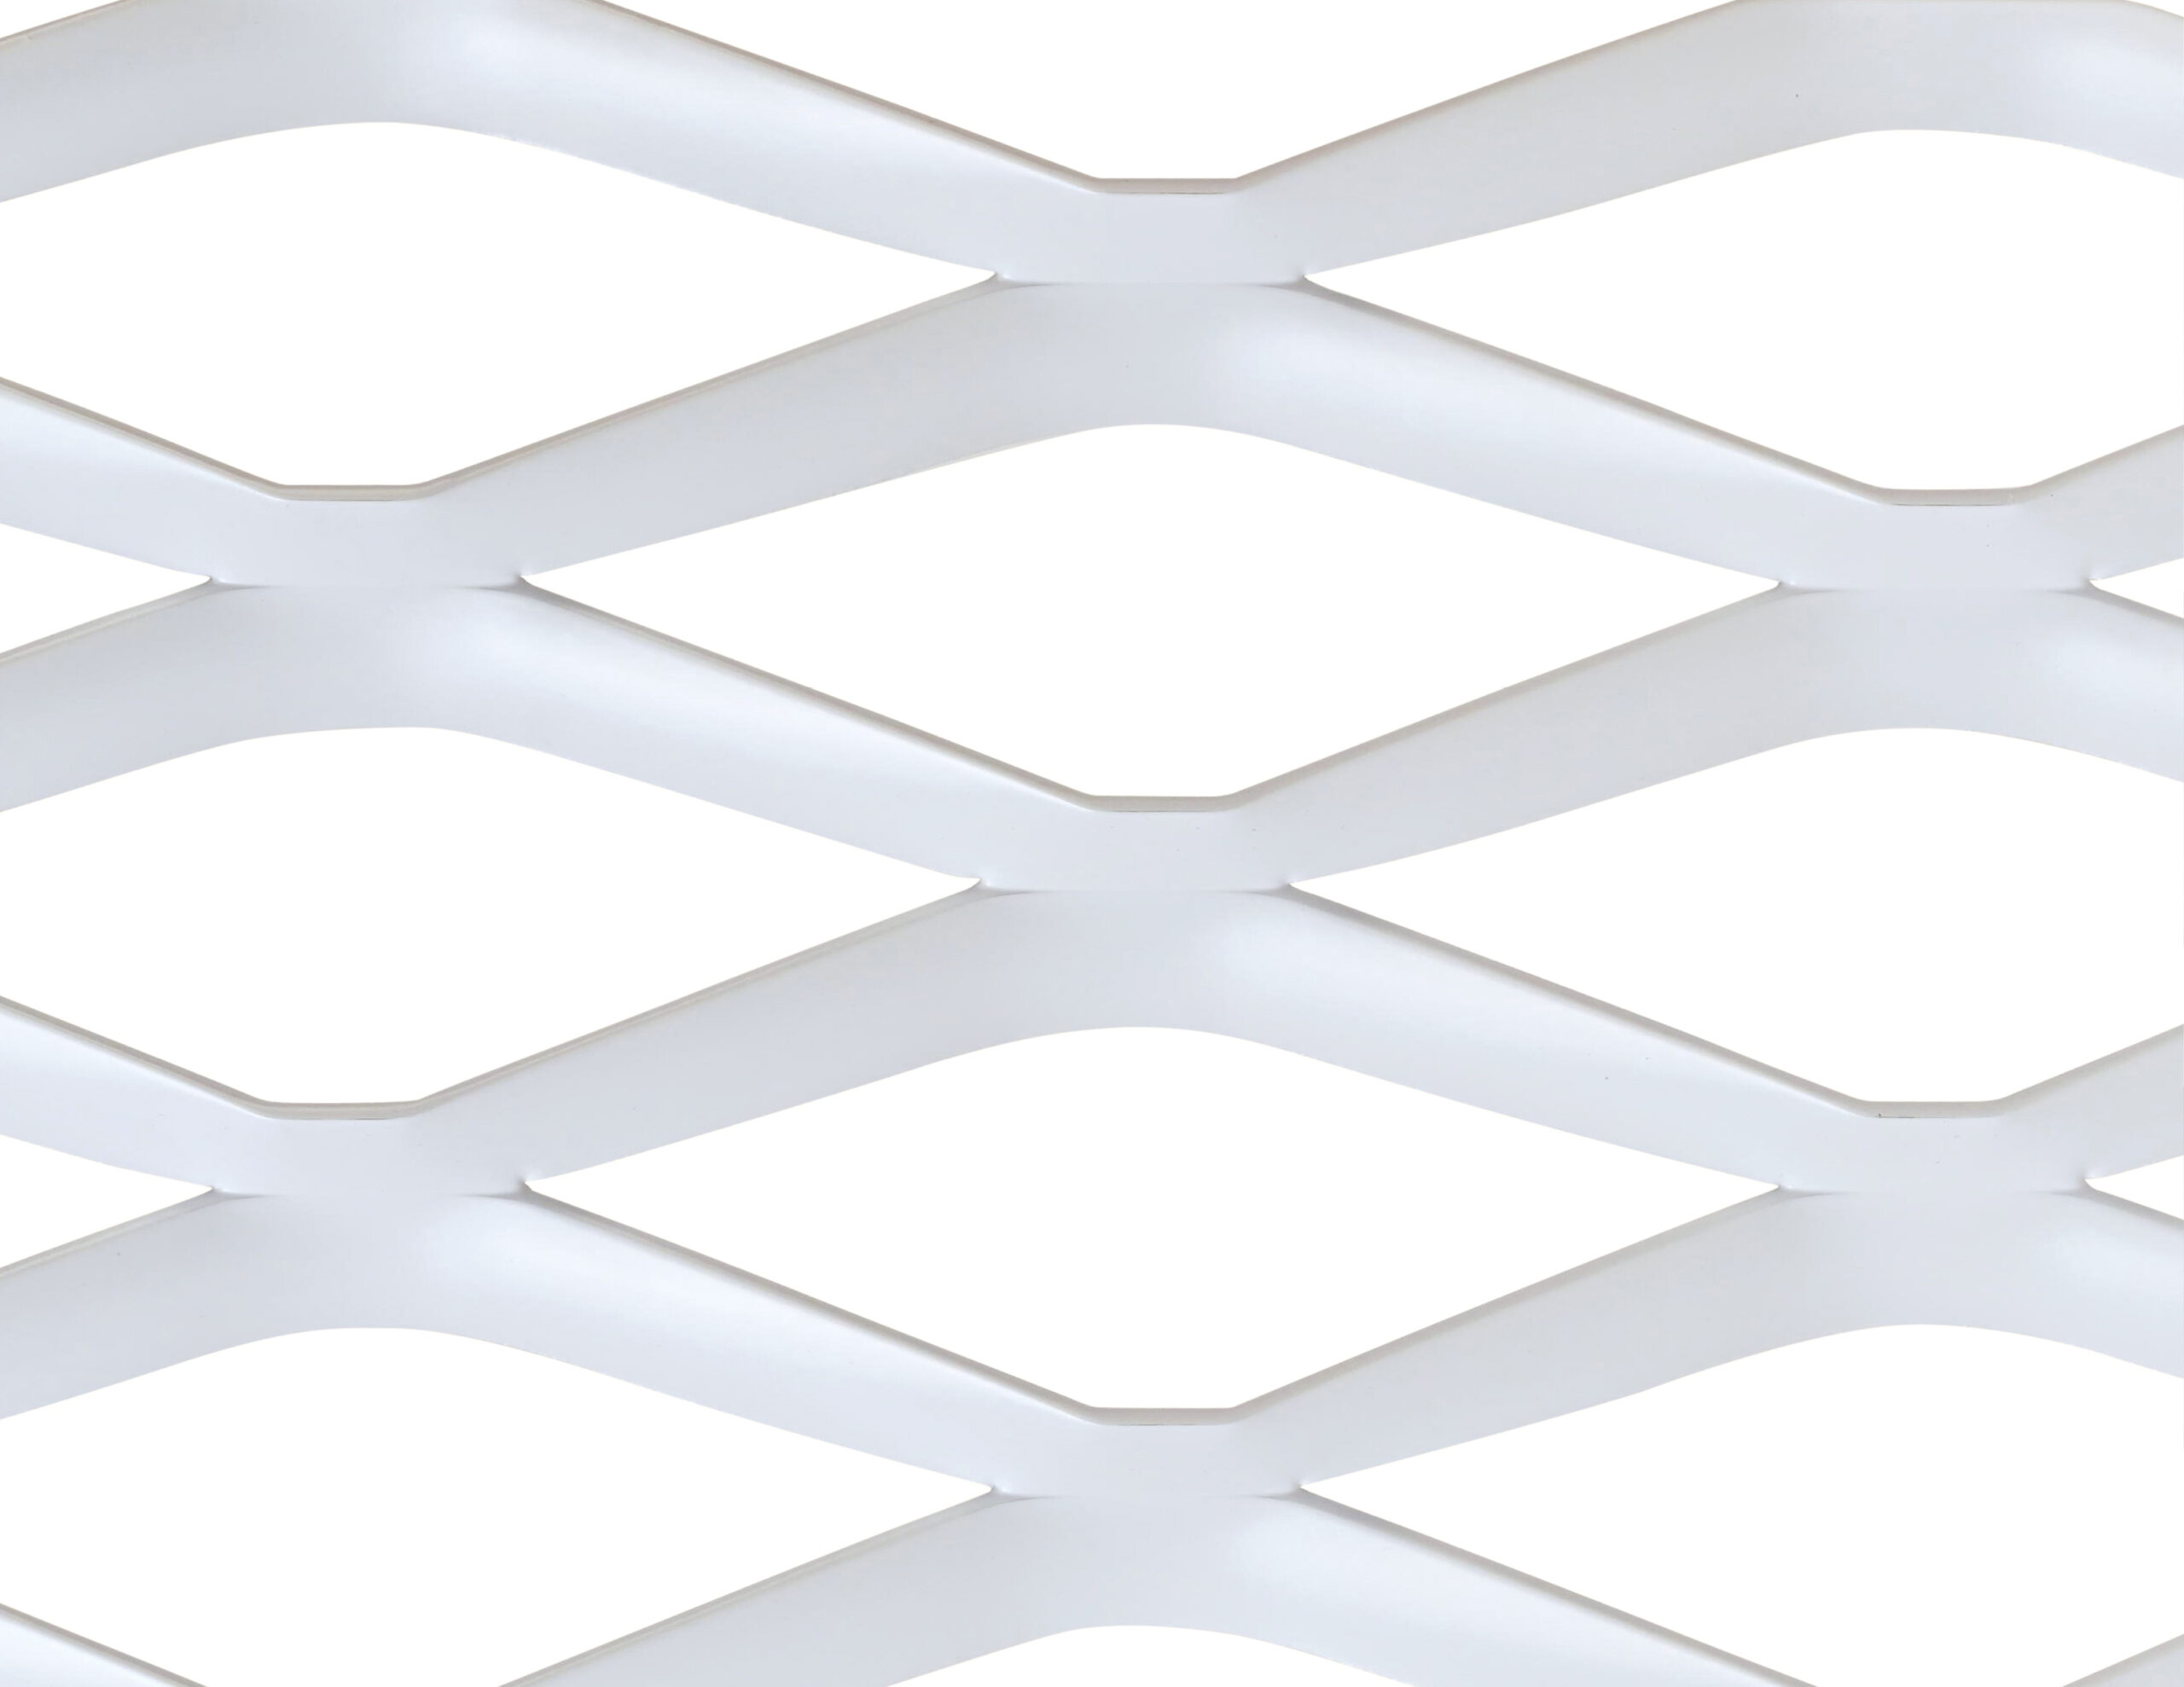
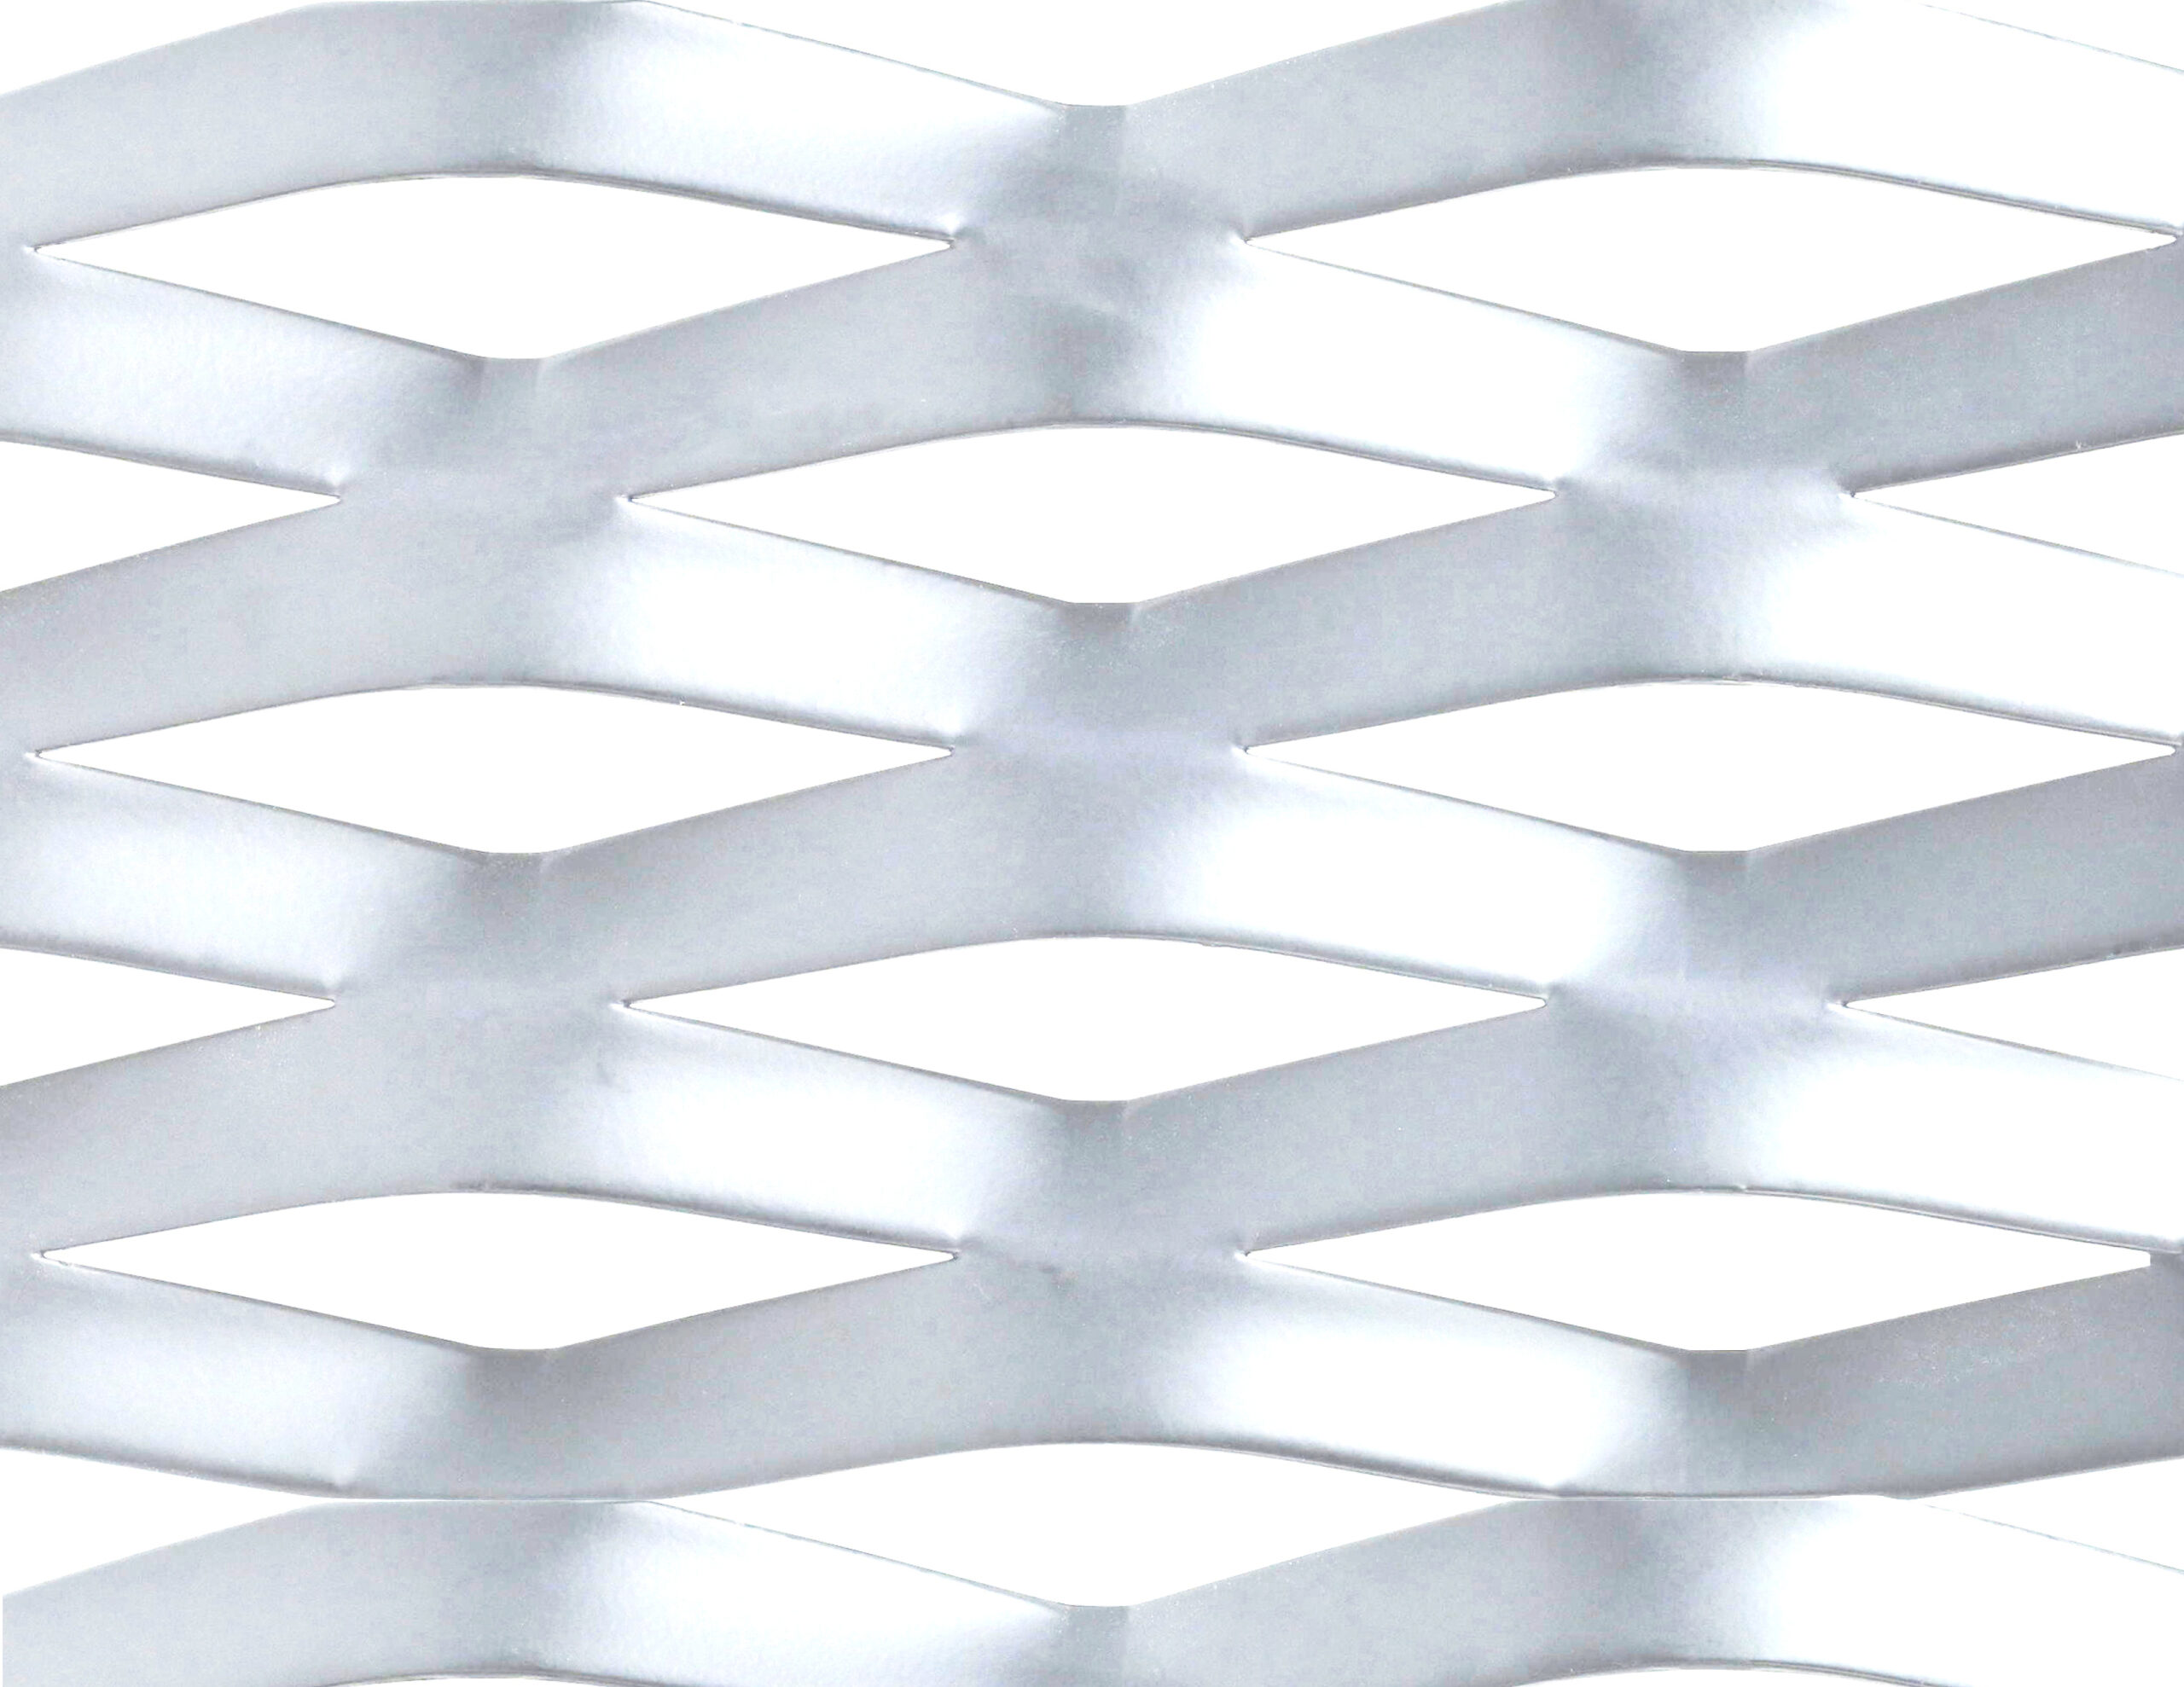
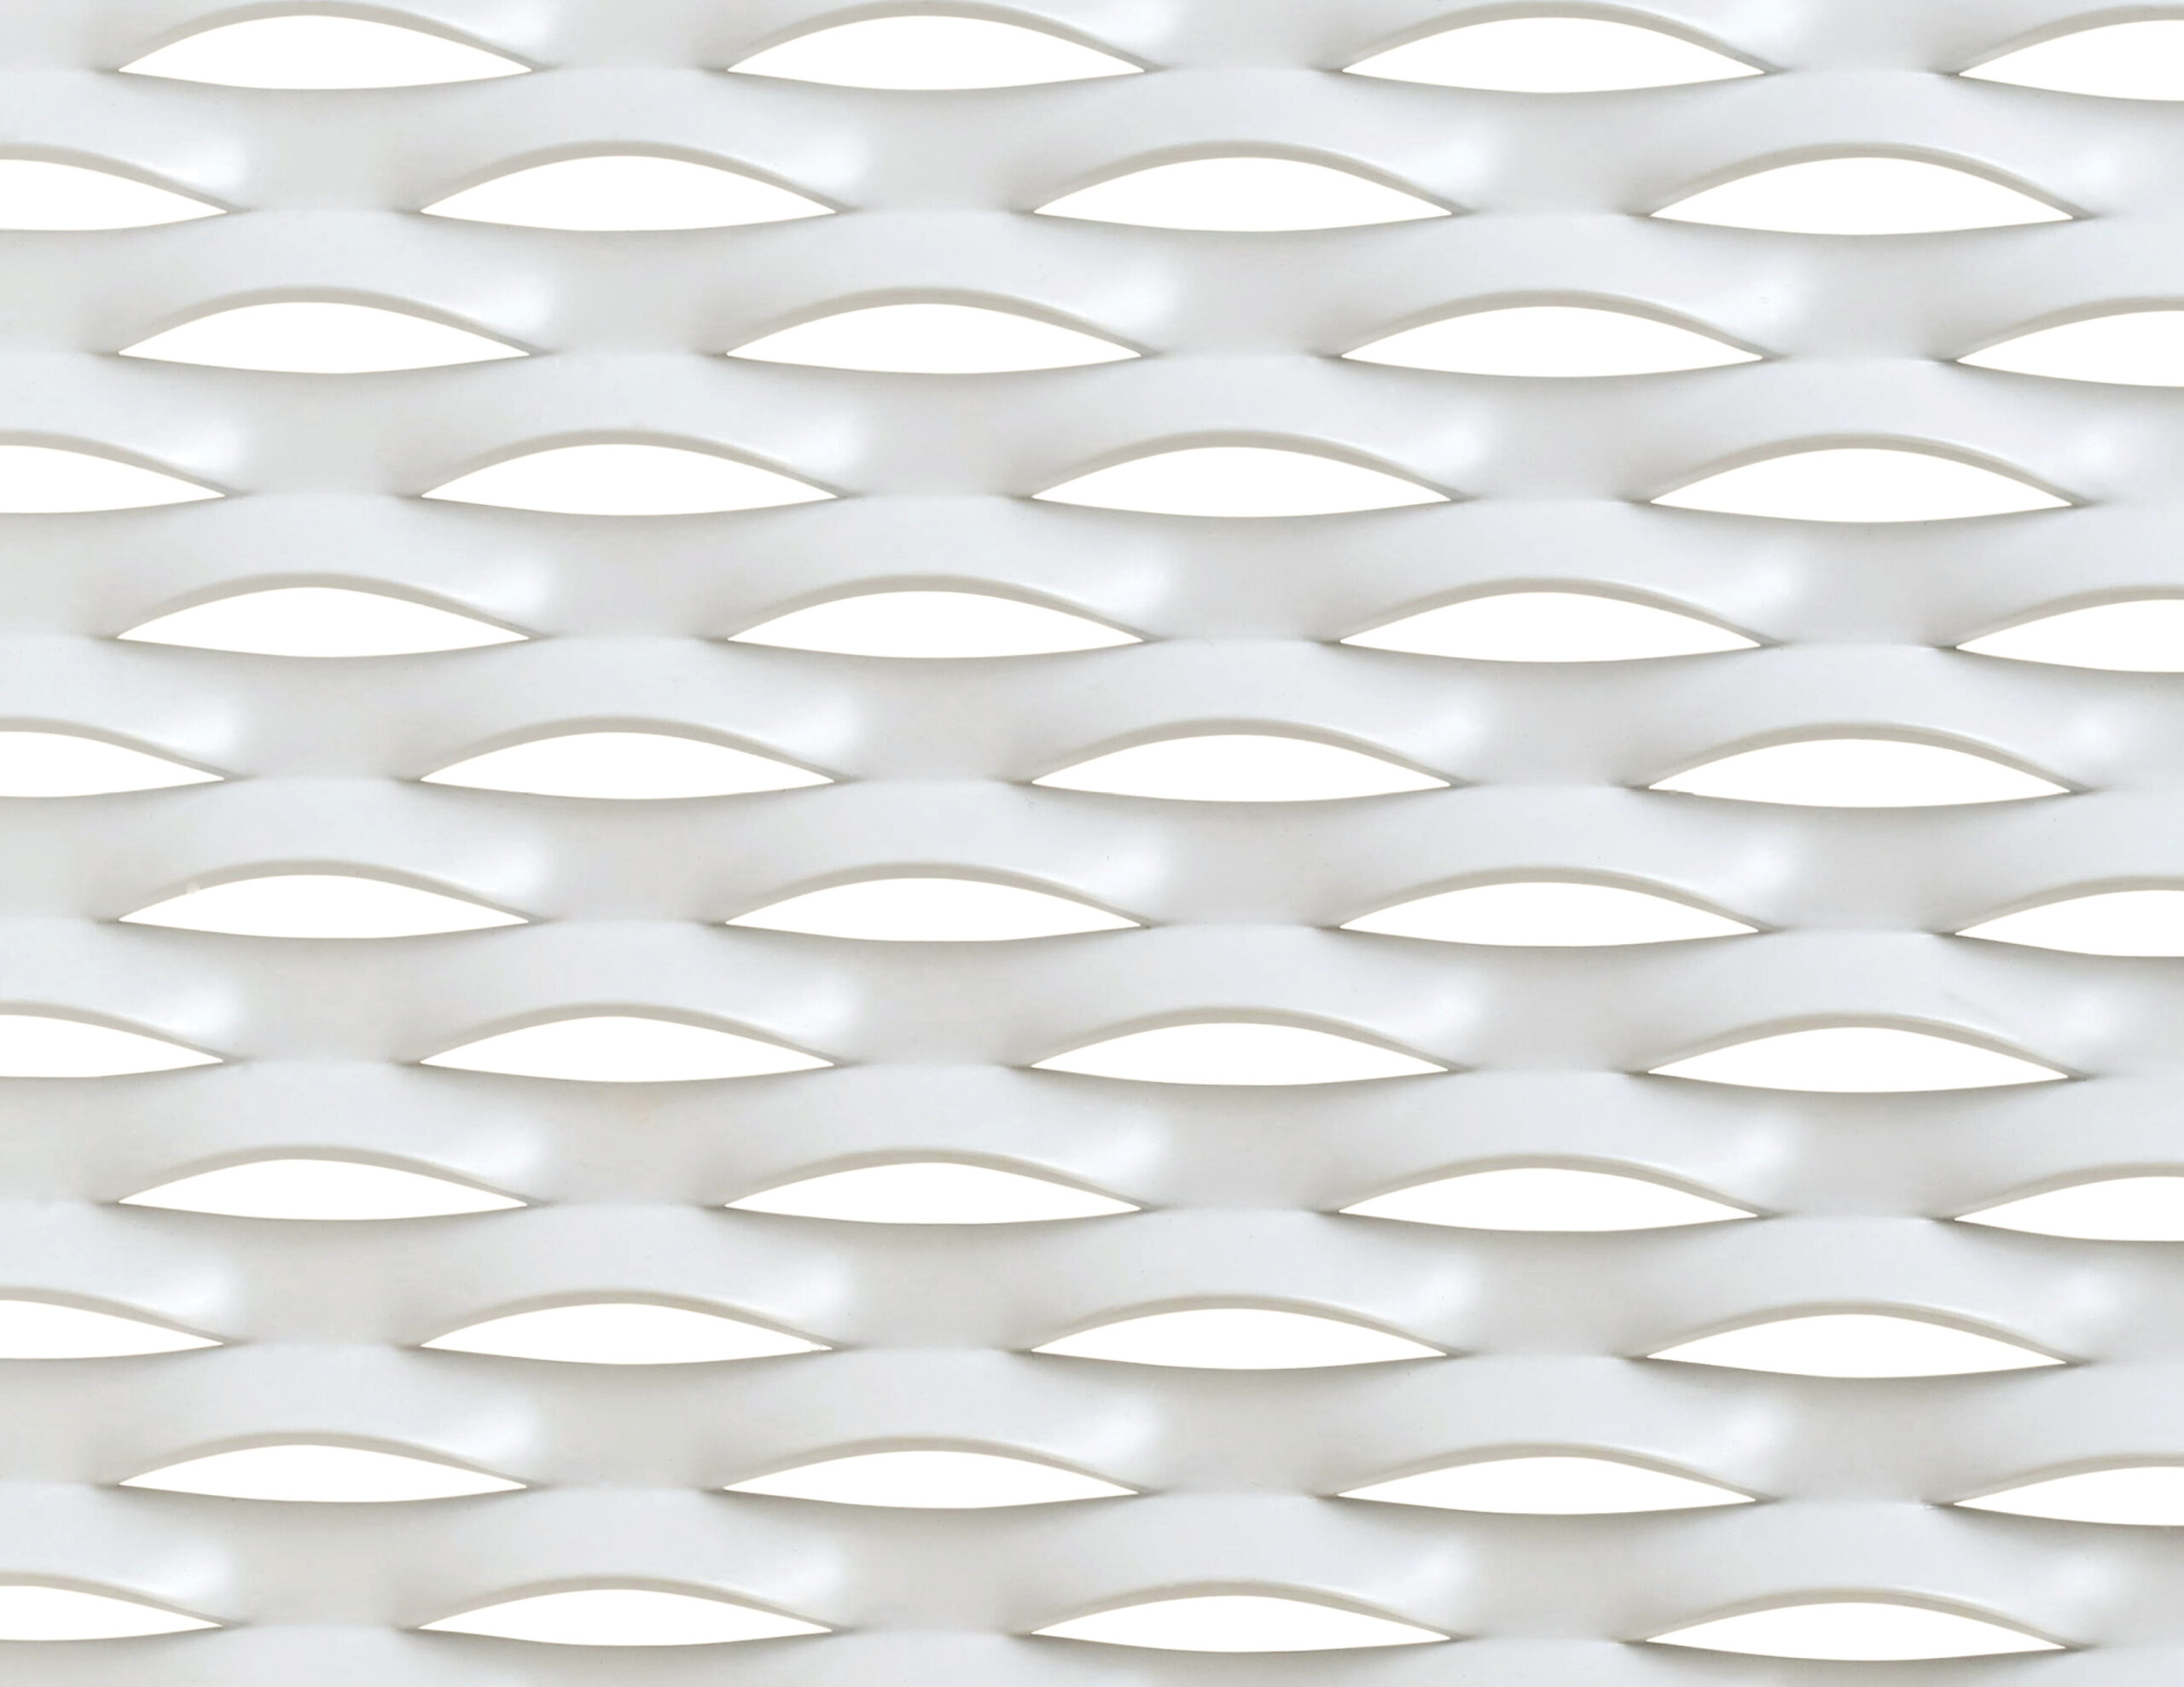
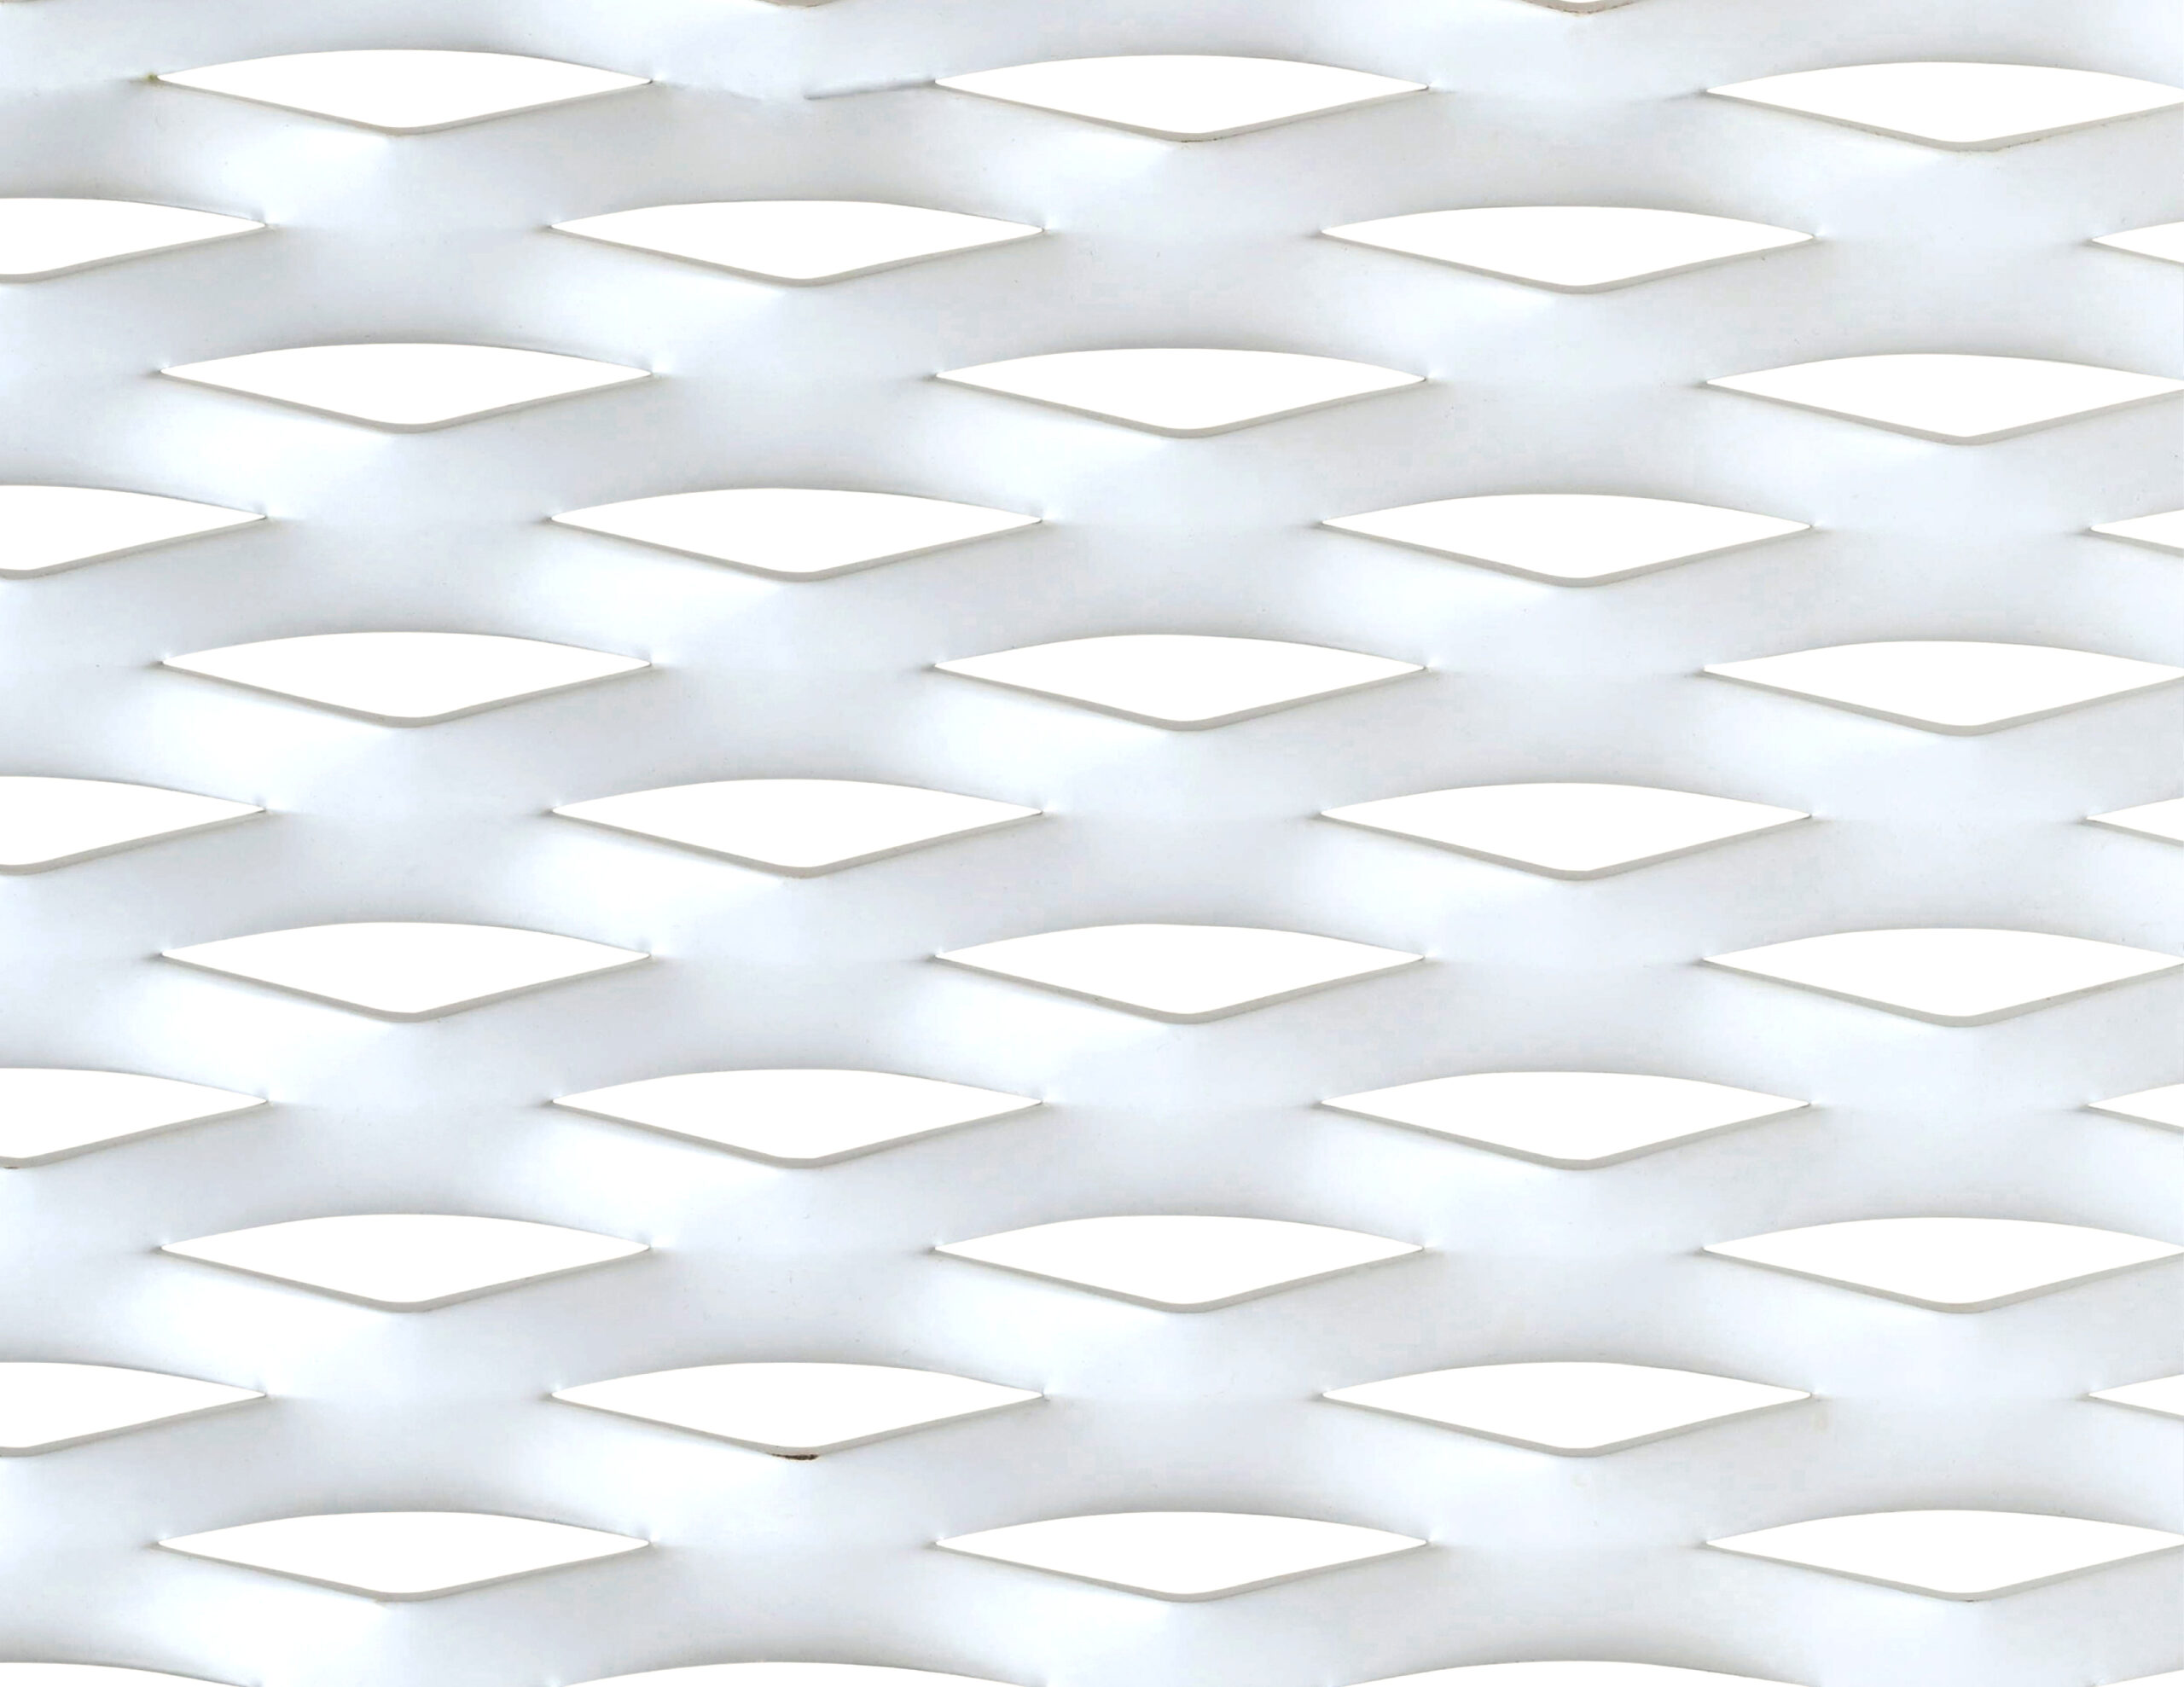
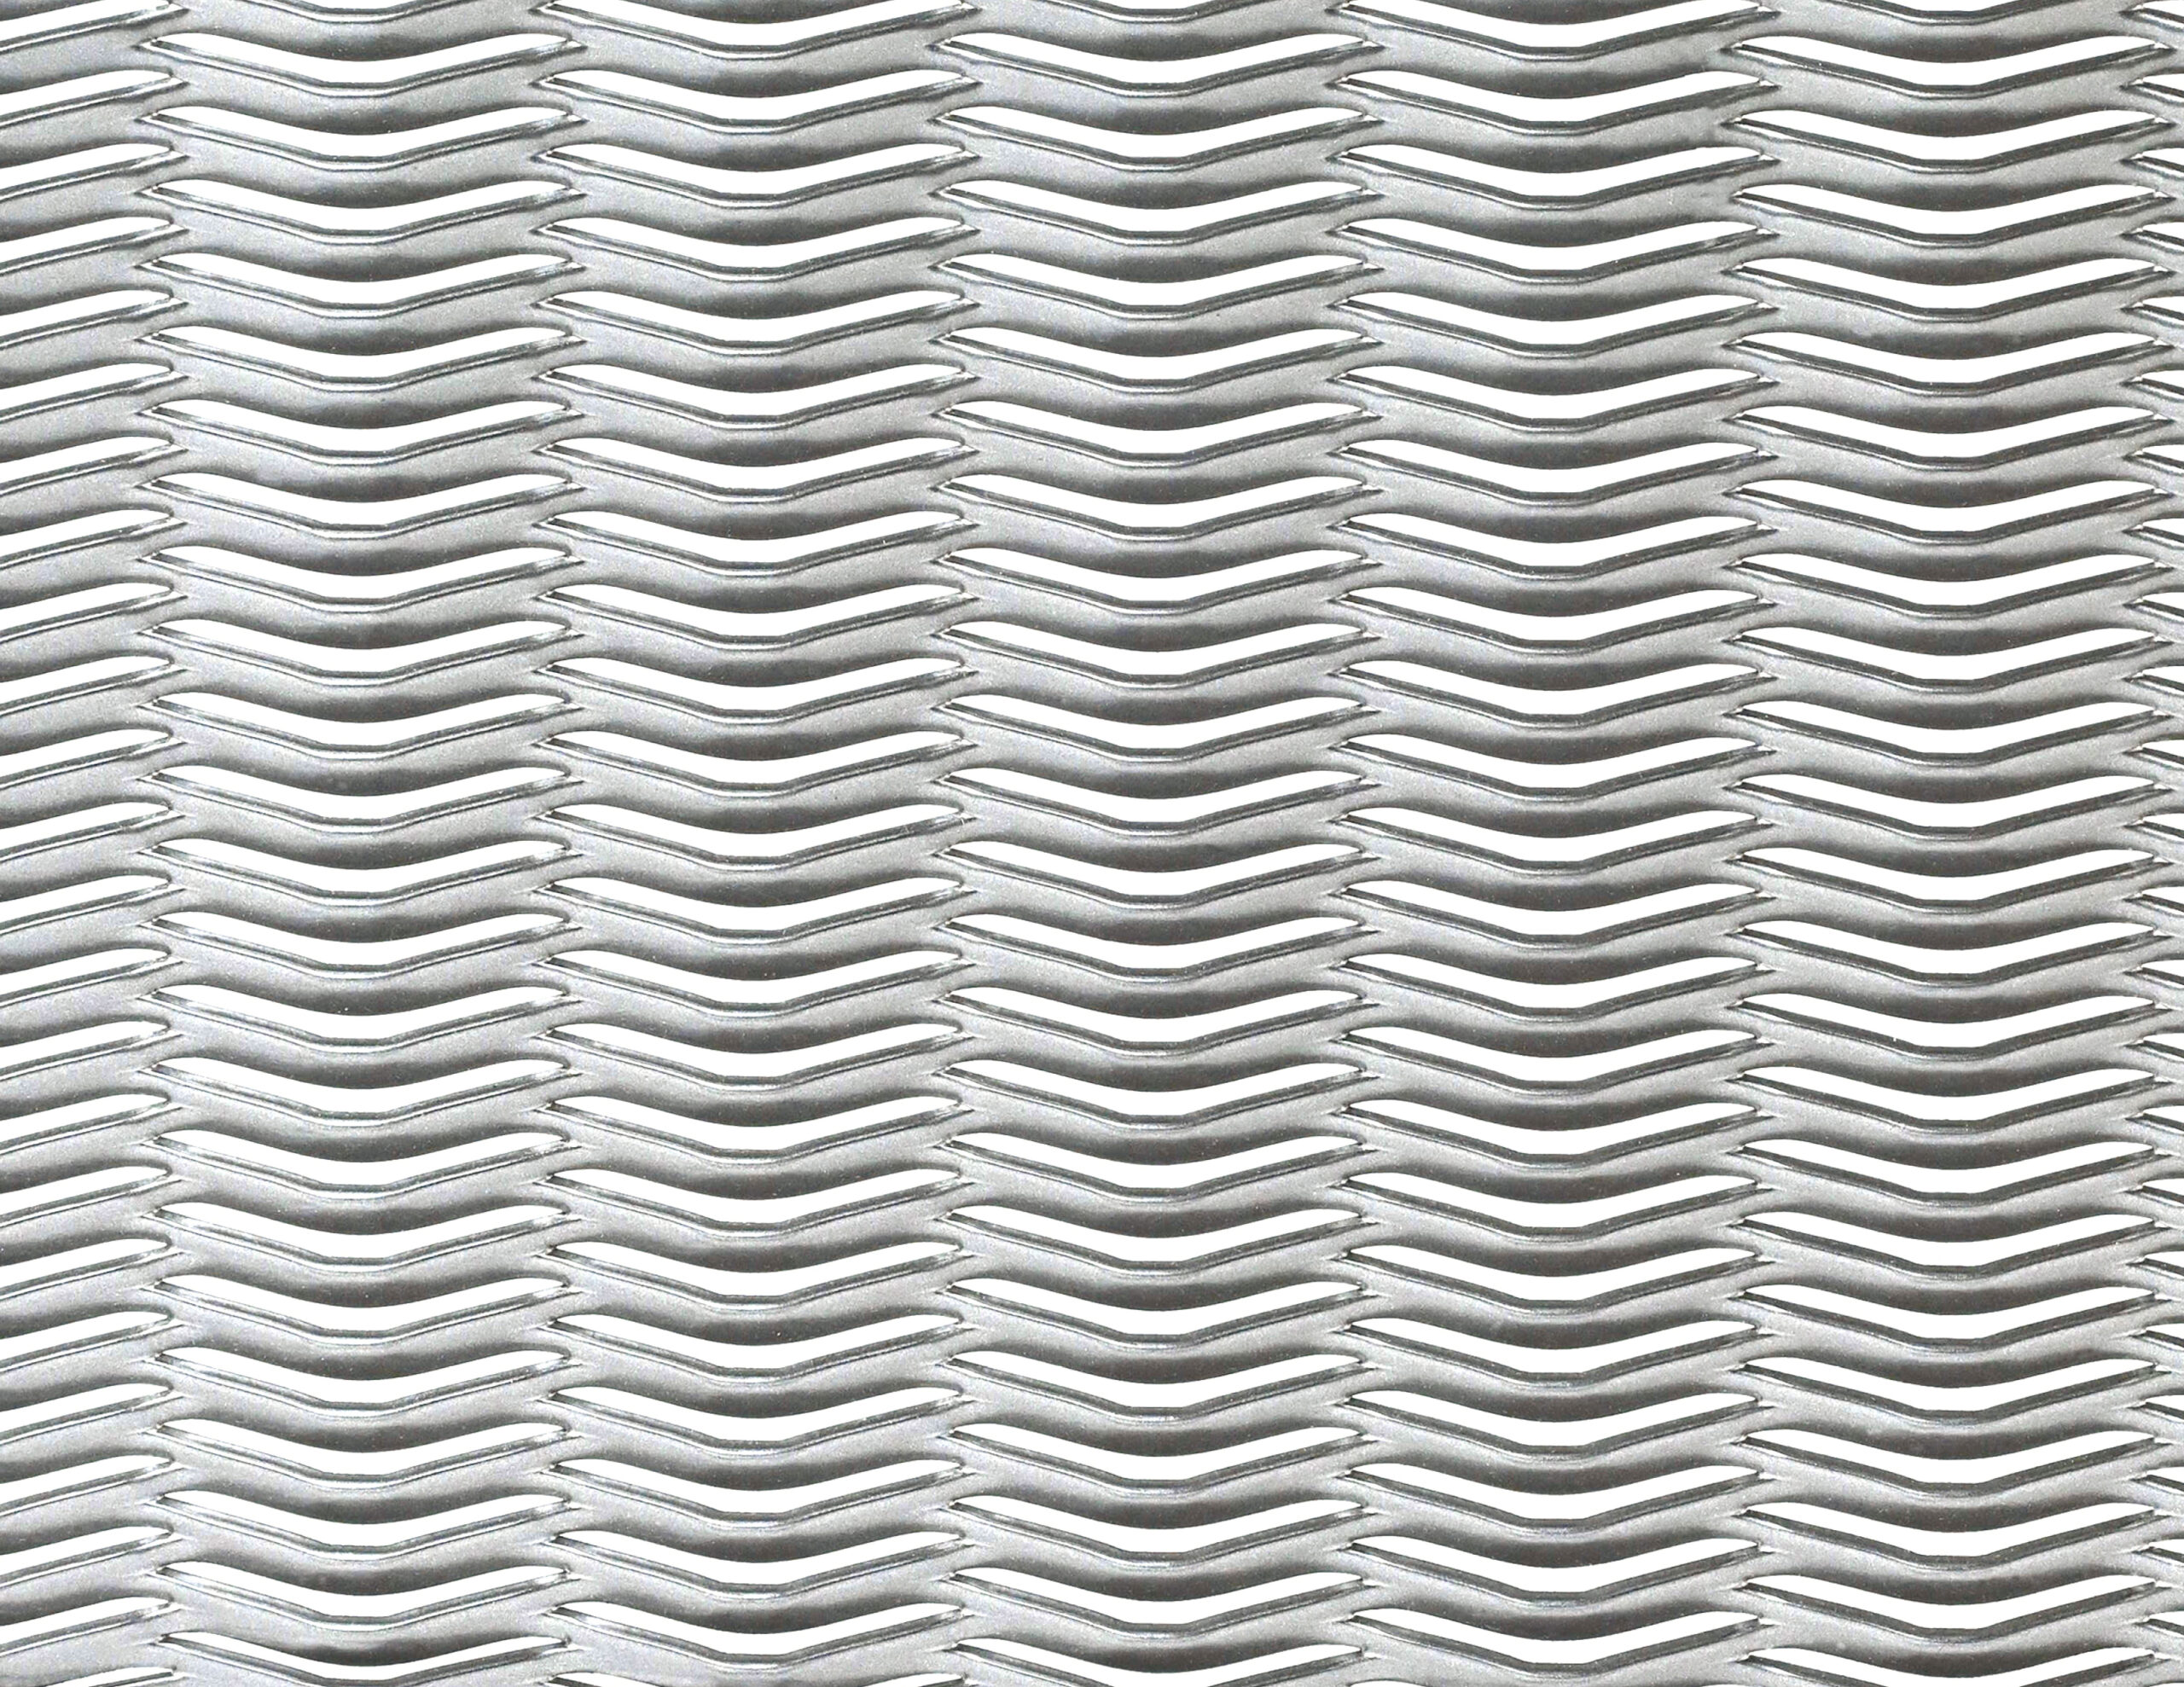
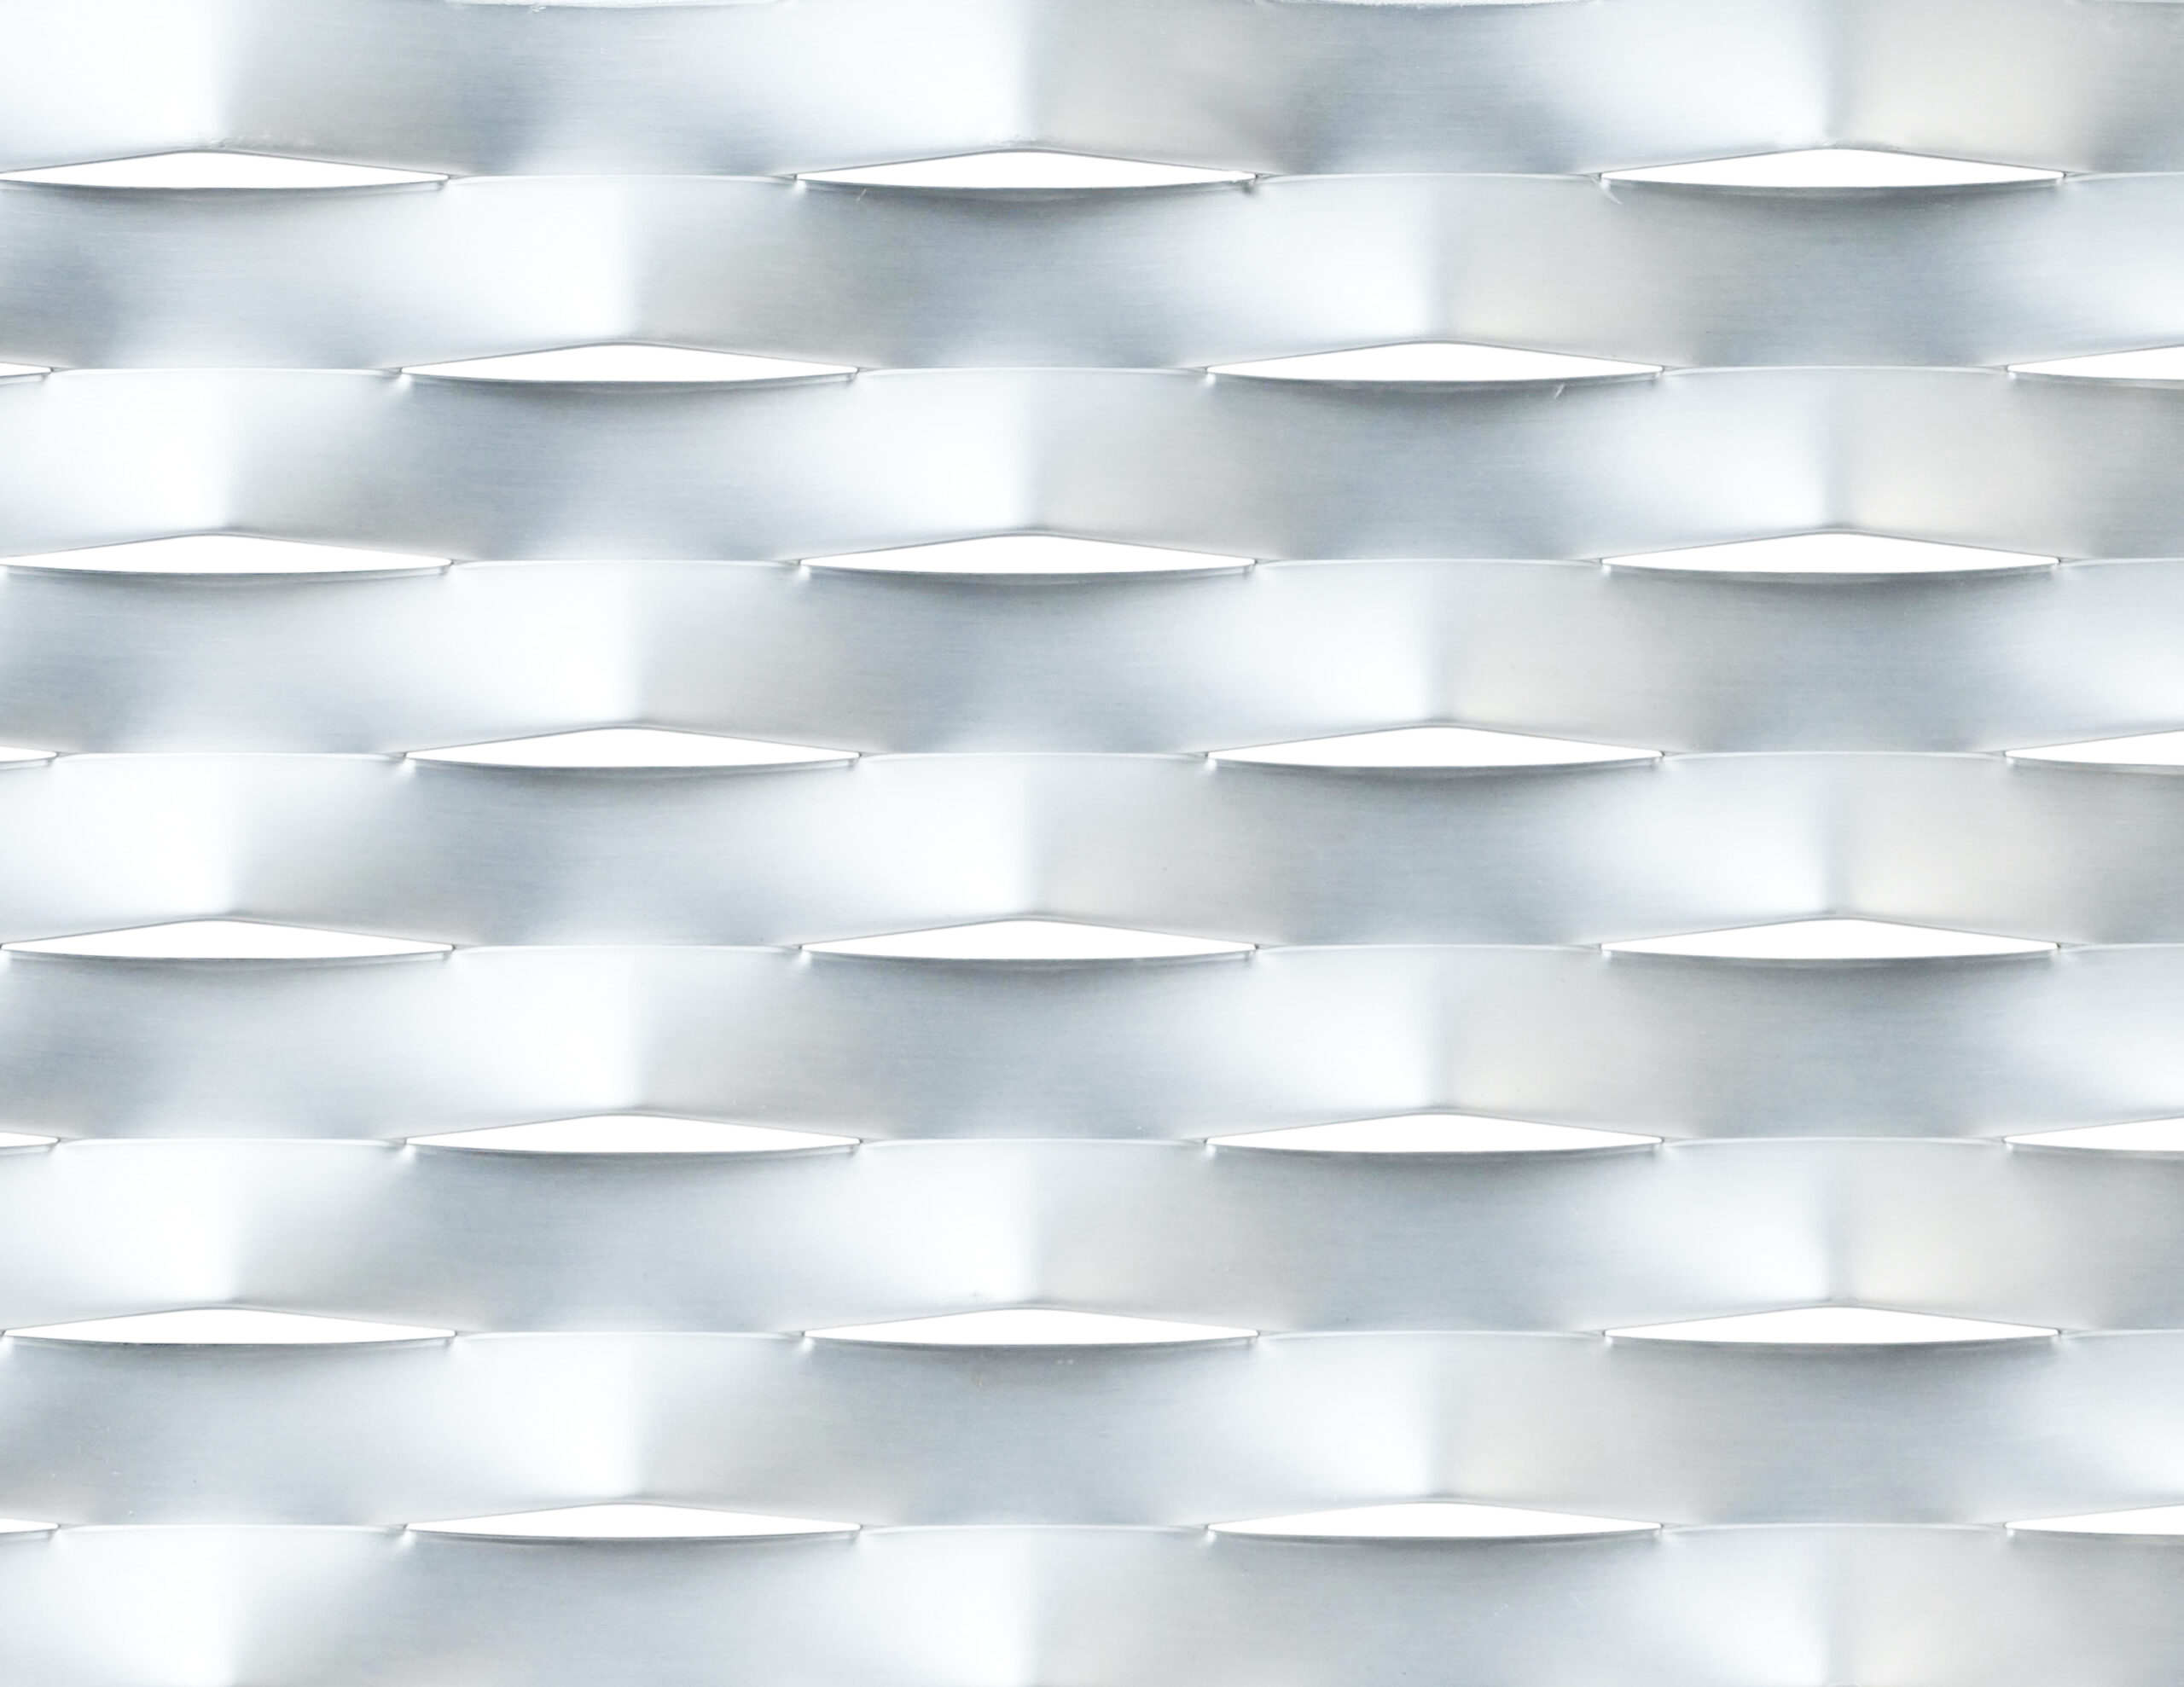
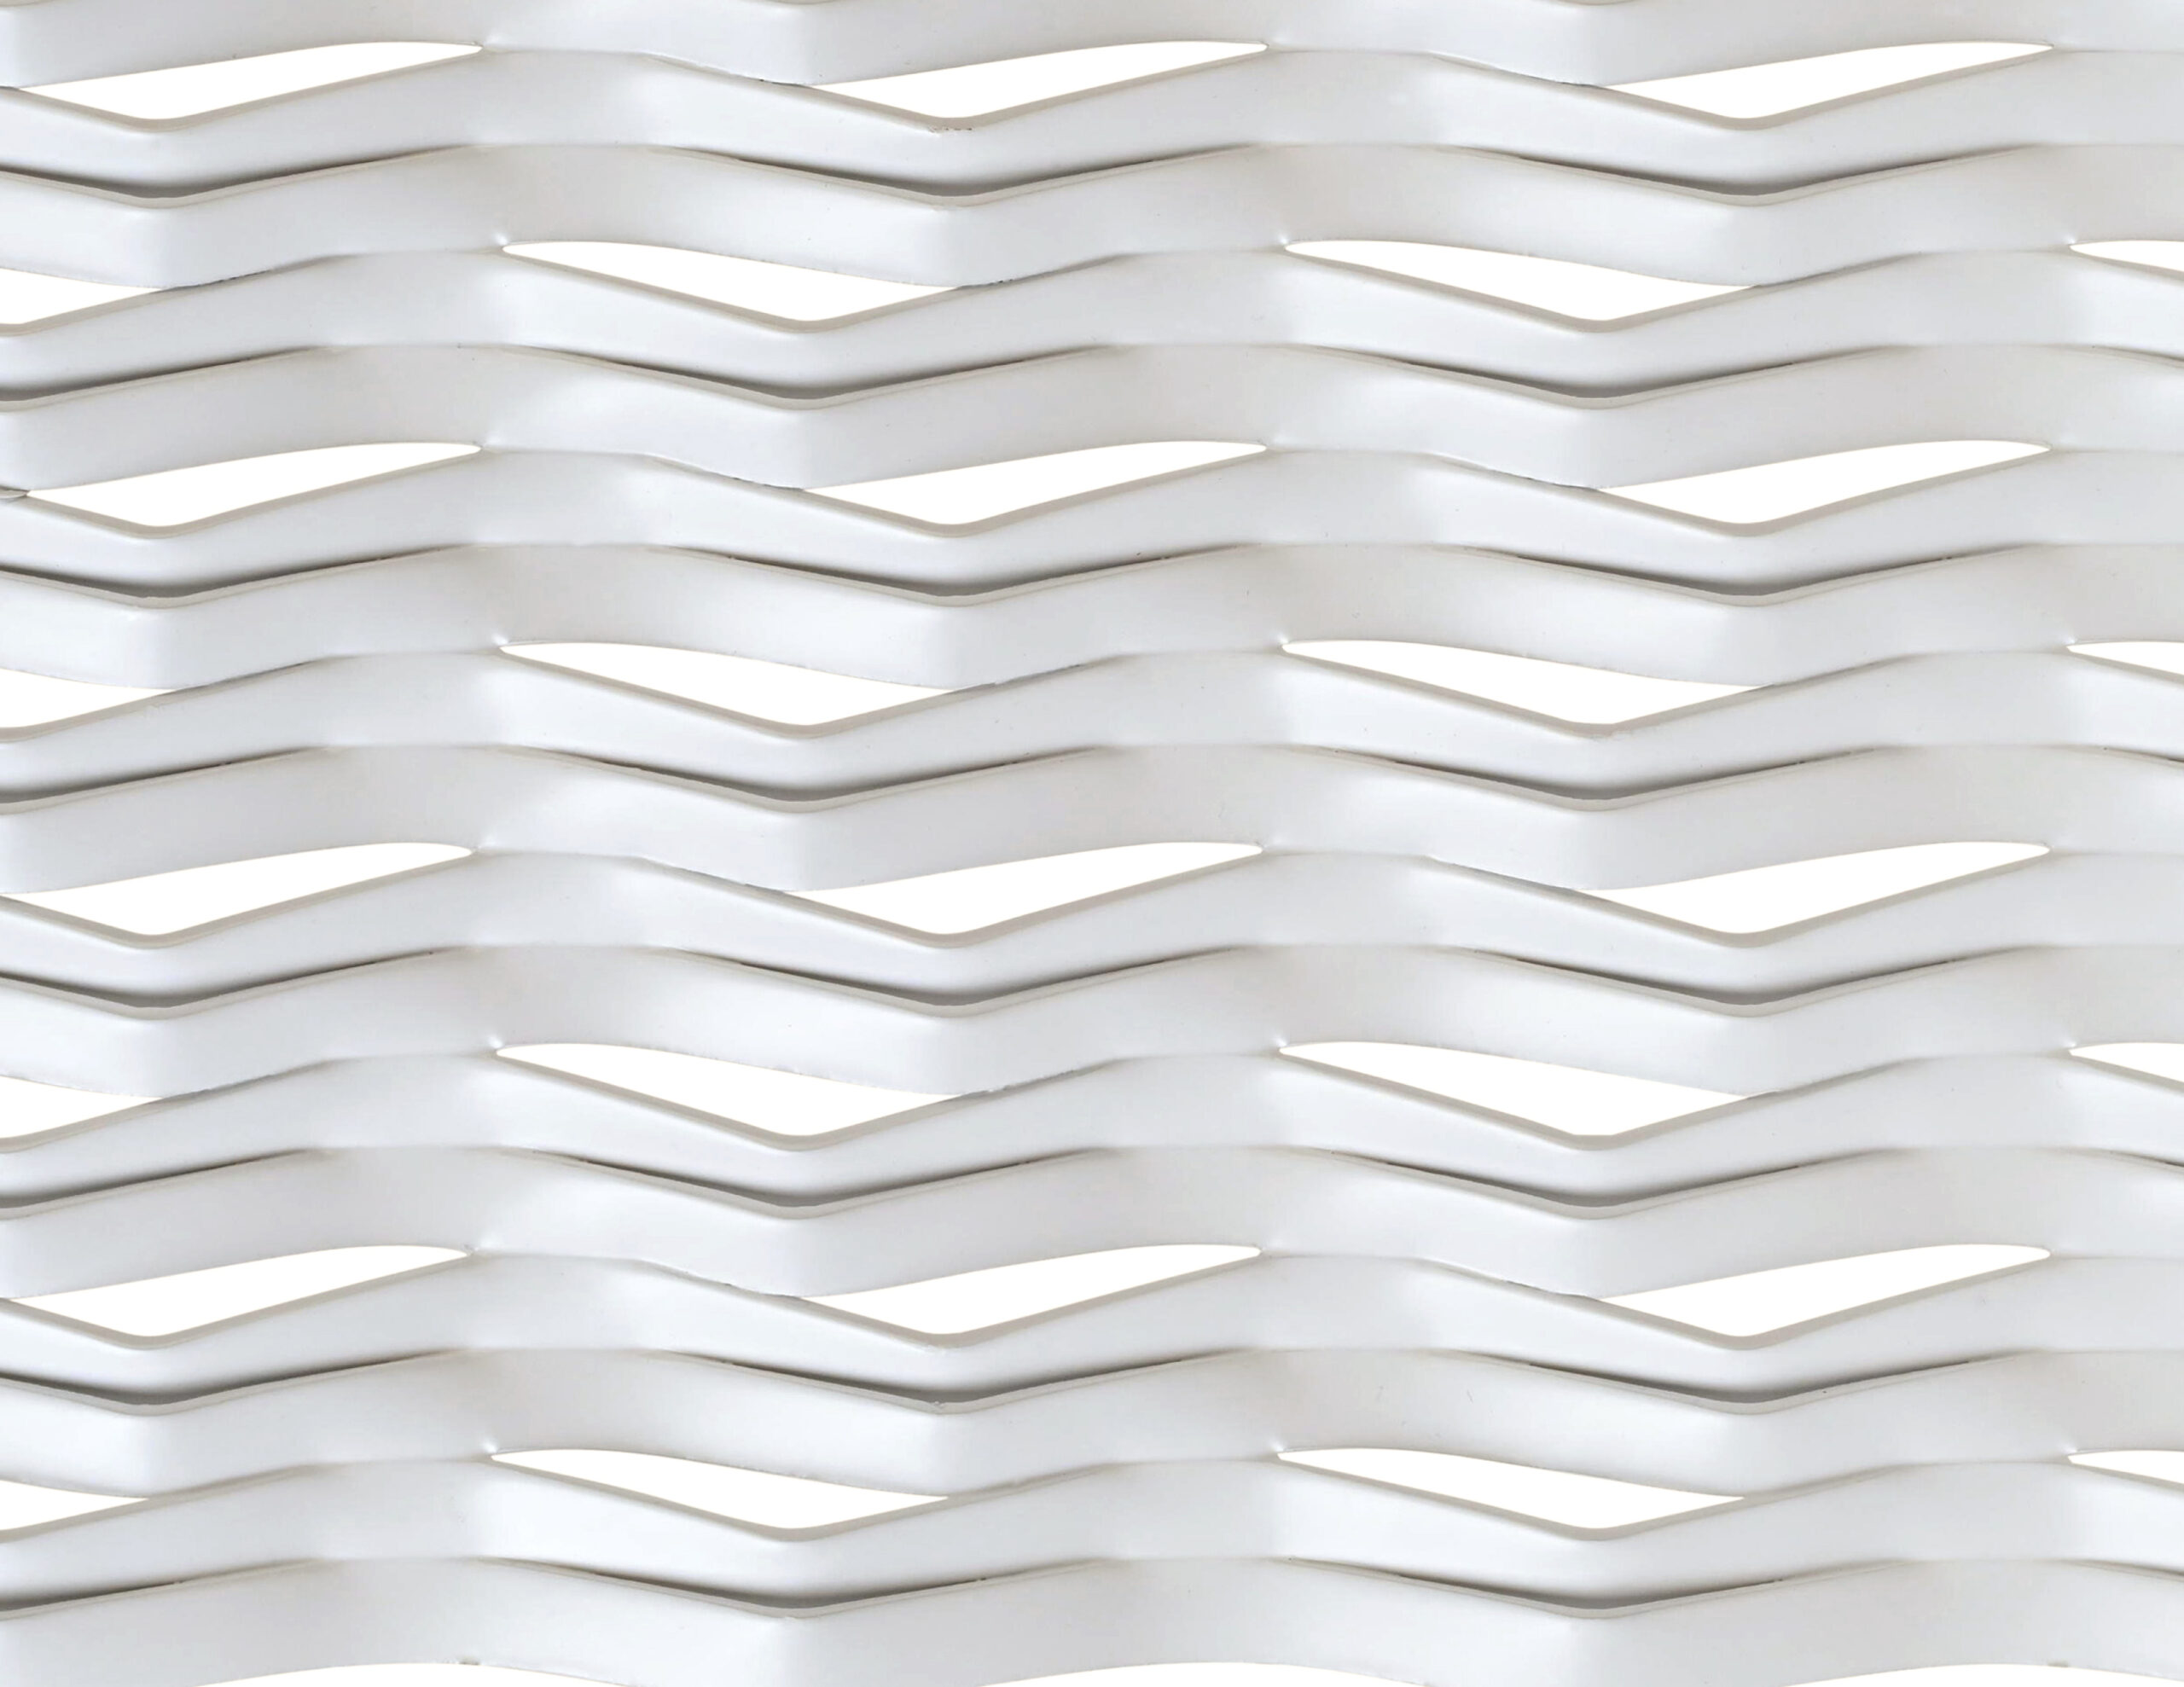
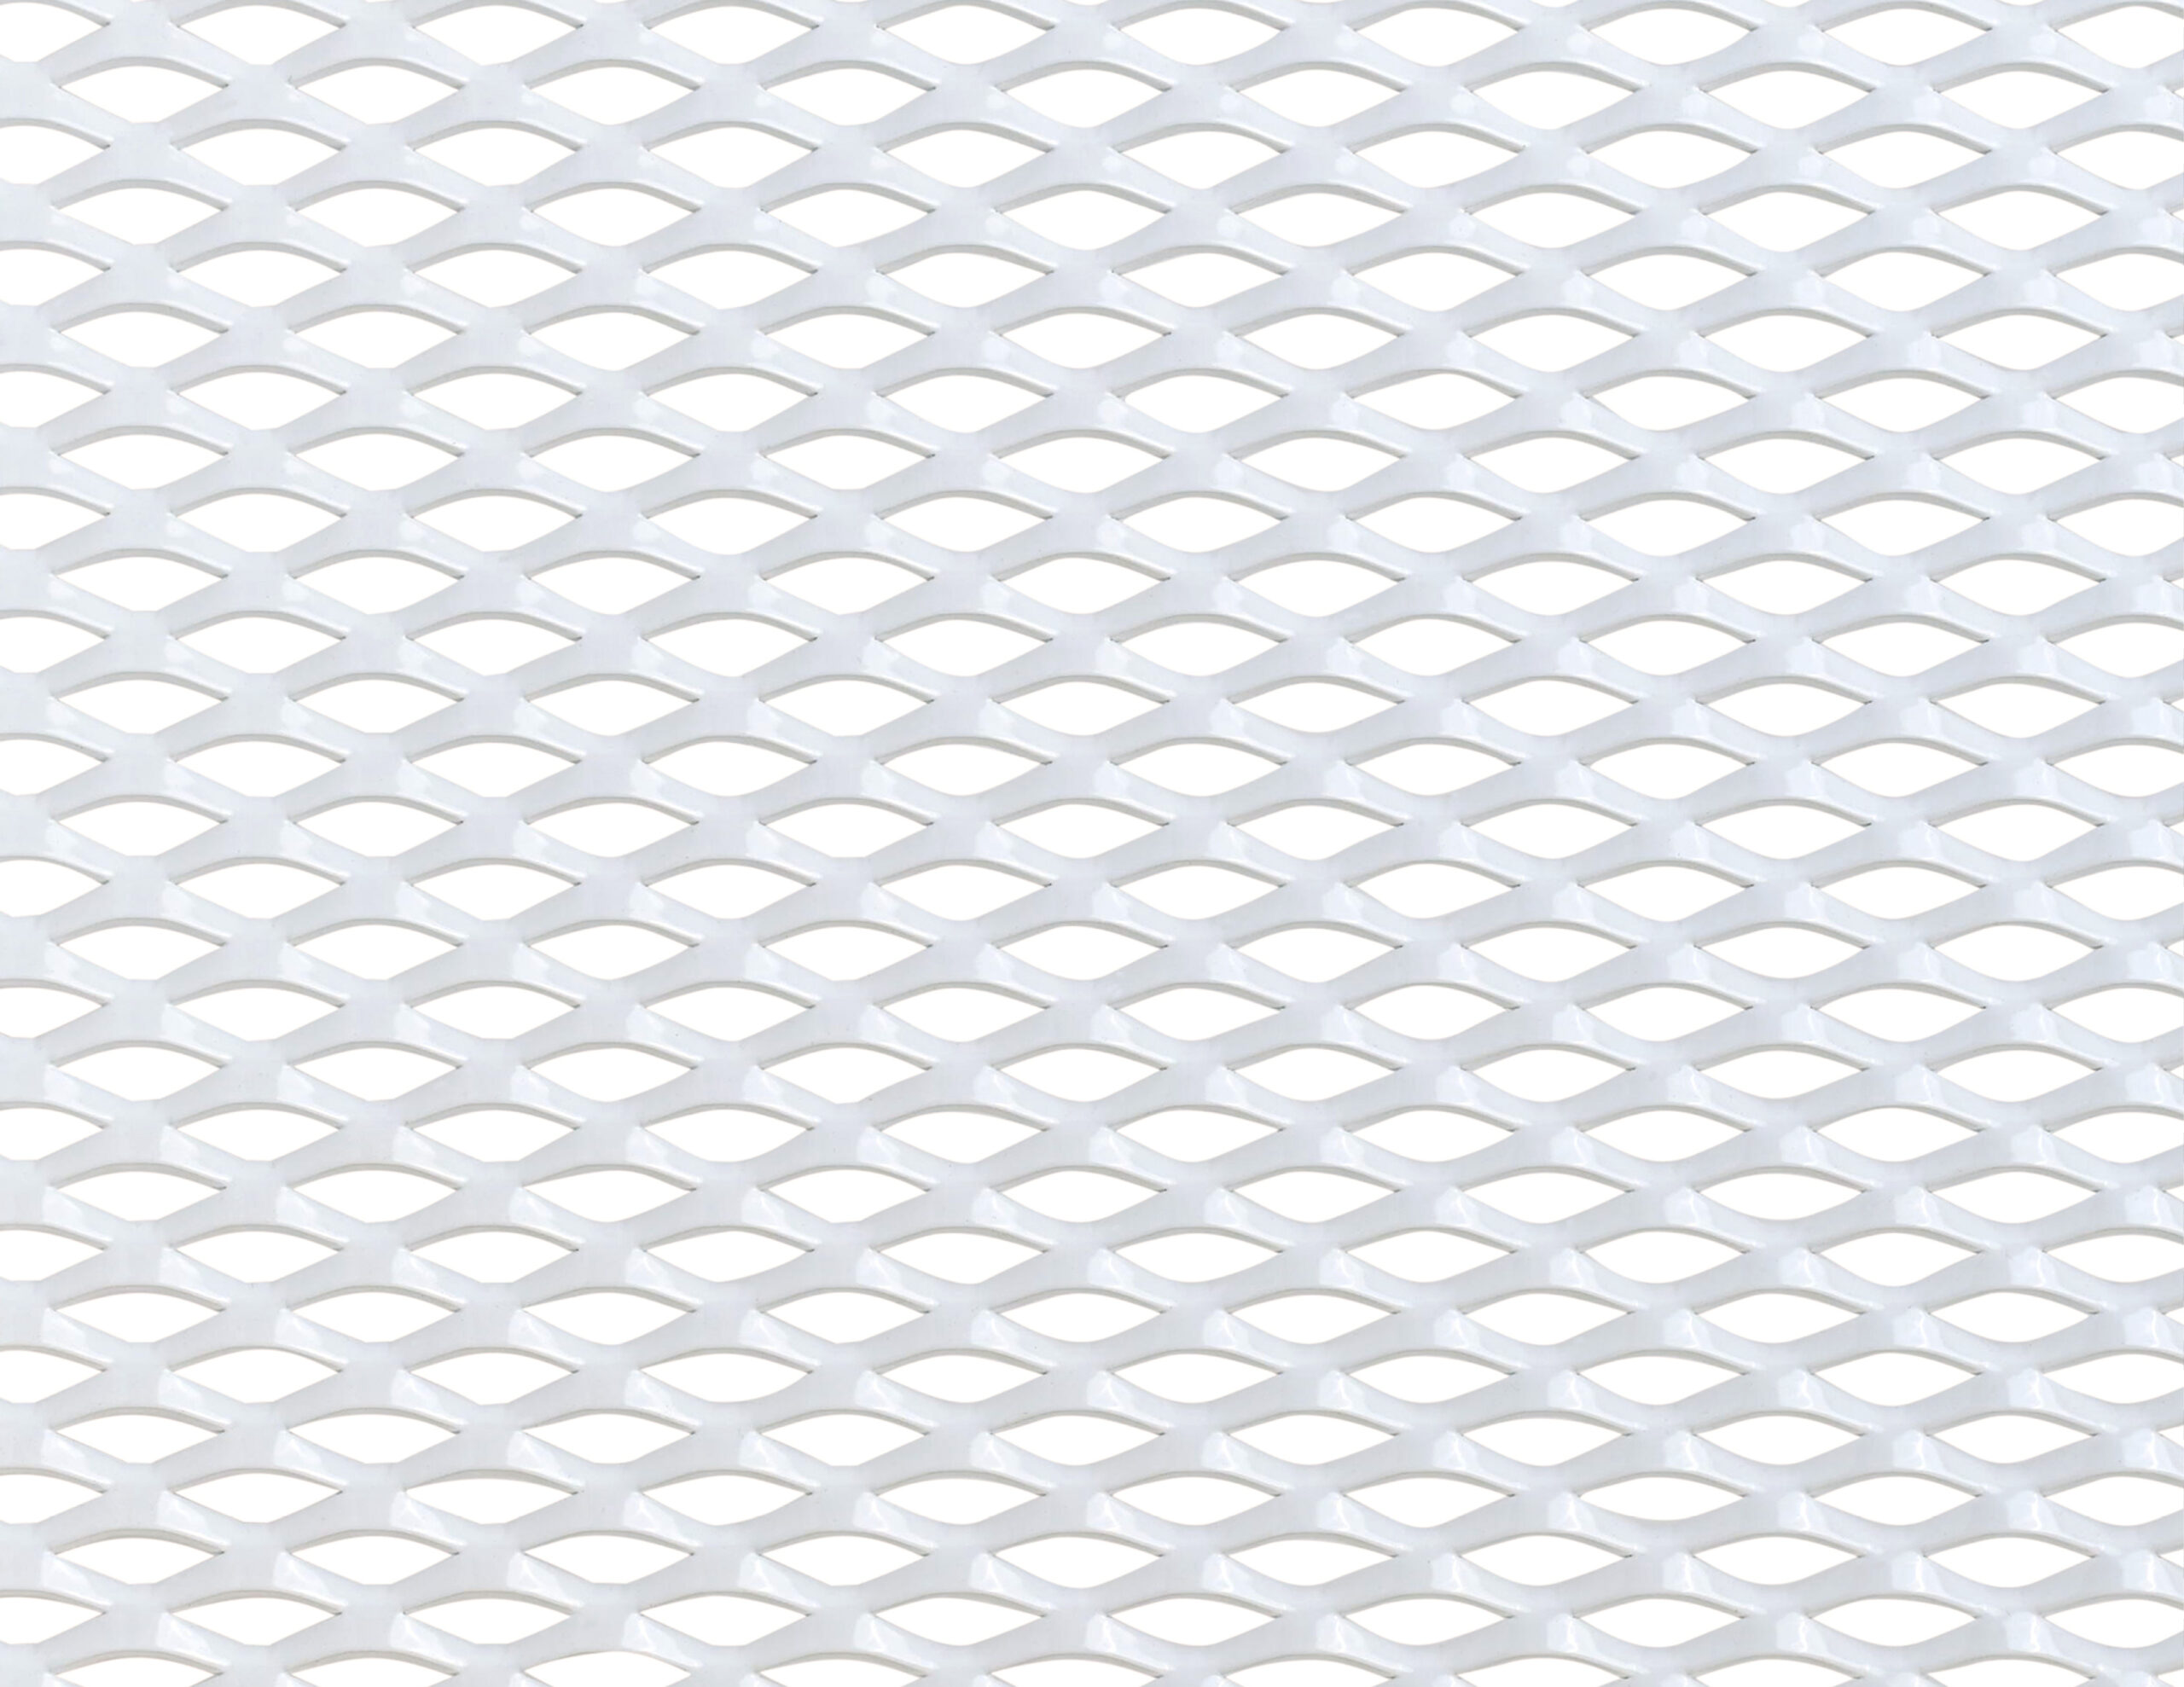
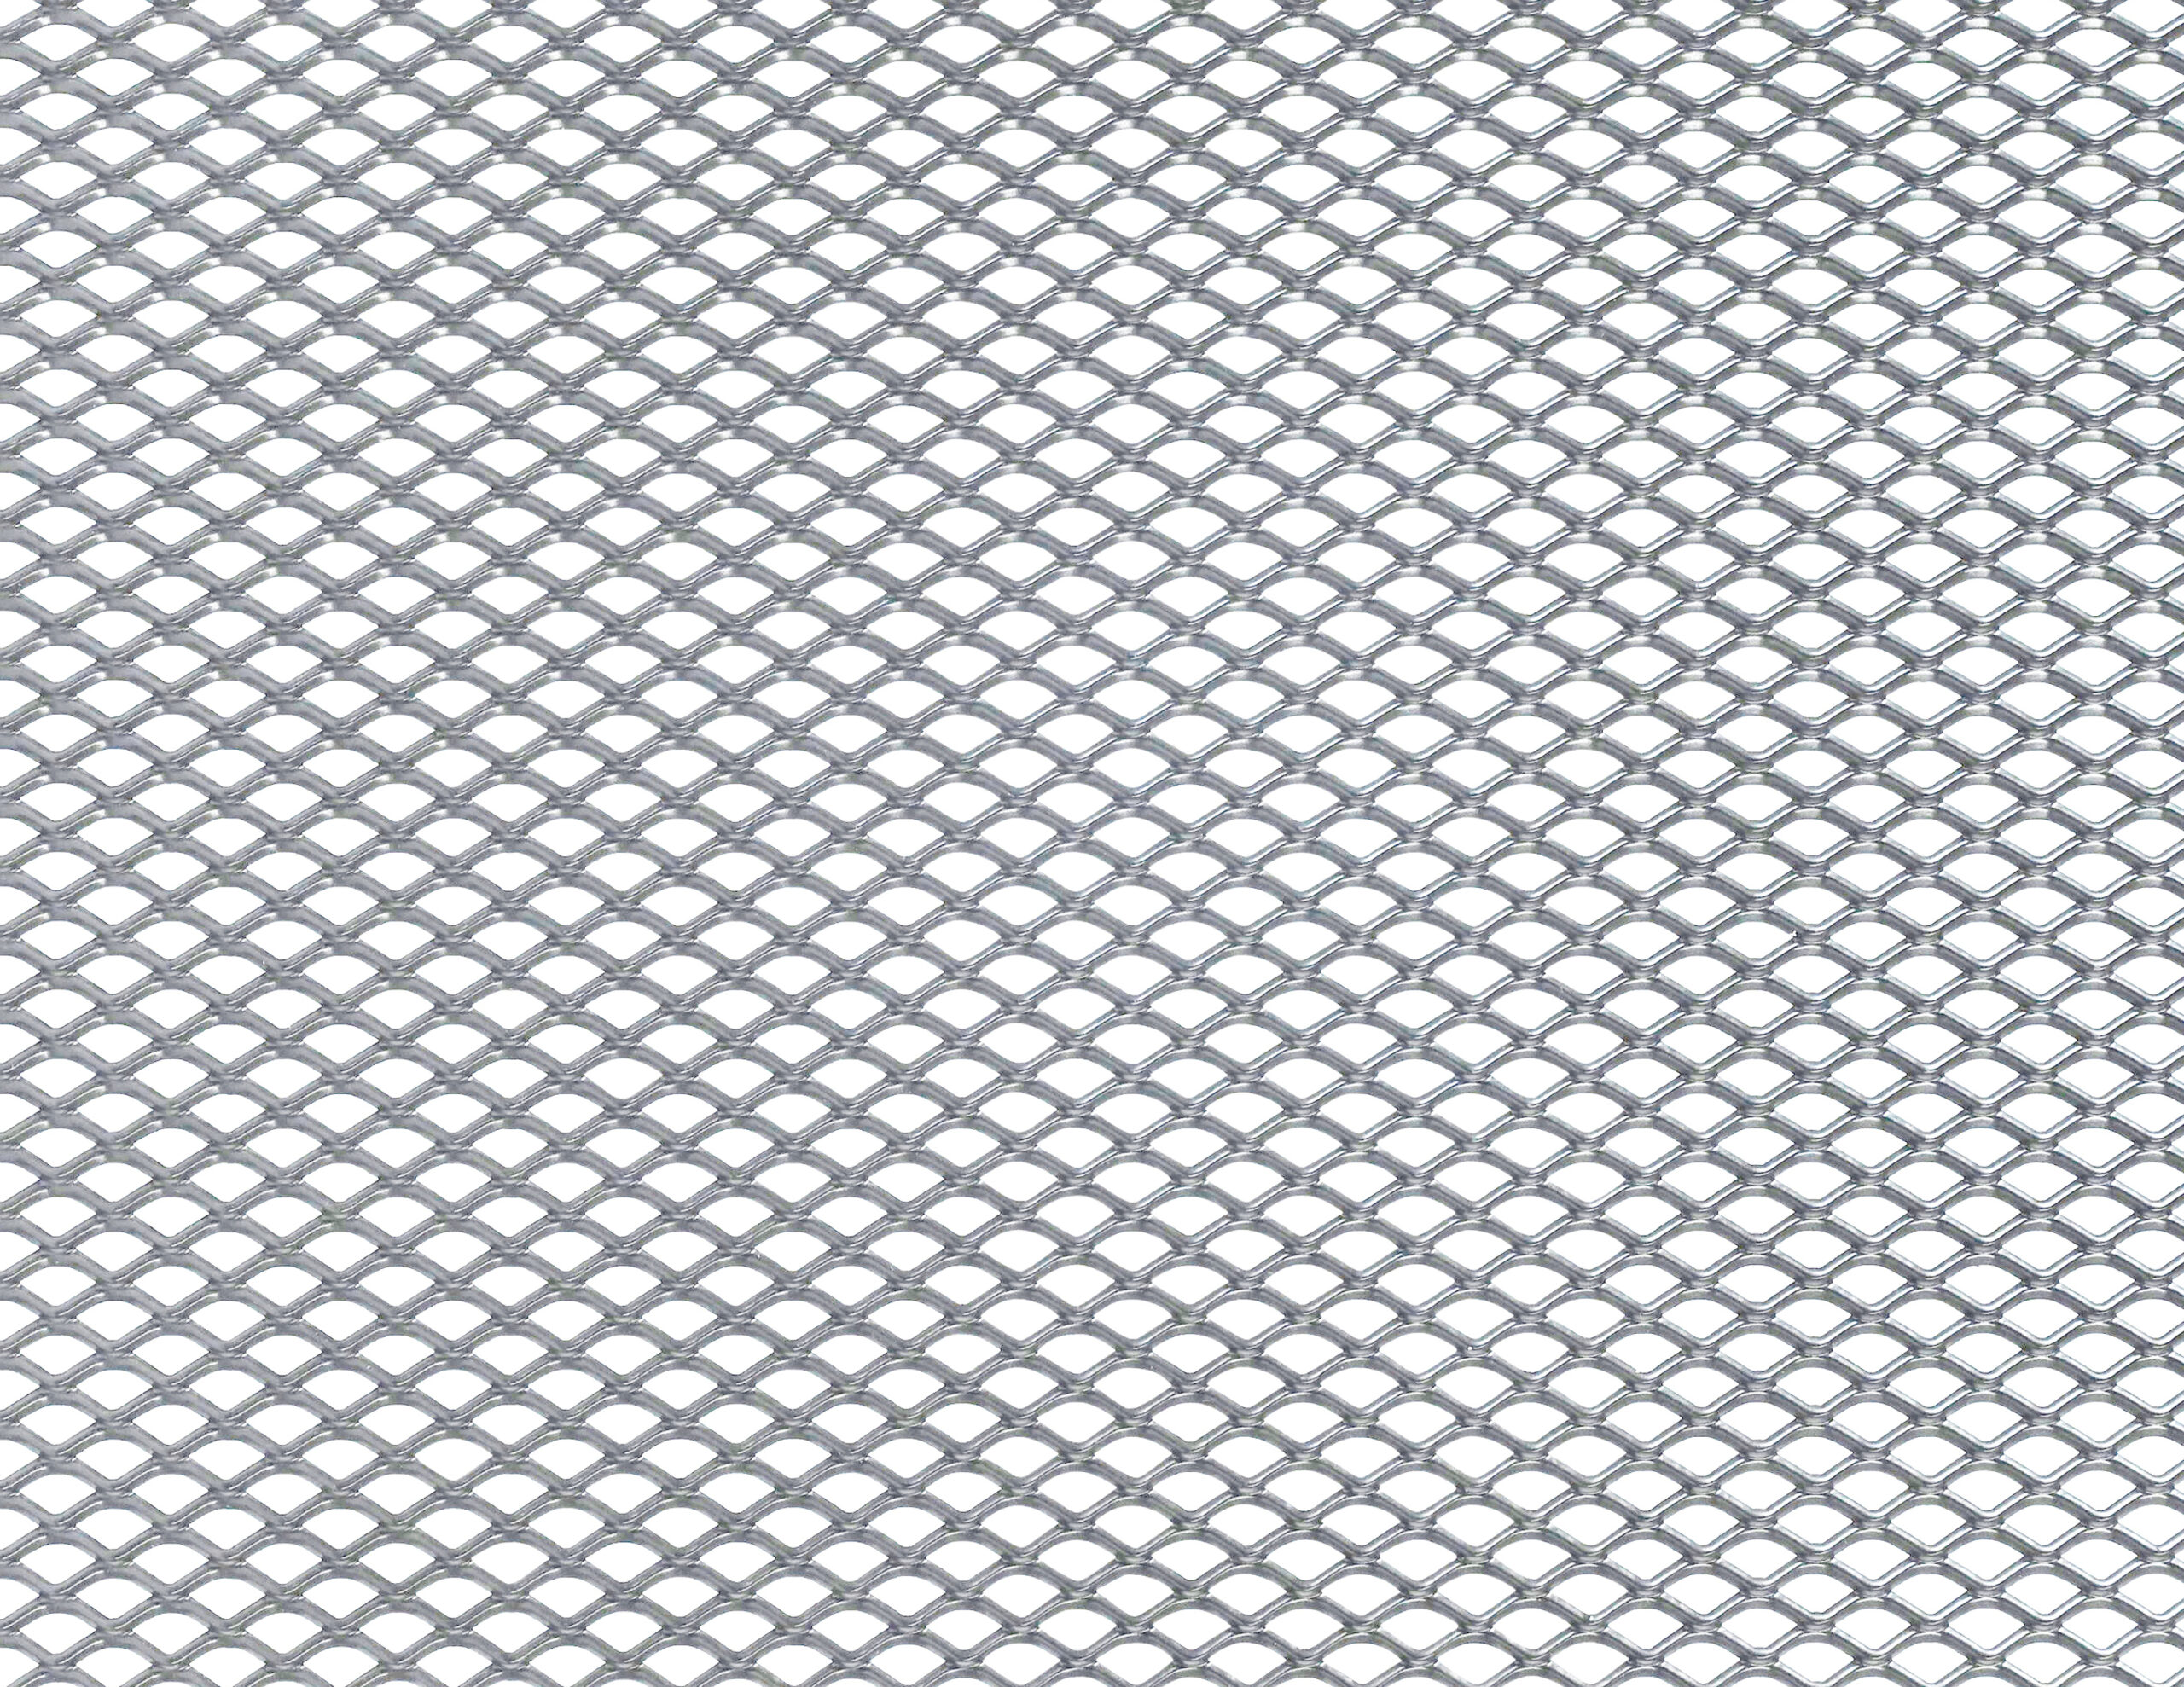
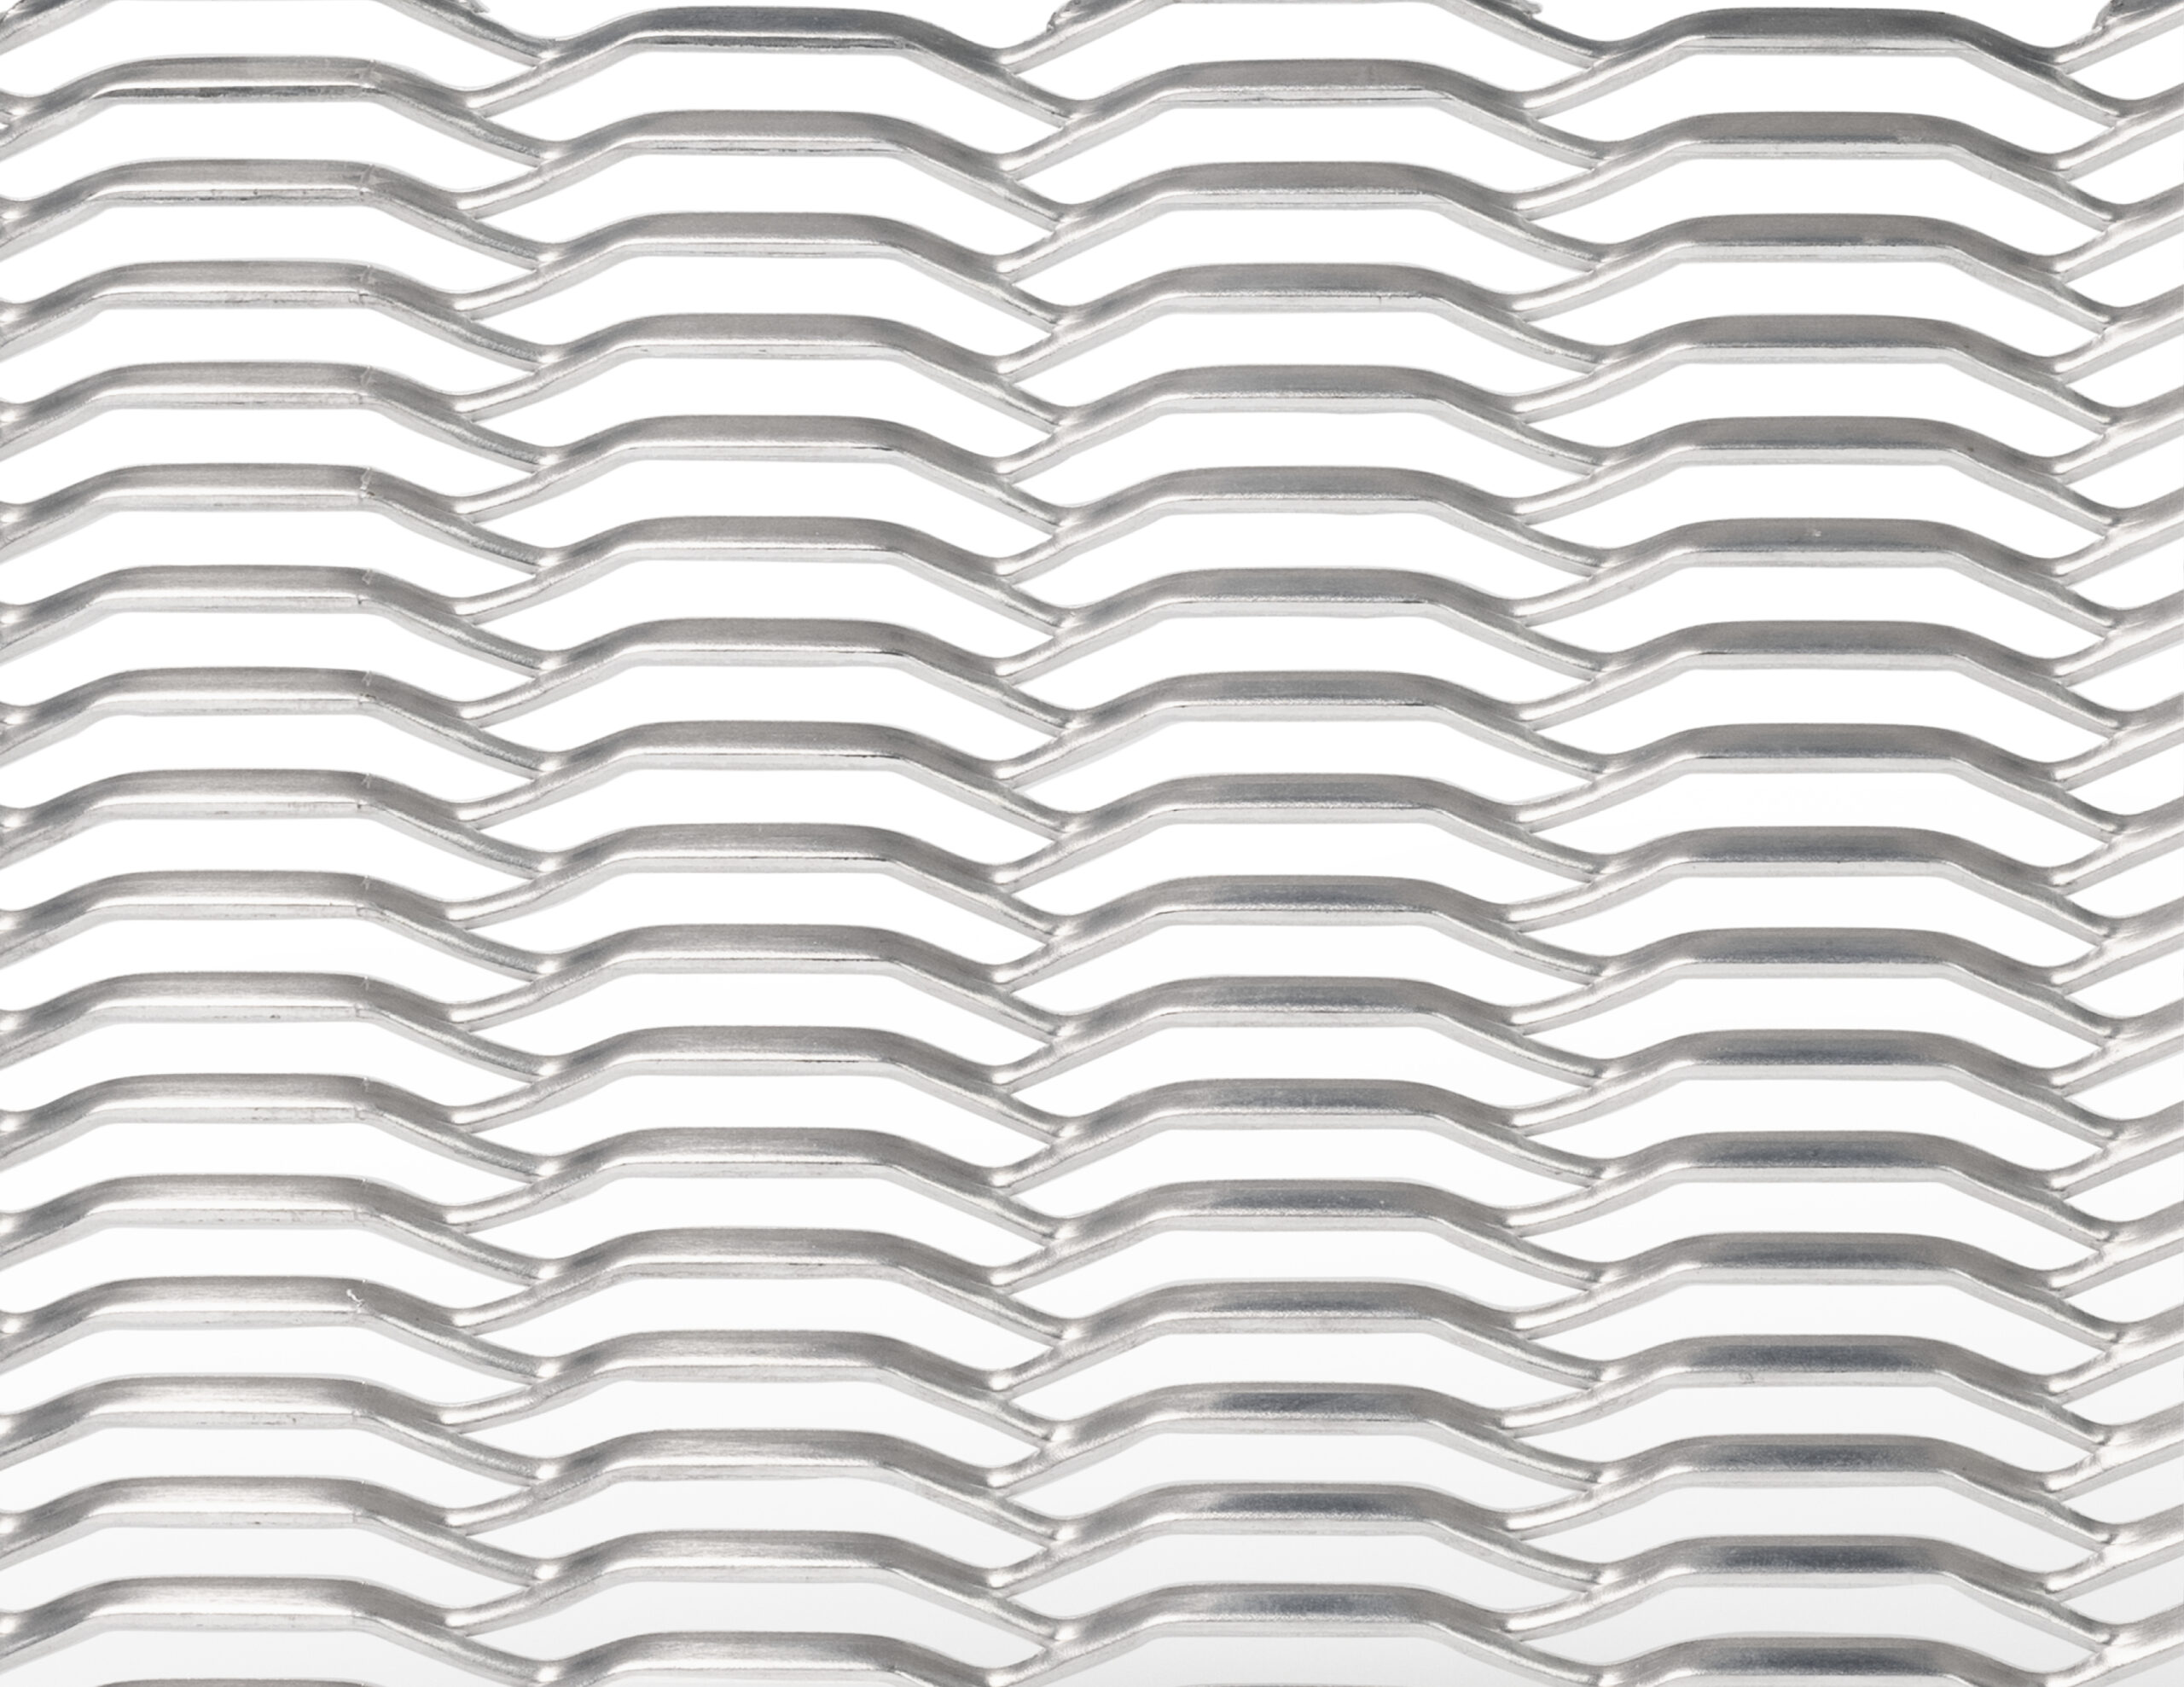
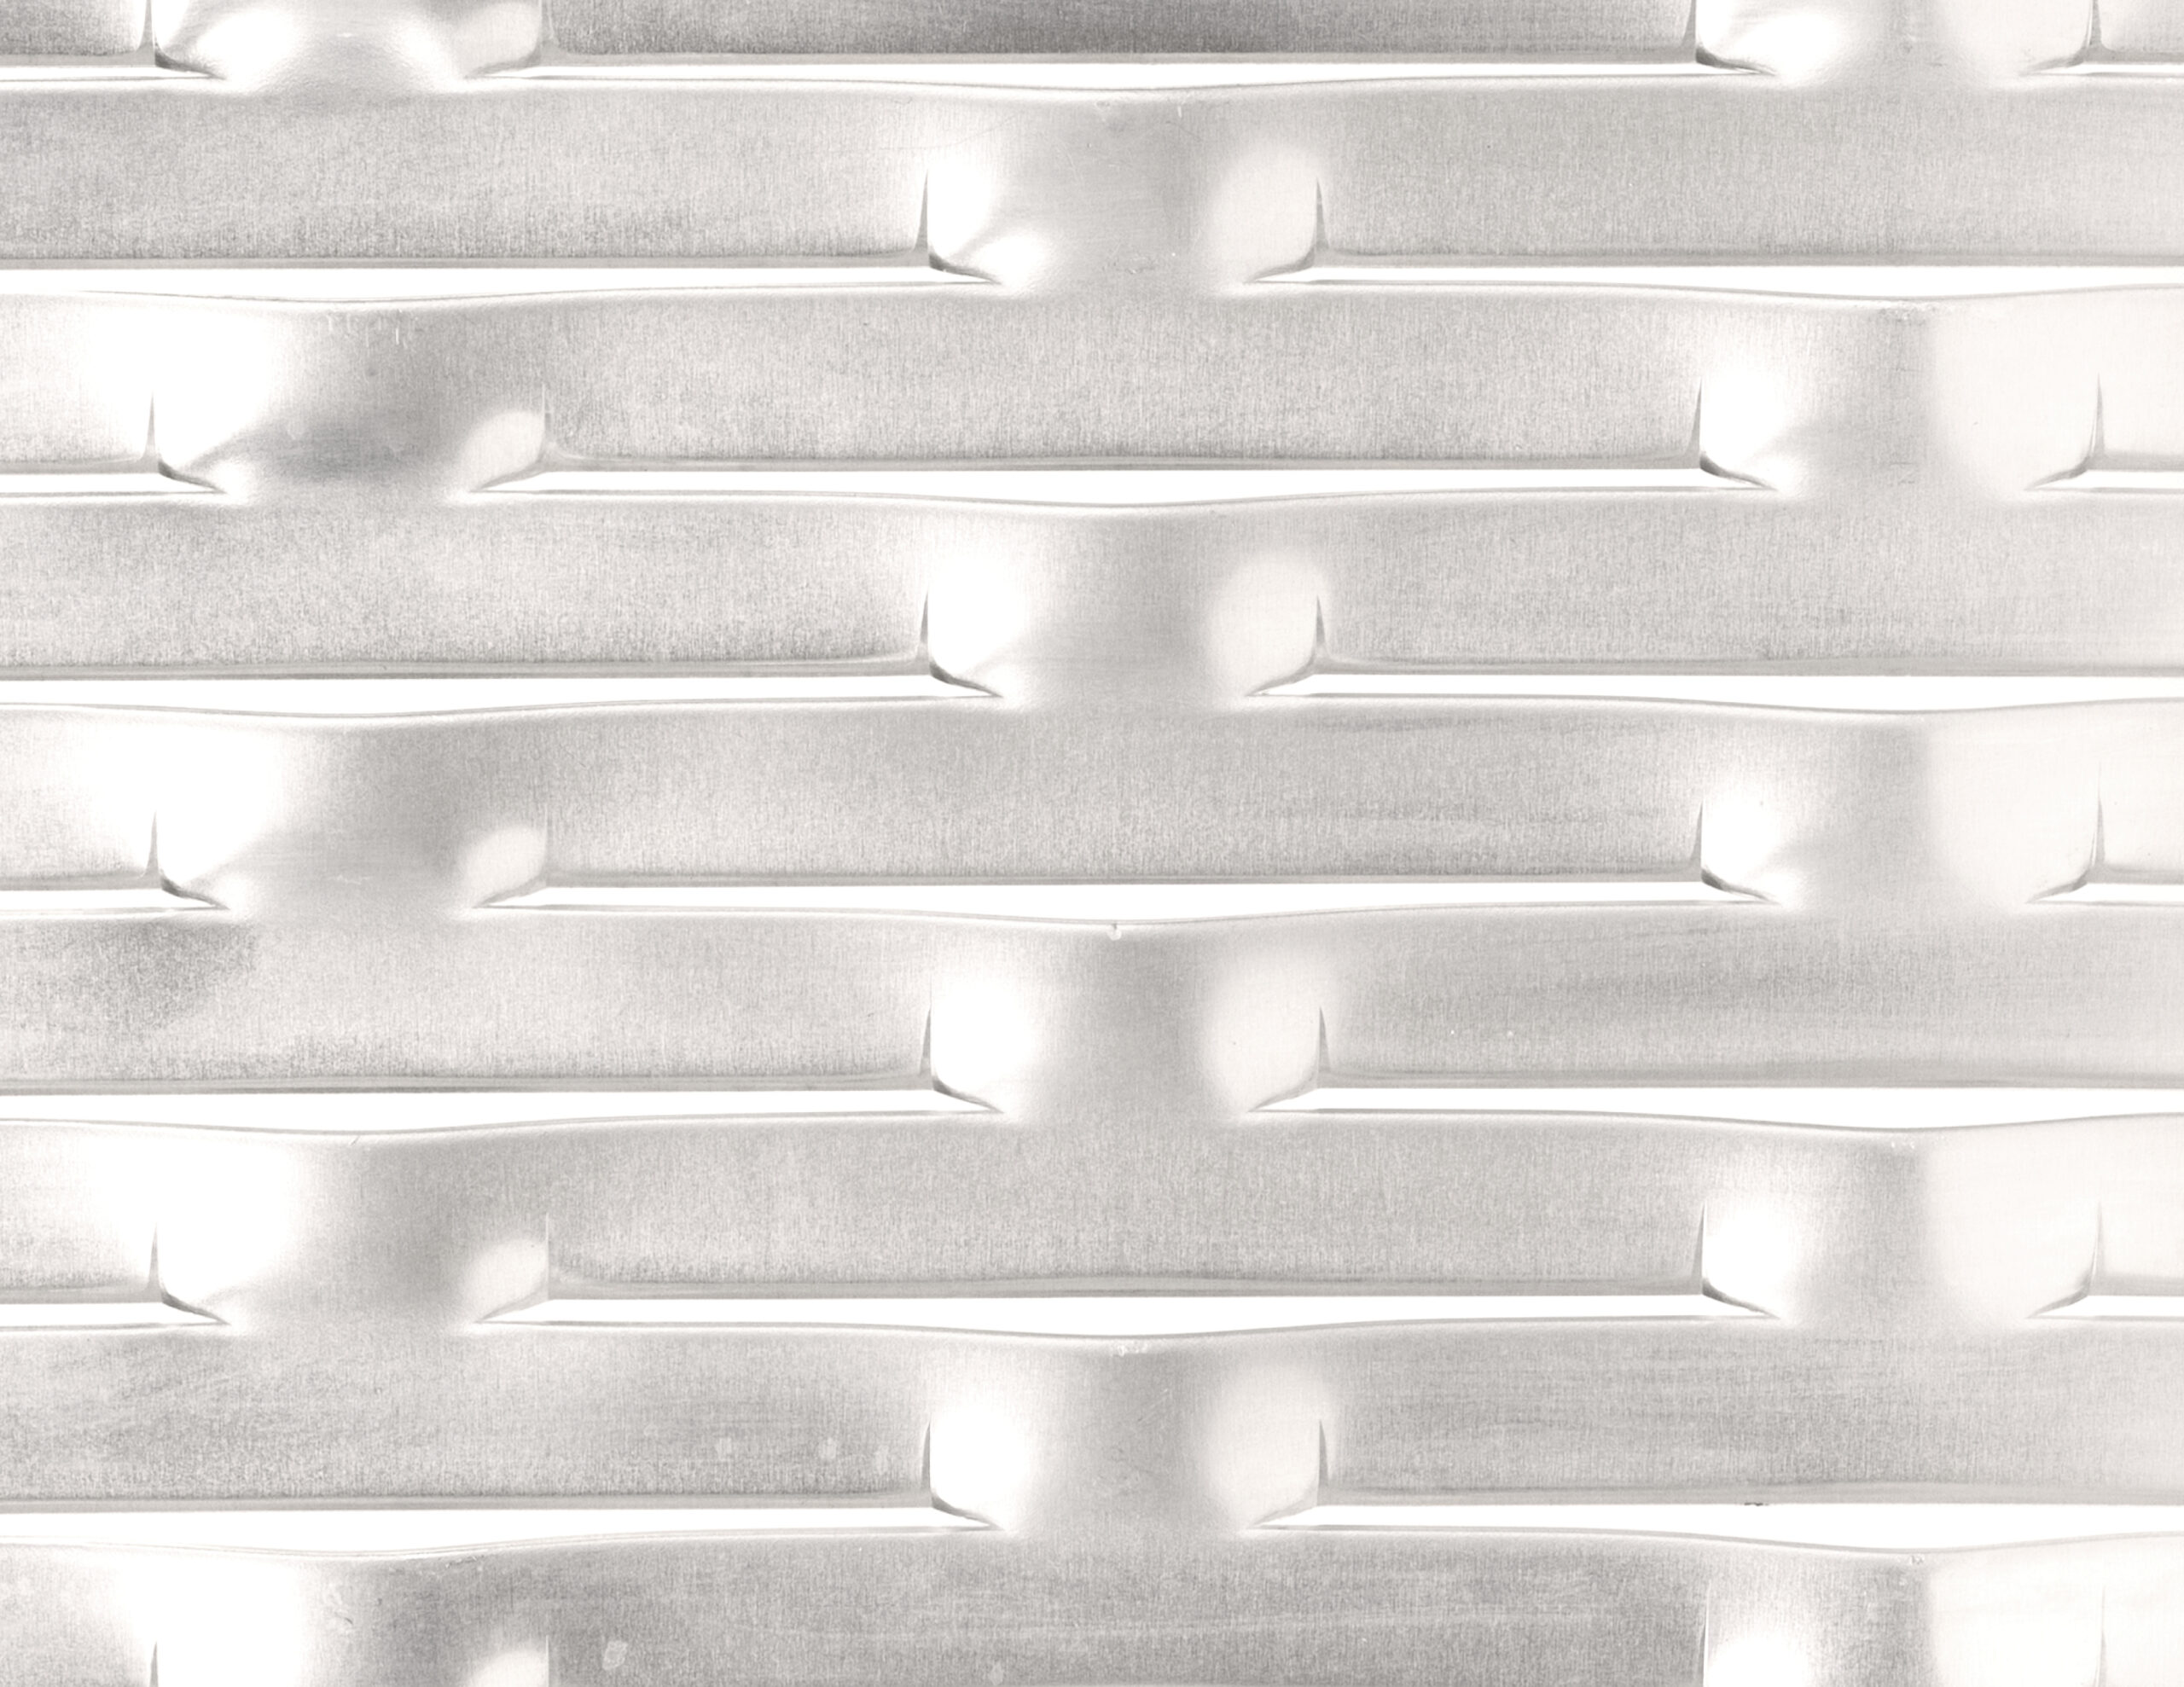
Expanded Mesh
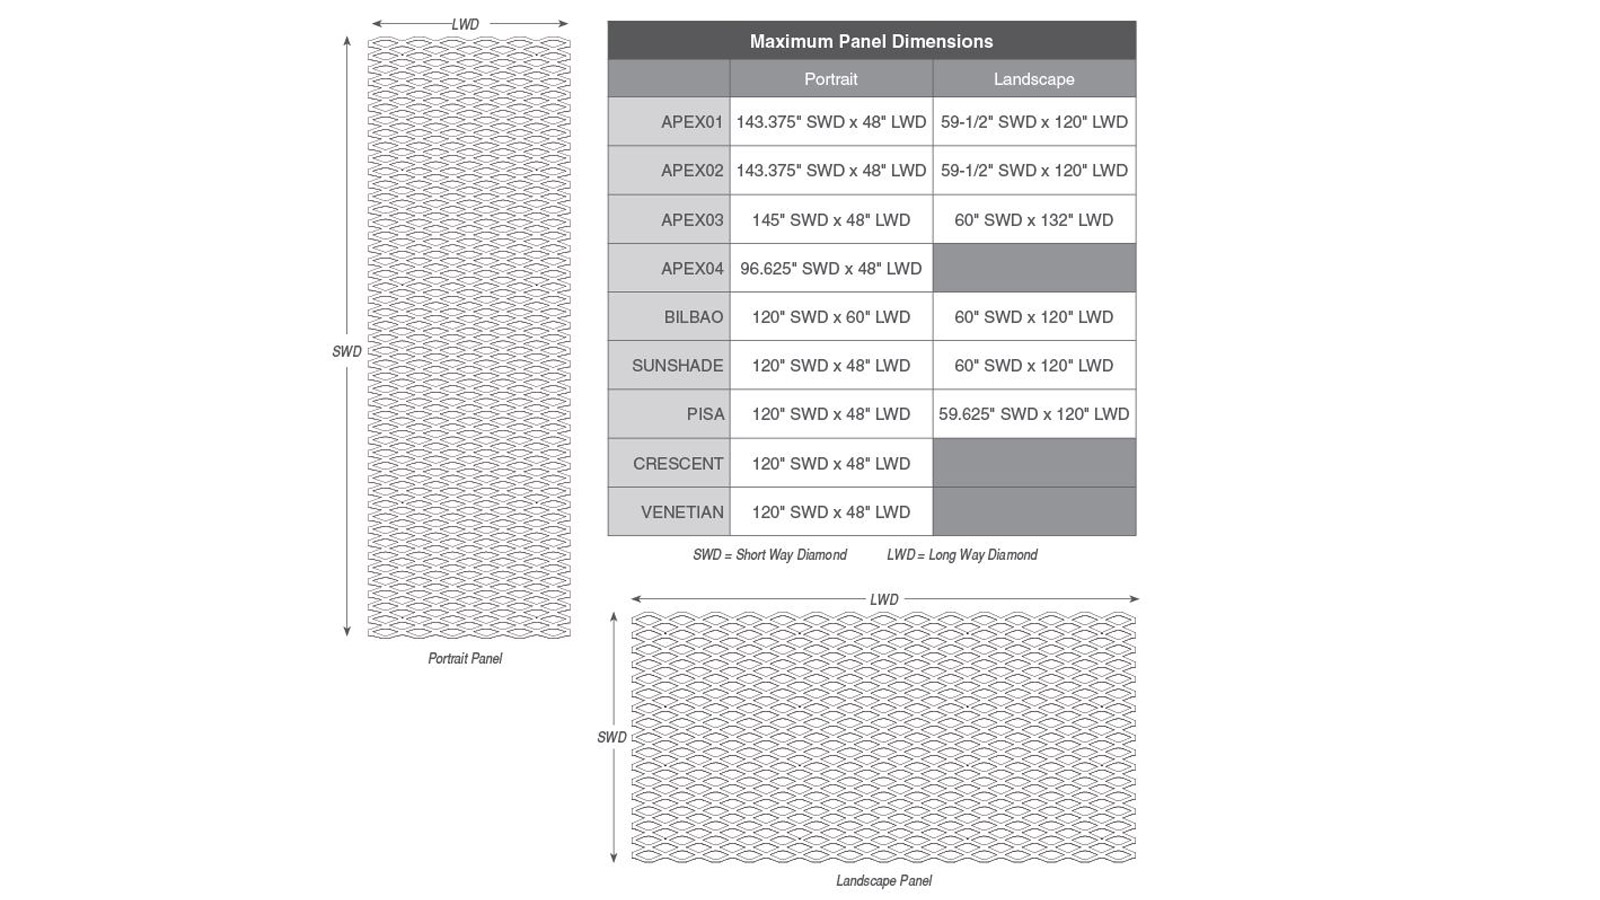
1 – Sizing An Expanded Mesh Panel
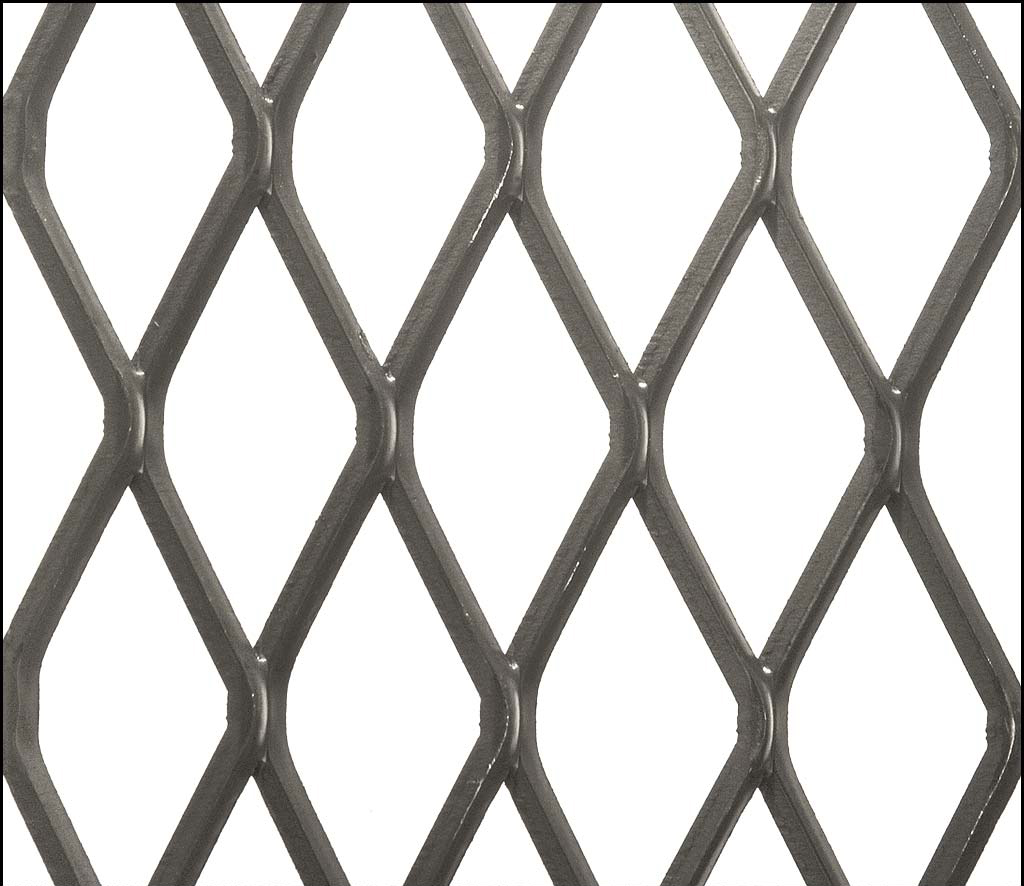
Each expanded mesh panel has unique size constraints based on the diamond opening and other manufacturing demands. The chart here outlines those maximum sizes. When considering design for cost-effective planning, utilizing panels as close to the full size will yield the most efficiency.
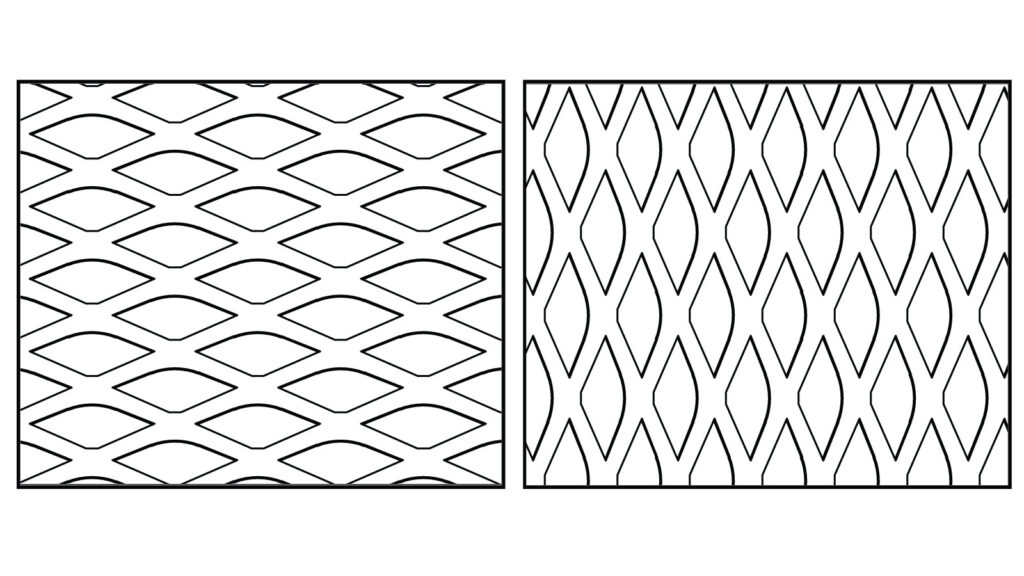
2 – Diamond Orientation
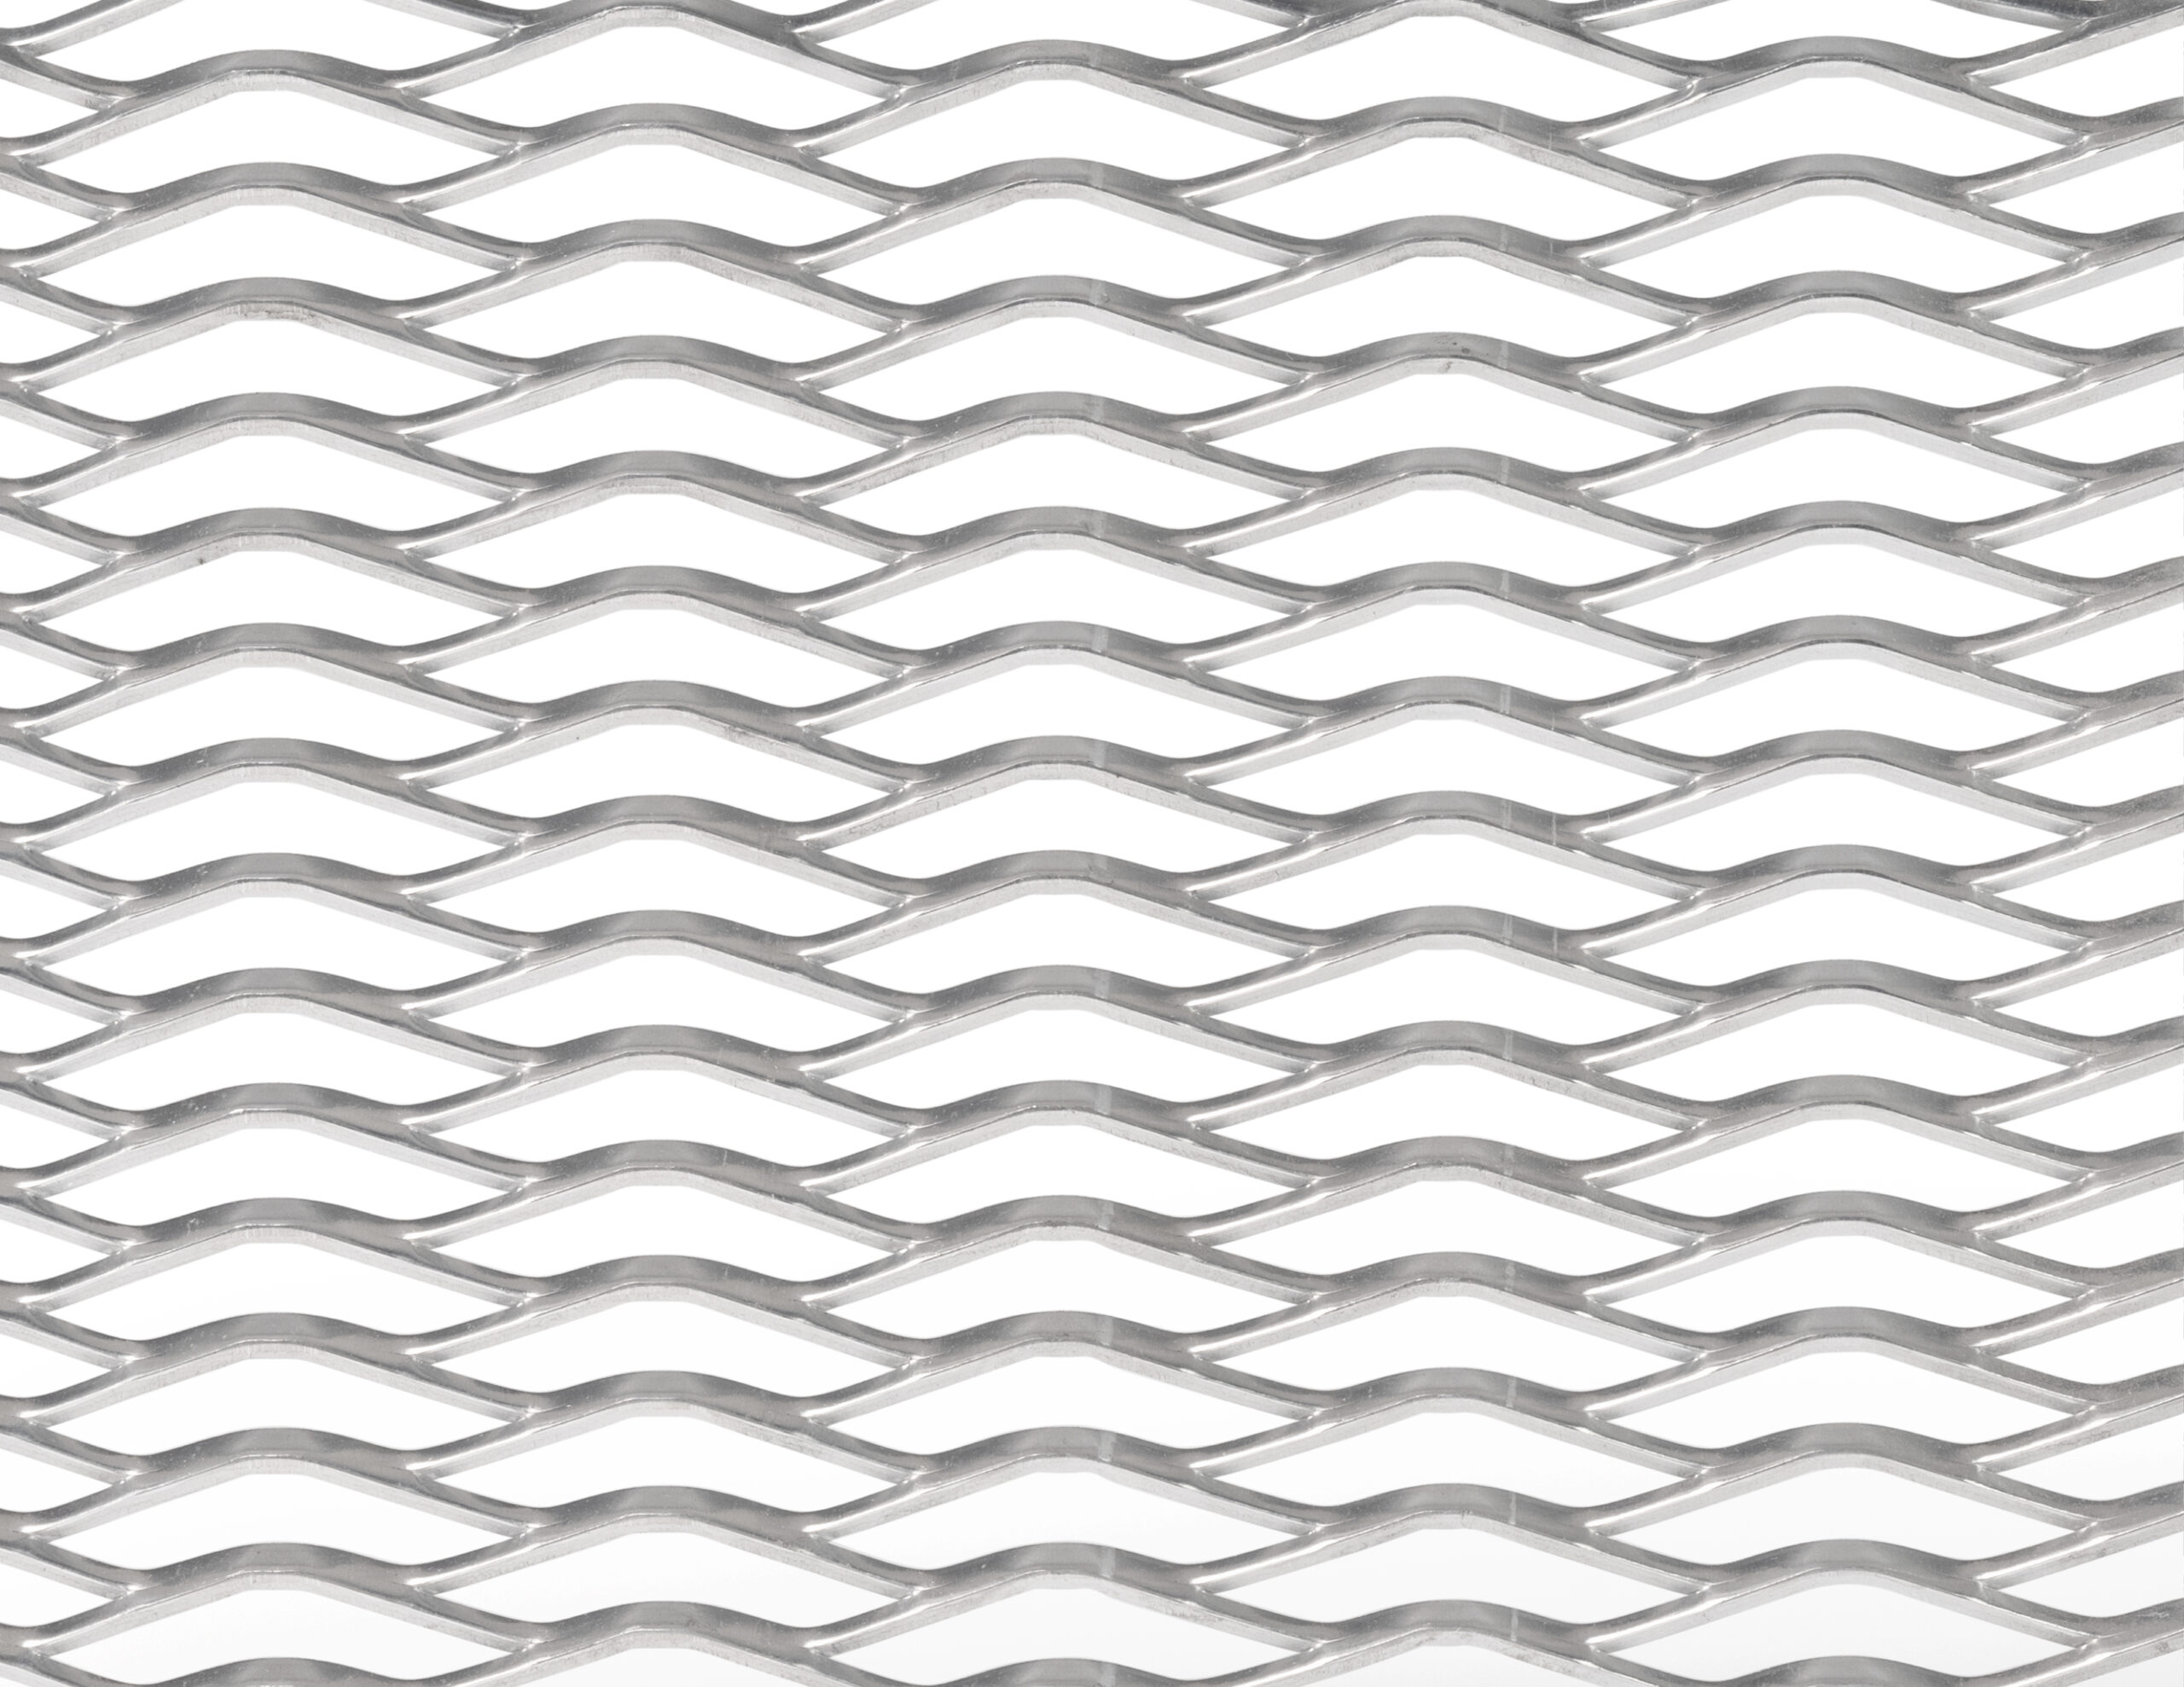
Expanded mesh panels can be installed in any orientation to fit your design. Diamond orientation can be vertical, horizontal, or angled.
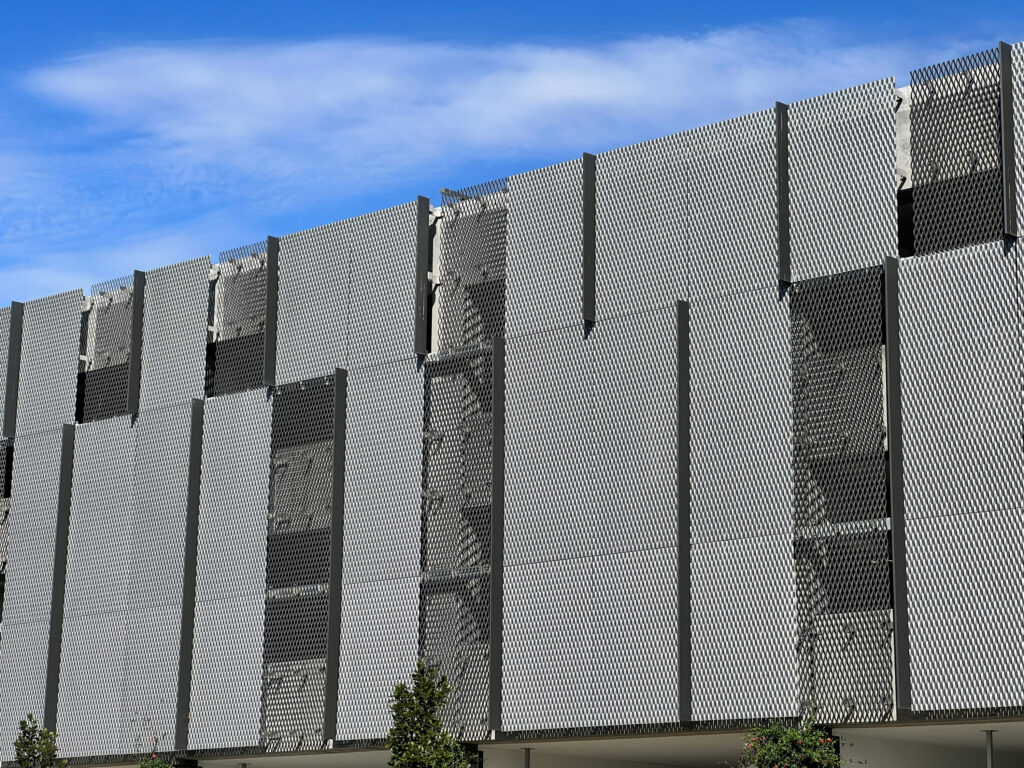
3 – Mesh Direction
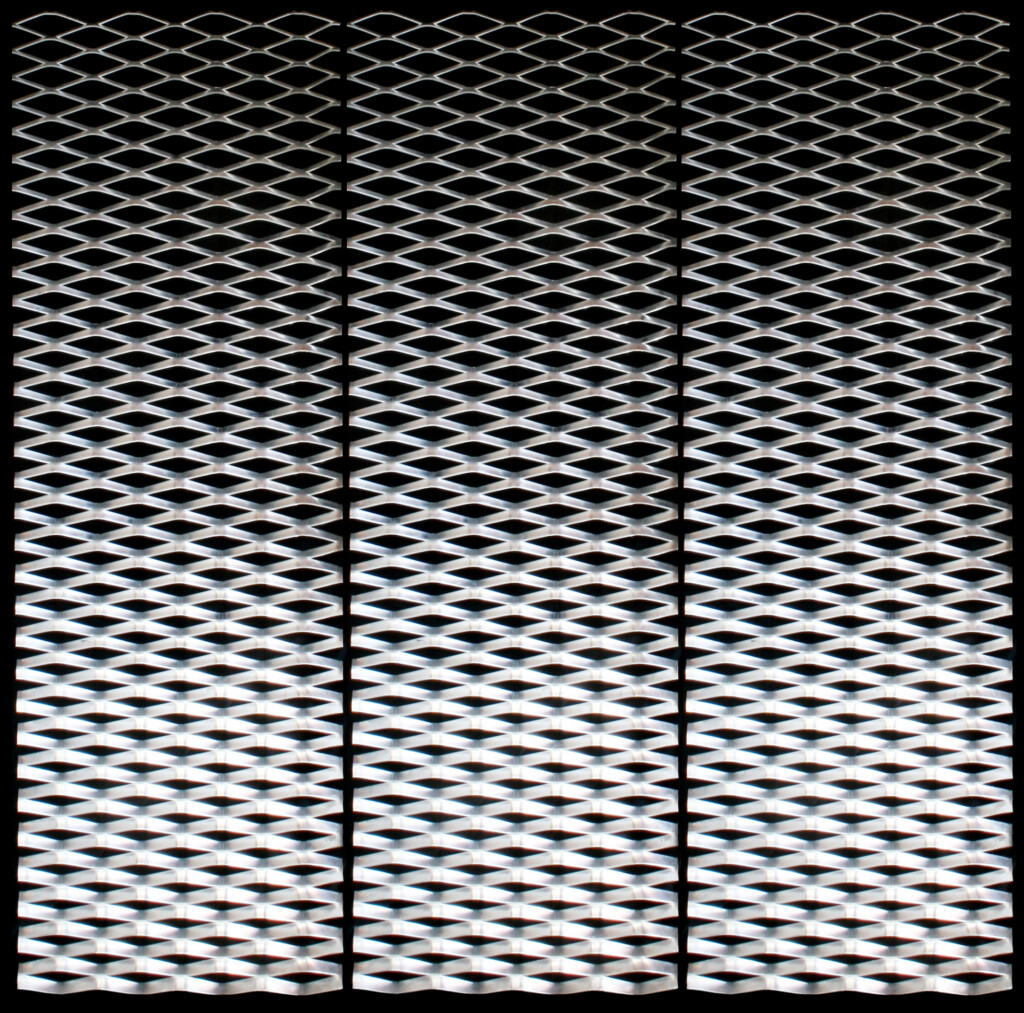
Expanded mesh has a dimensionality to its openings; the panels are not flat. This dimensionality creates directionality and will present different levels of transparency depending on the angle of view.
There is no right or wrong direction to hanging mesh; it depends on your design goals, but noting mesh orientation in your design documentation is essential.
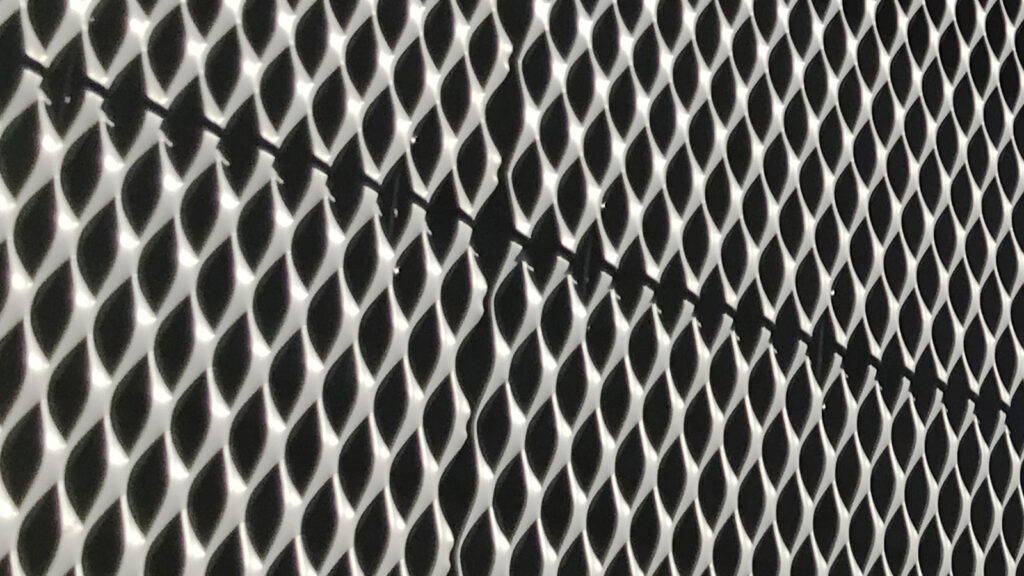
4 – Seamless Mesh Alignment
If you want panels to transition seamlessly from one panel to the next, it is critical to size the panel in even increments (or half increments) of the diamond. So, if you are working with an APEX04 with a long-way diamond dimension of 3”, the panel width should be evenly divisible by 3 or 1.5.
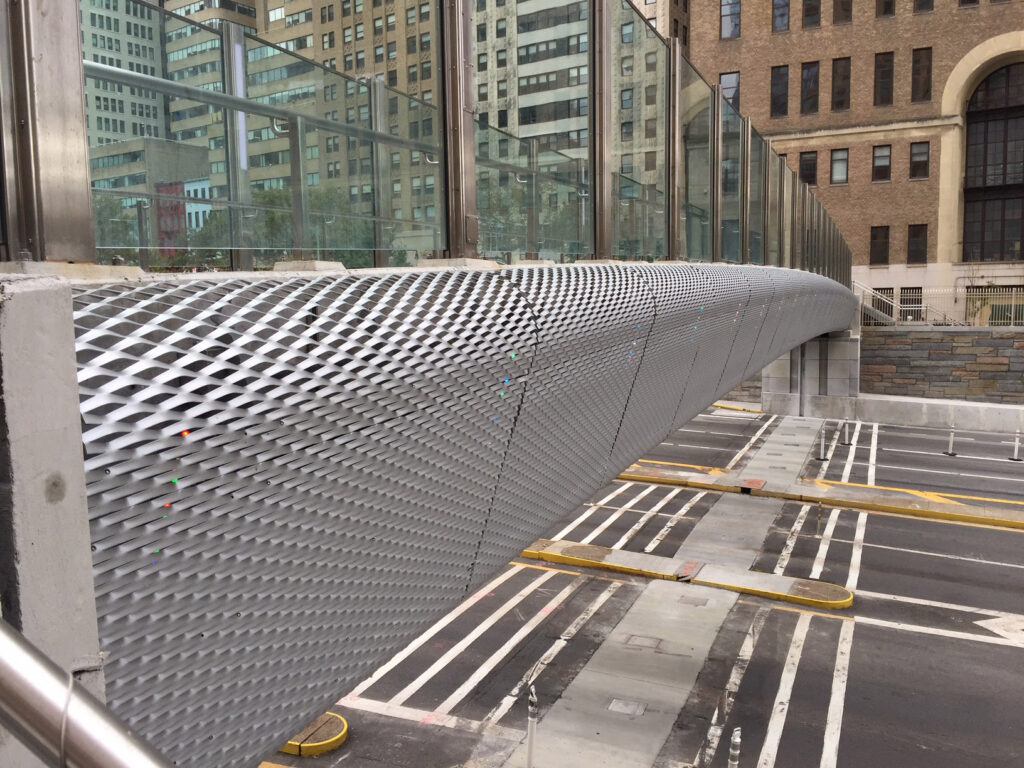
5- Forming Panels
Expanded mesh can be formed and curved much like regular sheet metal; however, keeping a radius of 12” or more is recommended to avoid deforming the expanded mesh’s dimensional nature. Click here to see a mock-up of how this installation was supported.
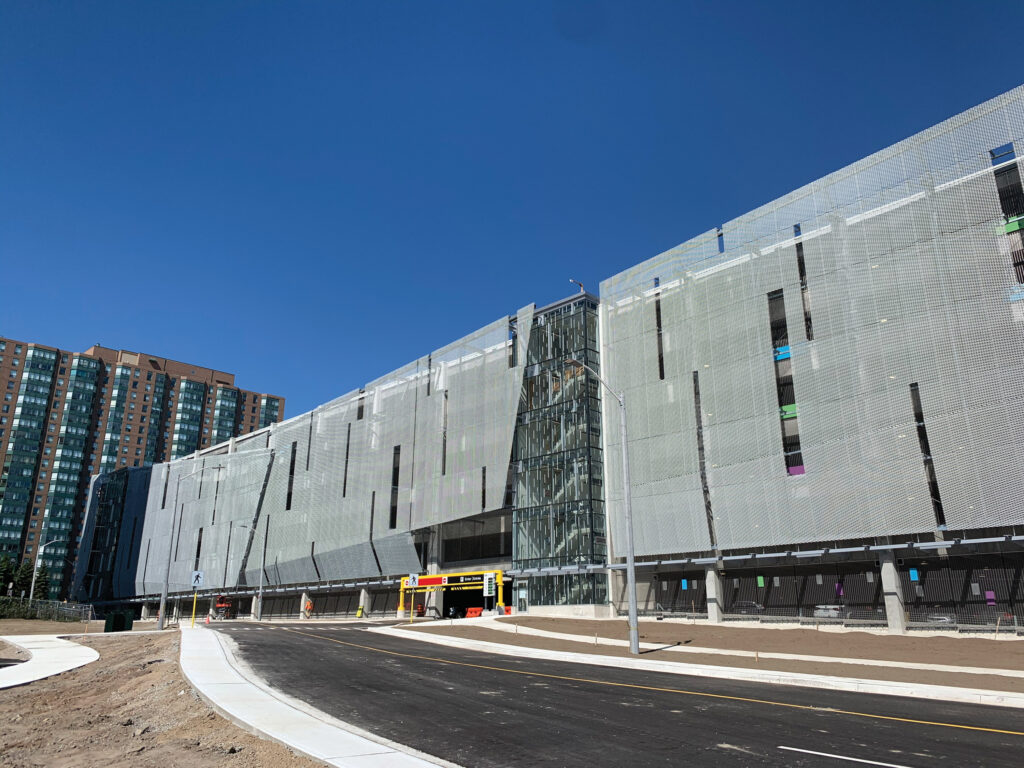
6 – Utilizing Negative Space and Angled Surfaces in Your Design
AMICO can cut and fabricate your panels to meet various shapes and forms. Because of this, some of the most beautiful projects we have been a part of incorporate negative space and angled surfaces into their designs.
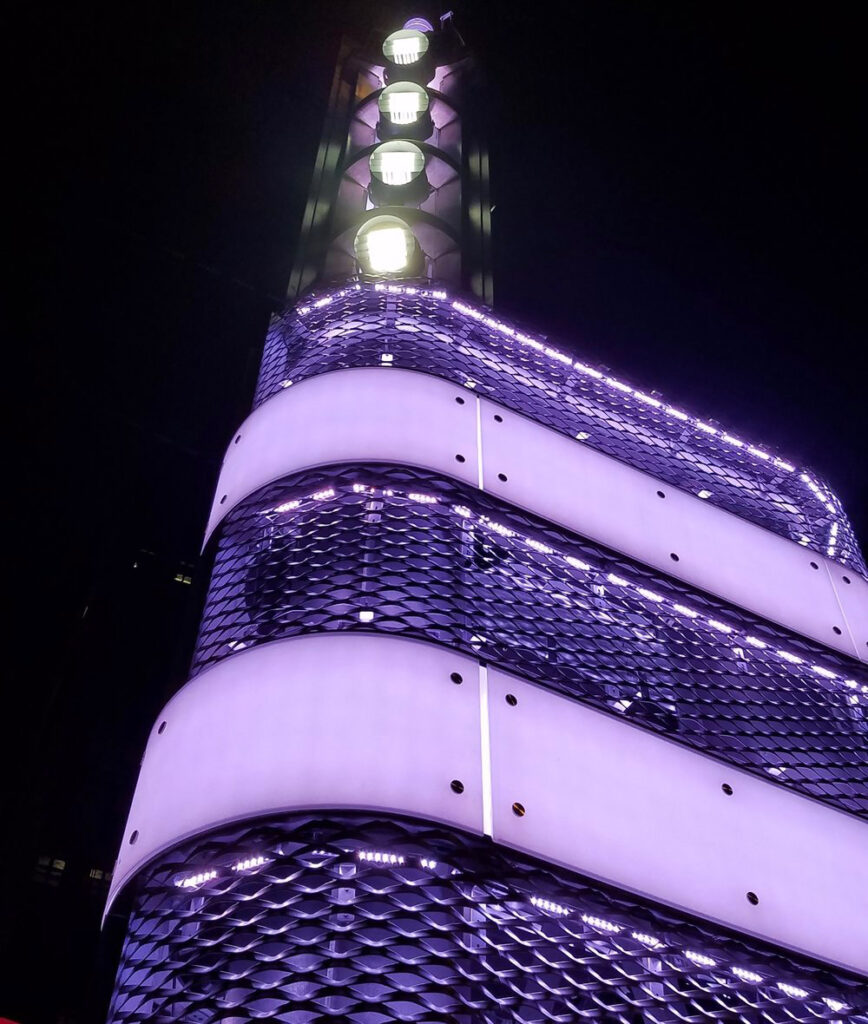
7 – Layers, Texture, and Colors
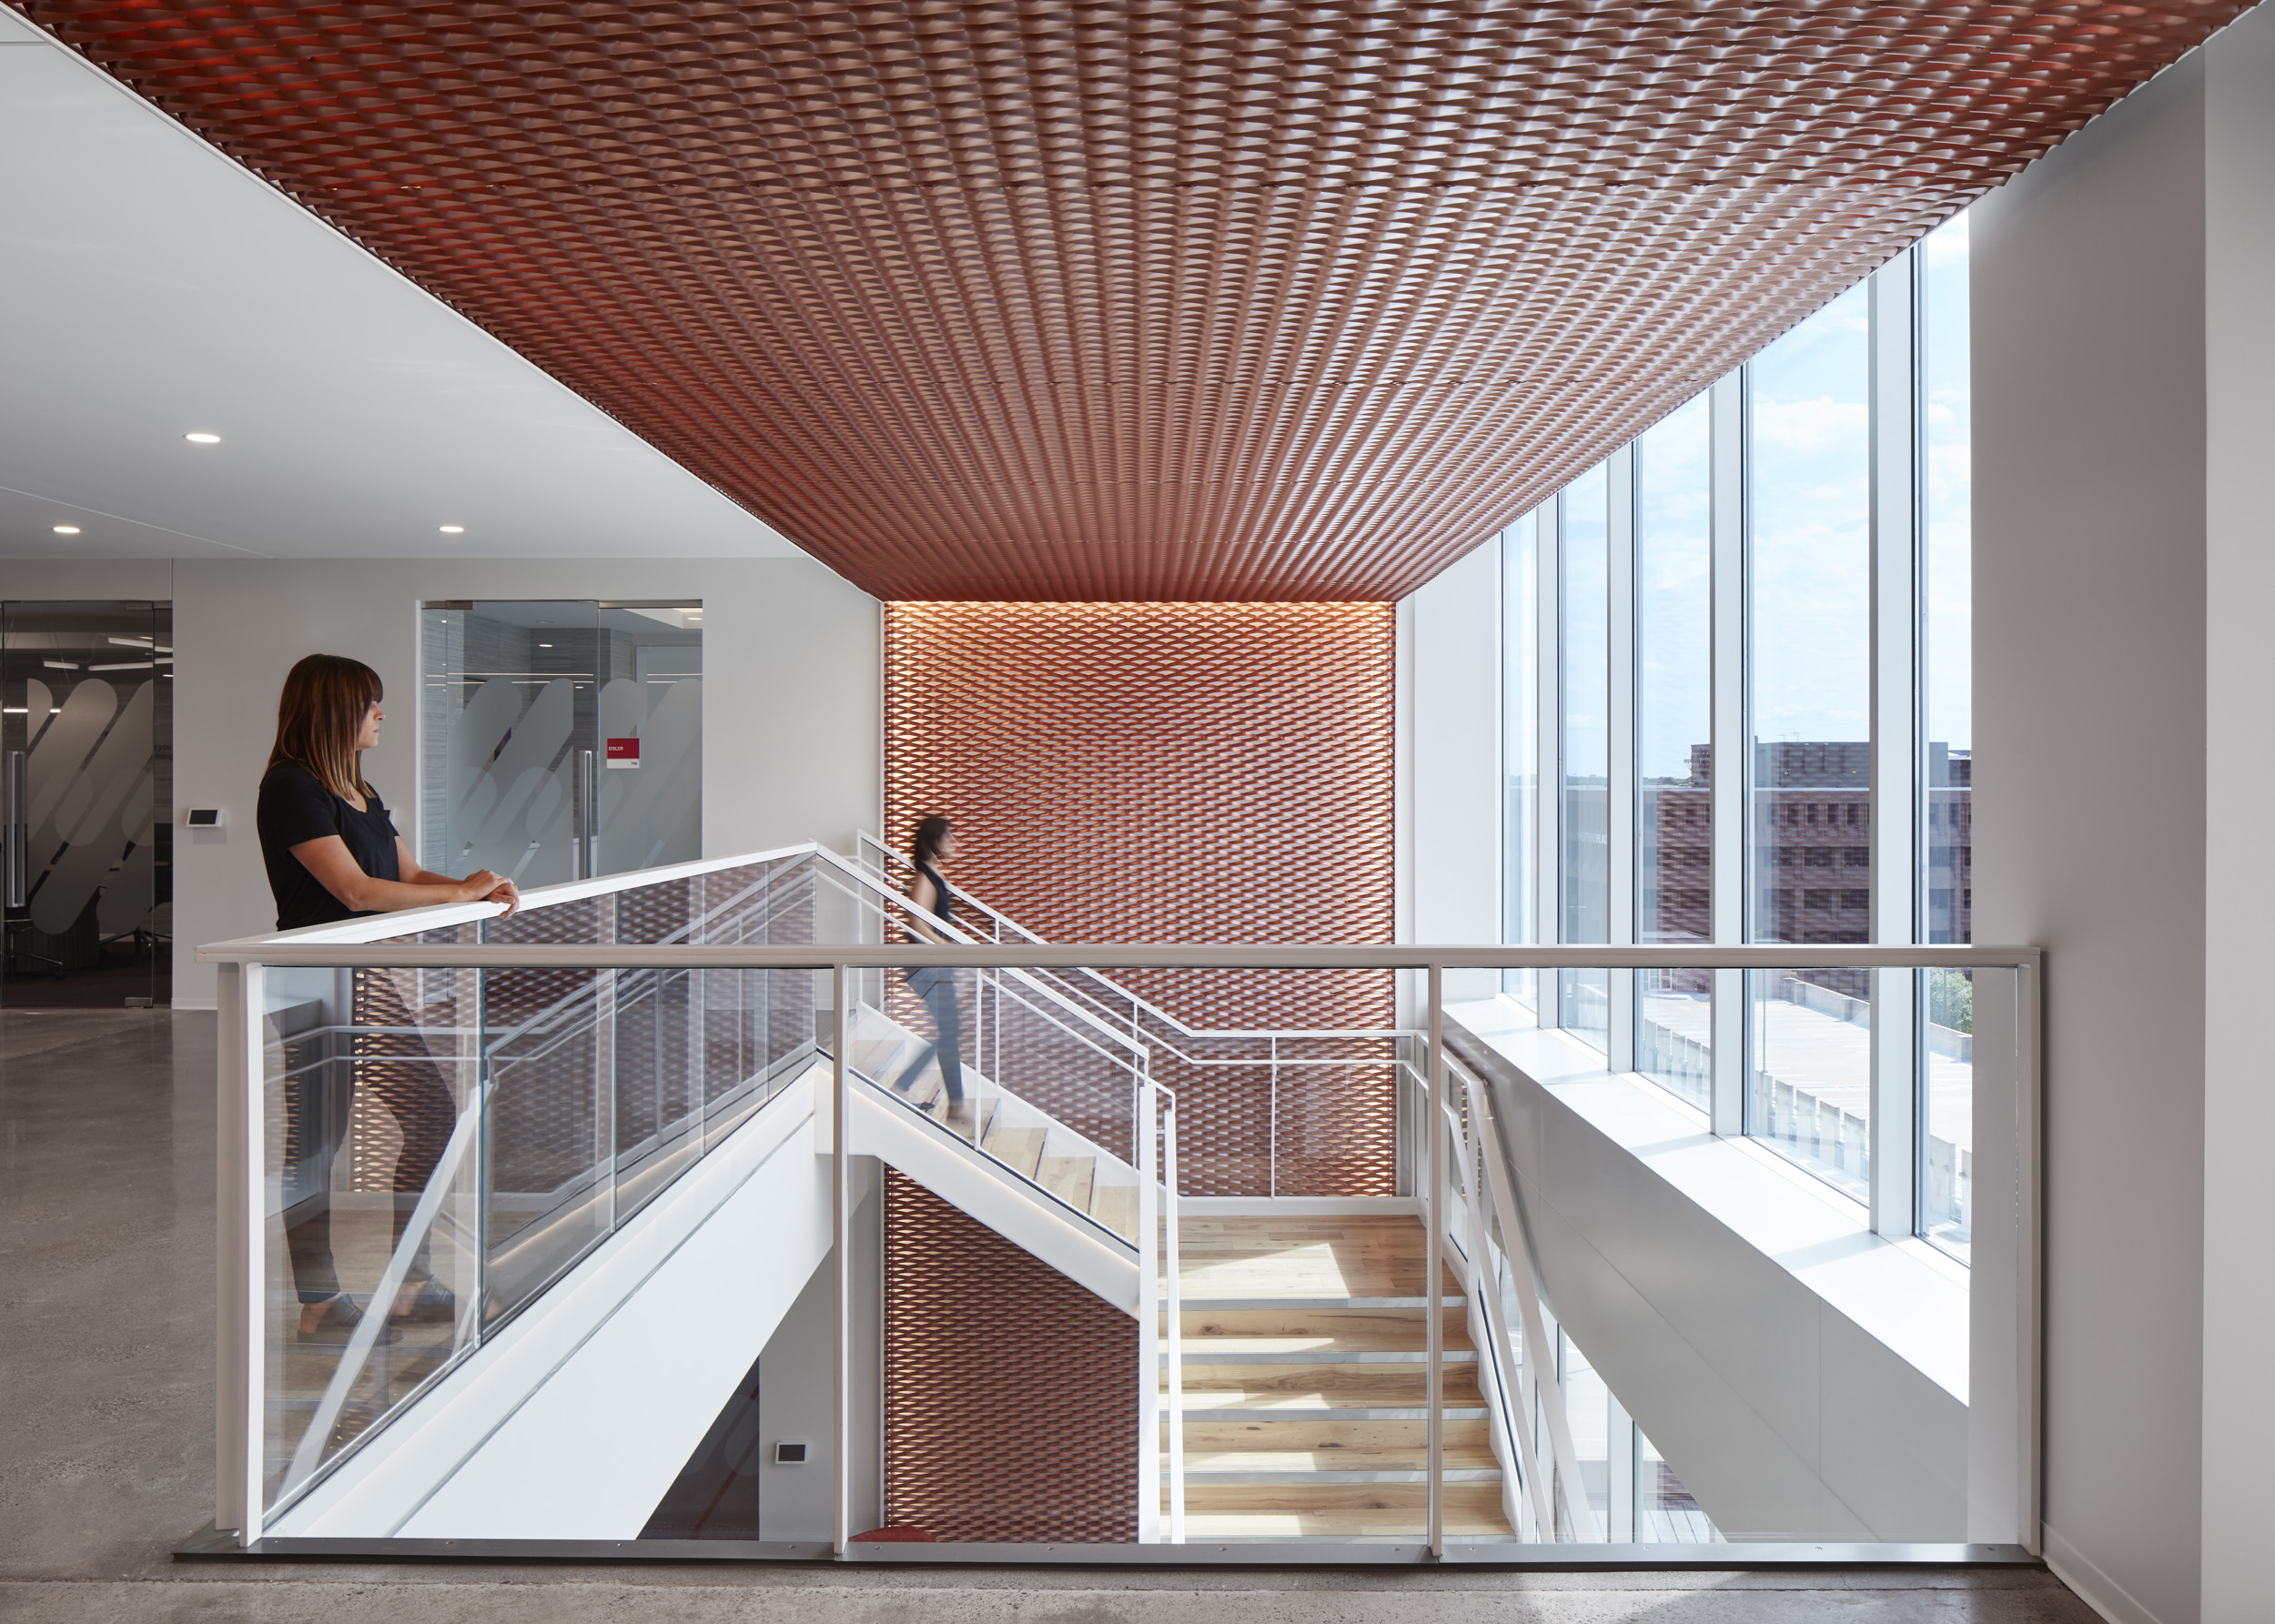
Layering materials, mixing textures, and playing with colors can help create rhythm and variability on your surfaces. In some cases, architects will place a vibrant color behind the expanded mesh so that there is a play between the mesh layer and the layer behind it.
8 – Finishing Details
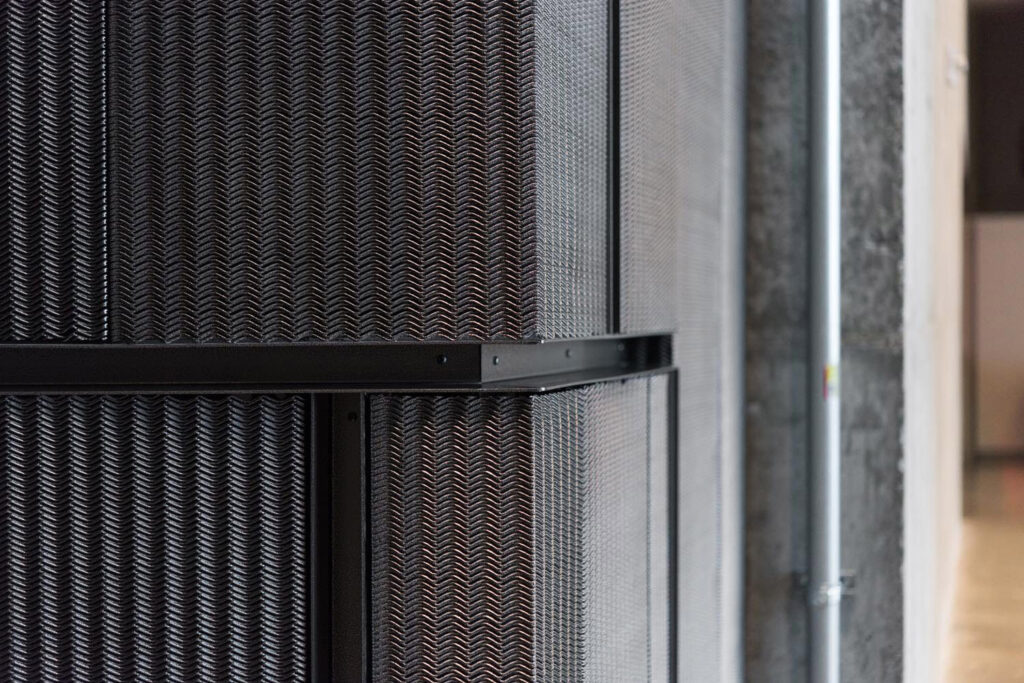
Beyond the expanded mesh, consider the array of possible finishing details your design could include, especially for those installations with close human interaction. A carefully placed reveal or welded frame could add visual interest, making your design go from good to great.
9 – Lighting
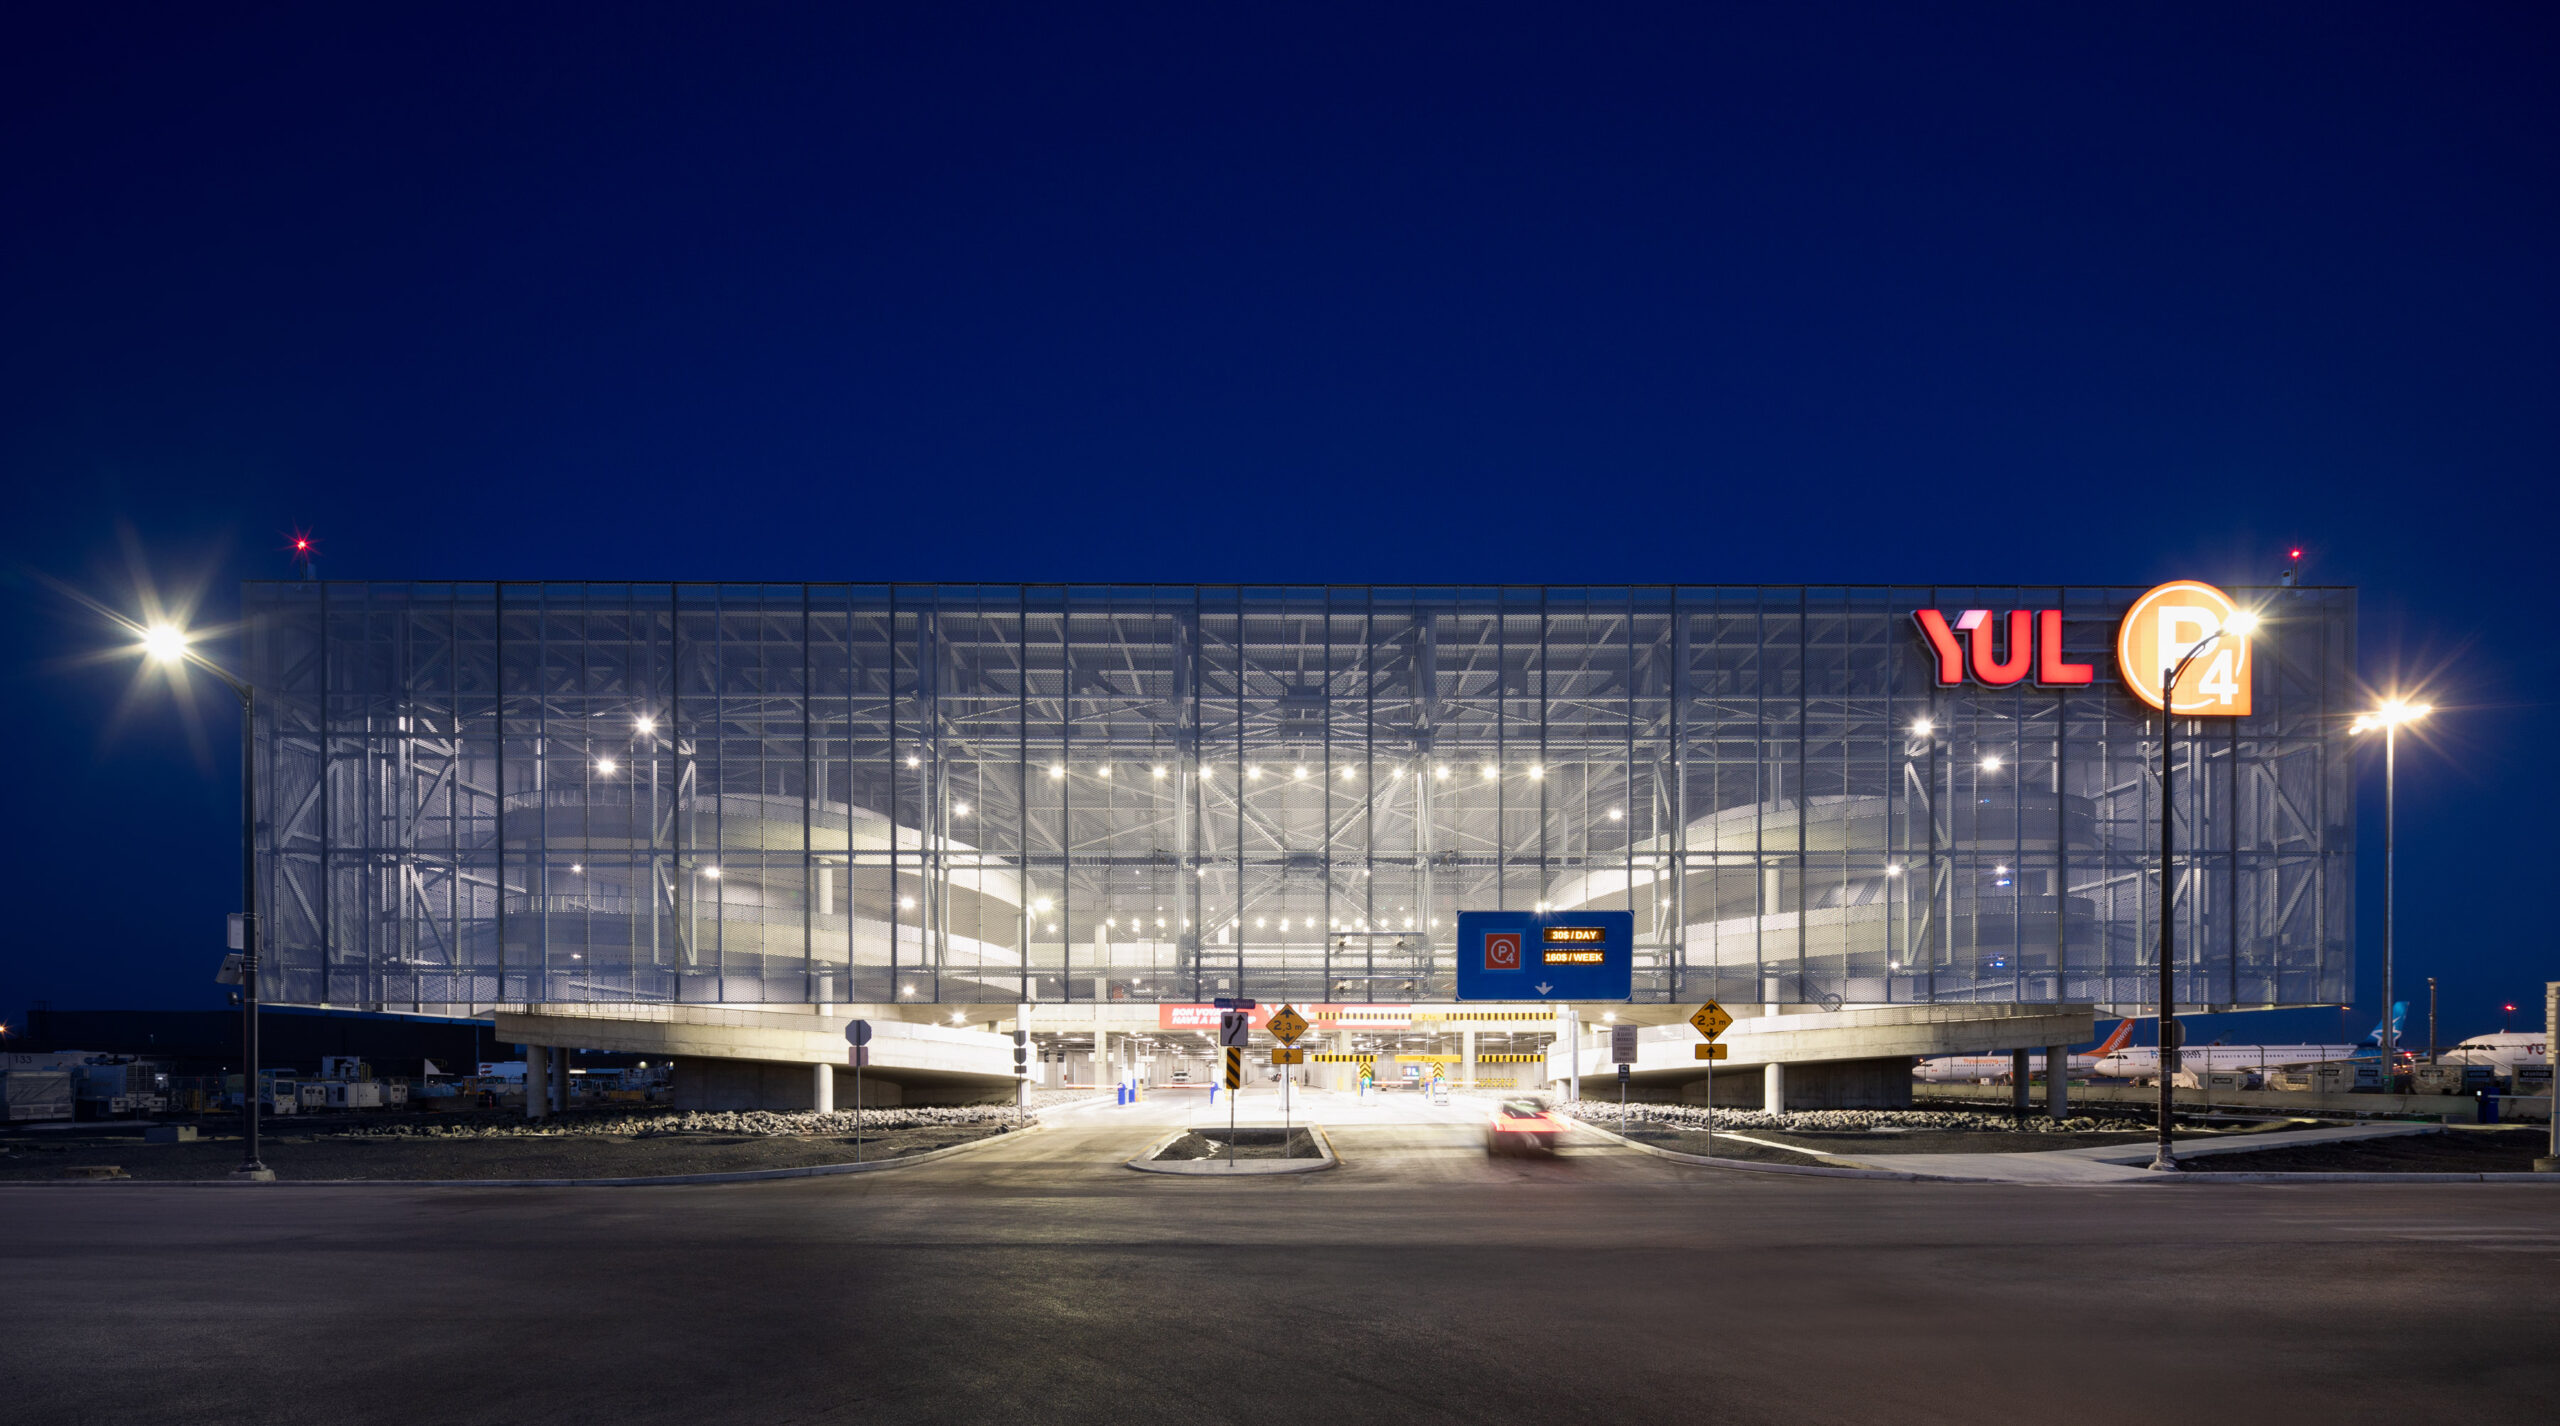
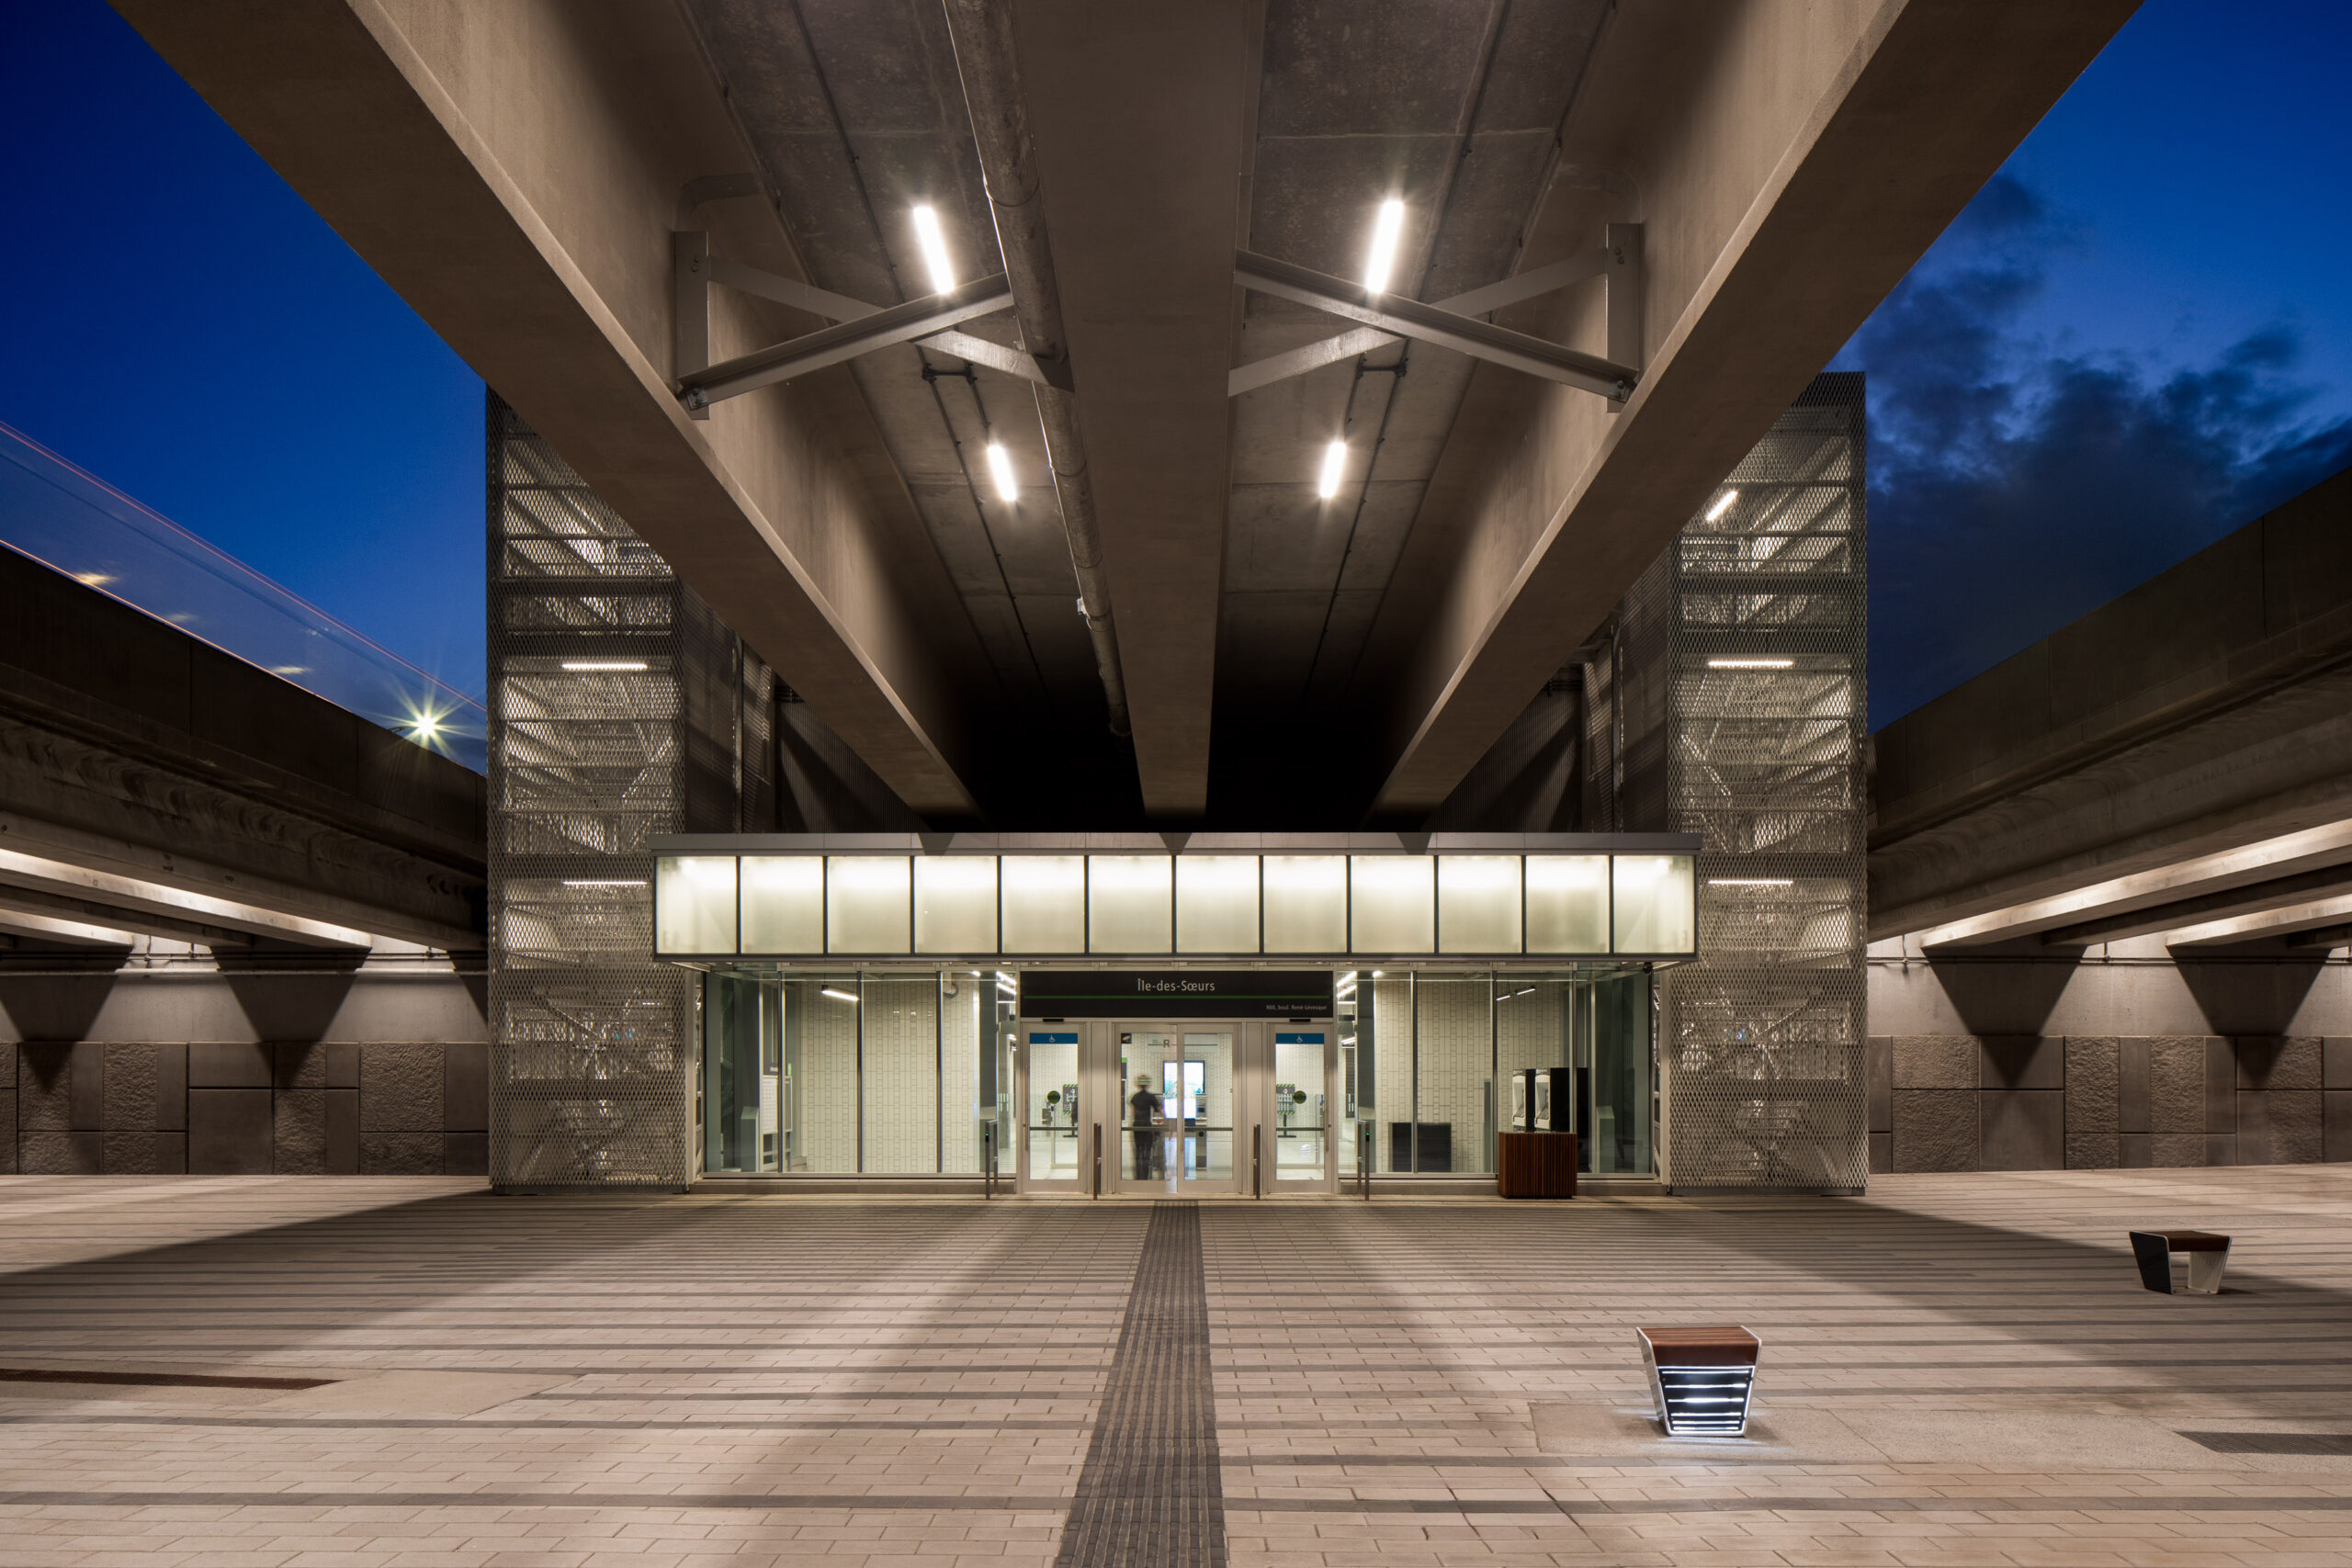
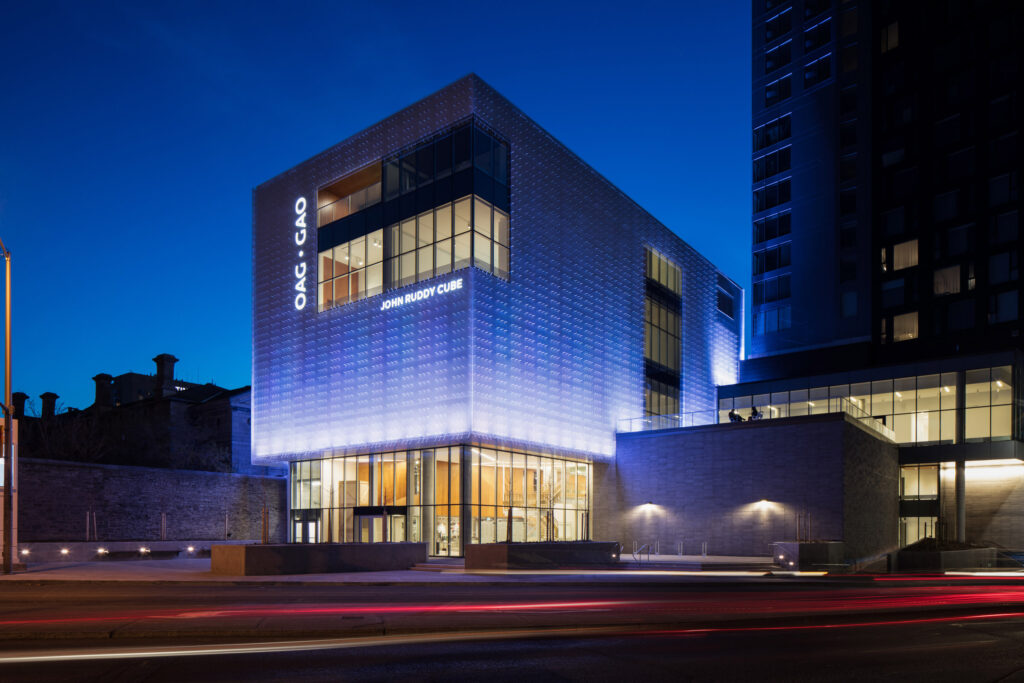
Because of the texture and open nature of expanded mesh, the material naturally lends itself to dramatic lighting with amazing reflections, glowing, and shadow play. A solid lighting plan will significantly improve your design if your budget allows it.
10 – Selecting a Finish
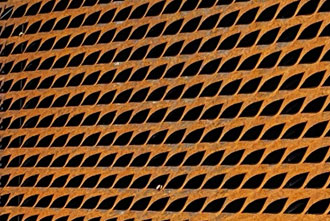
AMICO is not tied to a single finish method, though most of our installations are powder-coated or fluoropolymer-painted. Natural finishes like weathering steel are also possible for our manufacturing process. For a deep dive into how you go about selecting a finish, click here
11 – Adding Imagery
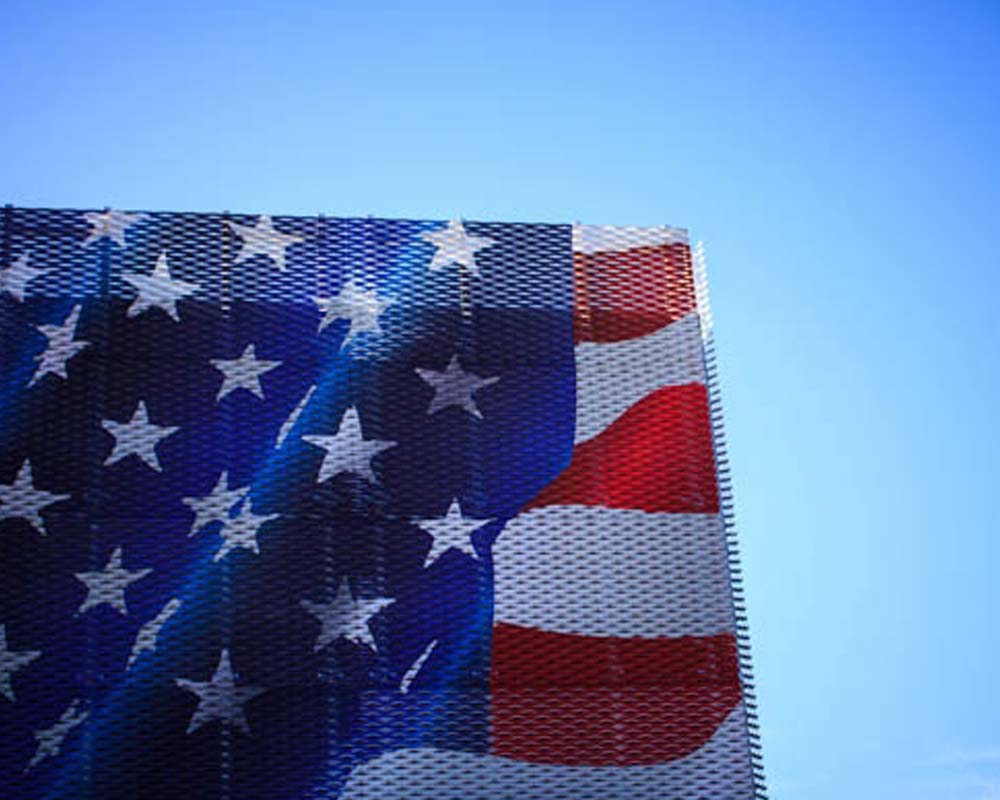
In some cases, you may need imagery applied to your expanded mesh. If this is the situation, AMICO can help with a process called Image Sublimation. Through a unique powder-coating process, the image of your design and choice can be transferred onto the surface of our metals.
12 – Attachment
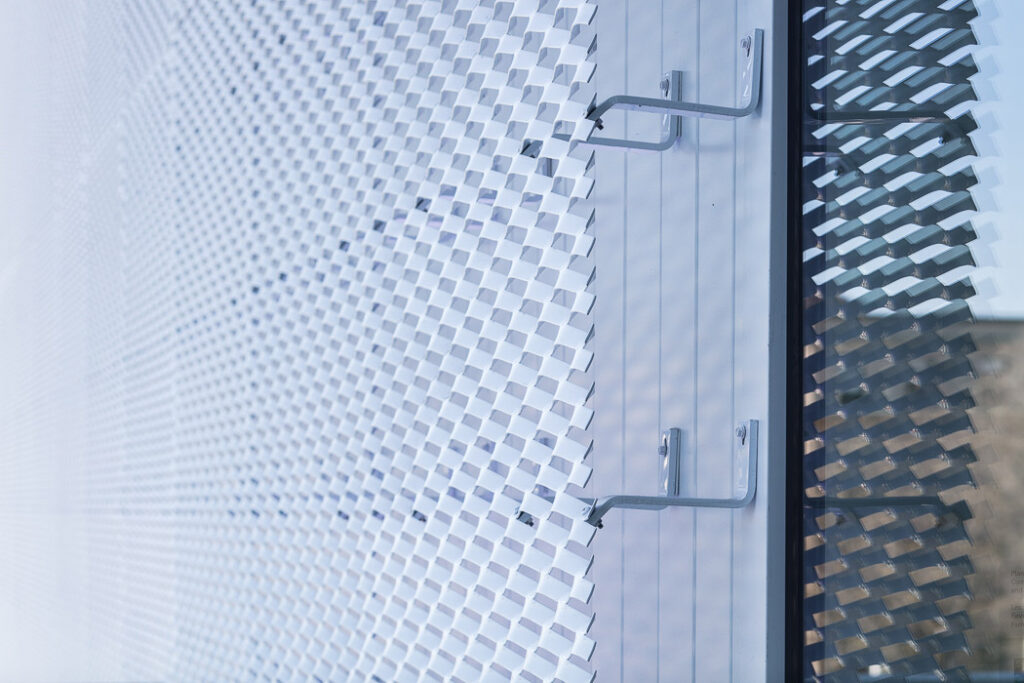
Support and attachment of the mesh in your design is a critical topic. AMICO has load tables can help guide how far attachment points must be spaced based on various PSF criteria.
Perforated Metal
1 – Defining the panel size
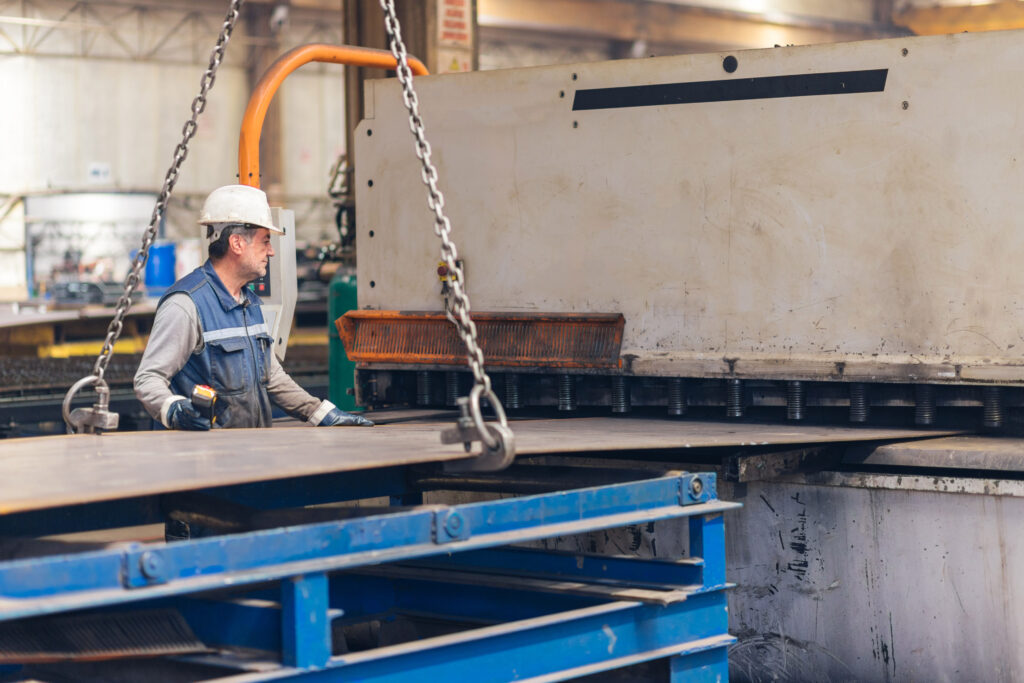
Standard sheets are typically 4’x8’, 5’x10’, and 5’x12’
2 – Defining your transparency level
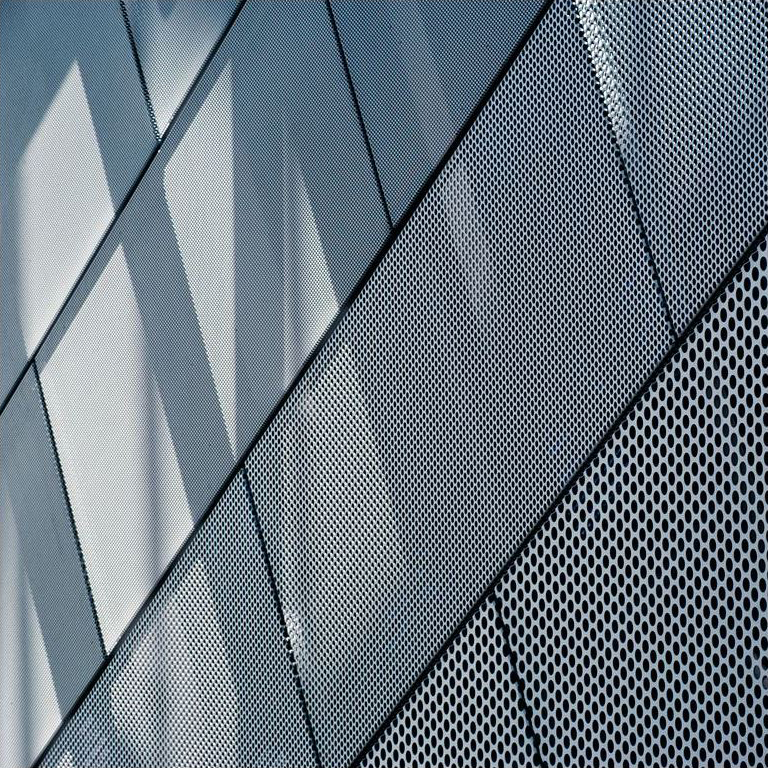
Many designers start a project by defining a transparency target. For perforated metal, 70% open is the maximum.
Depending on your design goals from there, knowing if you want your material to be more or less transparent will be critical.
3 – Define your pattern
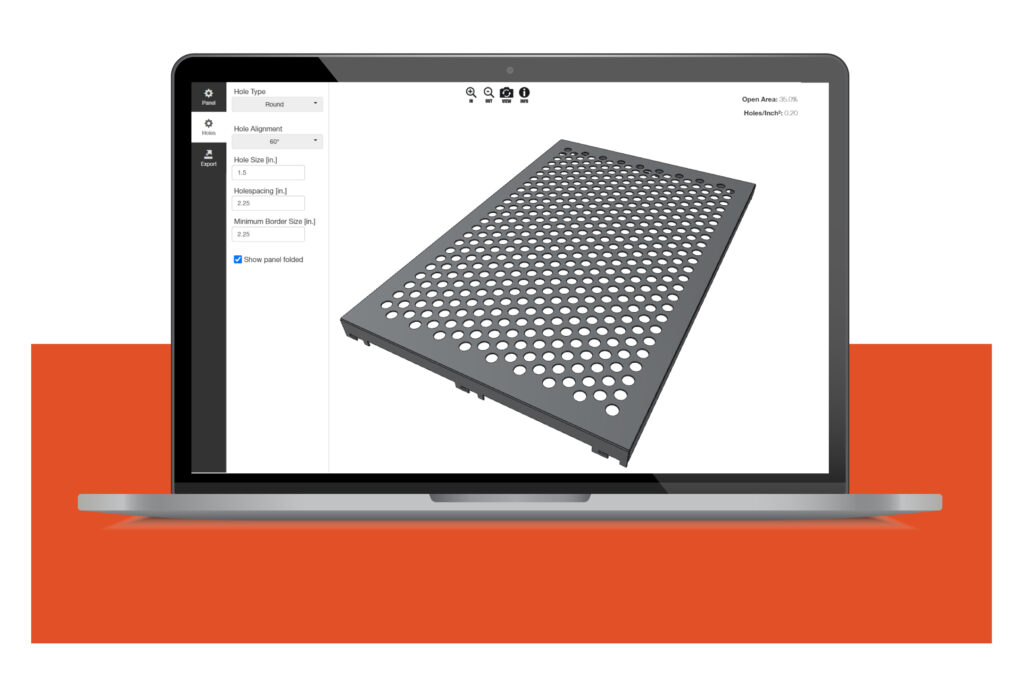
Designing a perforated pattern can be surprisingly complex with all the different manufacturing constraints. To help simplify this process, we created an online configurator that allows you to generate and see different patterns dynamically and get an immediate calculation on your level of transparency. Click here to visit our configurator.
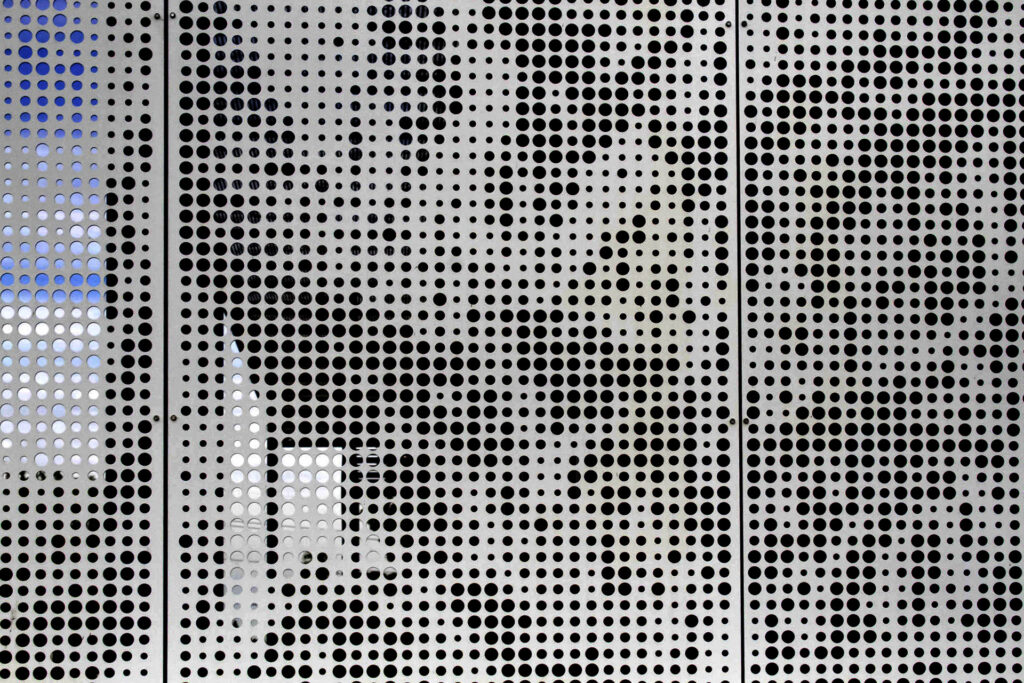
4 – Explore Custom Patterns
If you are looking for perforated patterns that vary from line to line, AMICO can assist through perforation manufacturing on one of our turret presses.
This process allows you, the designer, to create numerous hole sizes with precise placement.
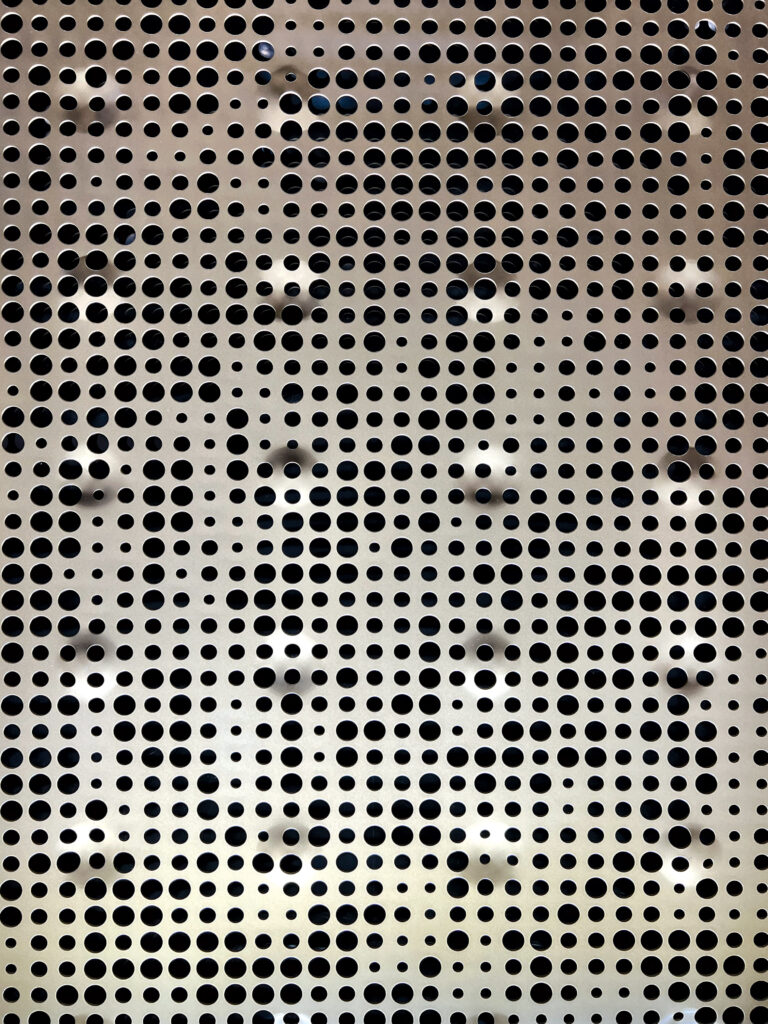
5 – Consider Dimpling
If your perforated panel surface needs some dimensionality, our turret presses can also provide dimpling. This feature is manufactured by the turret press that grabs a rubber-forming tool instead of a punch, resulting in a formed divot in the metal surface.
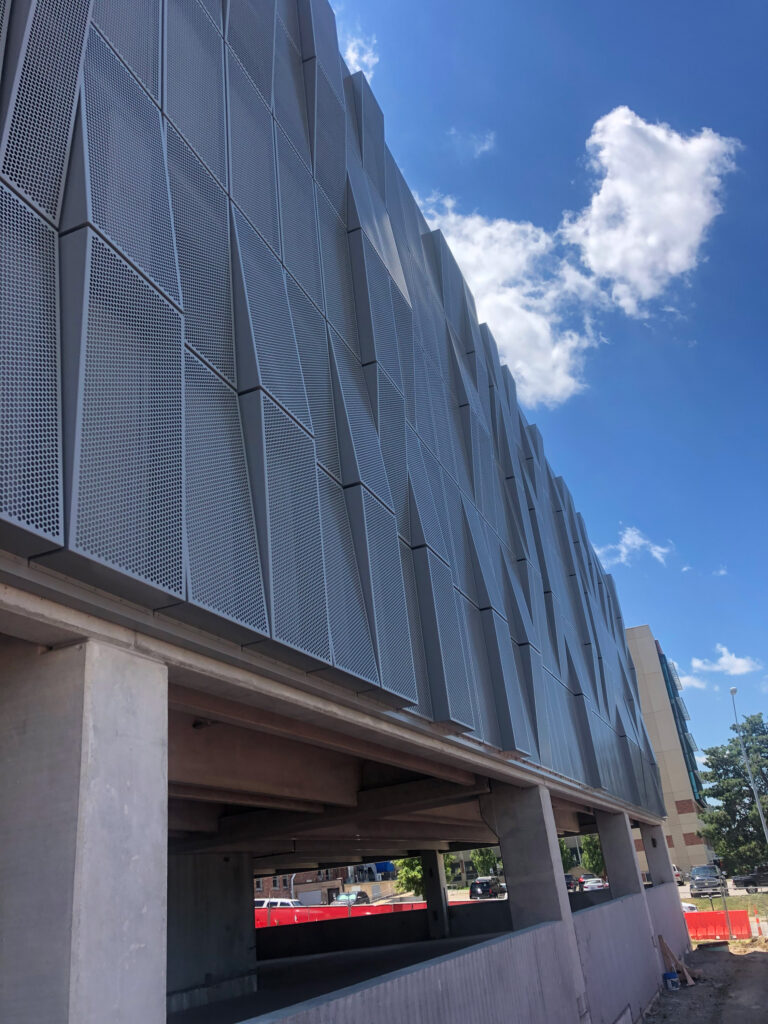
6 – Designing Beyond a Flat Panel
Perforated metal can be break formed and designed in a myriad of complex ways beyond just a flat panel that gives more dimensionality to your design. This design feature brings a degree of complexity and cost to the project but is often worth the effort in terms of elevating the design.
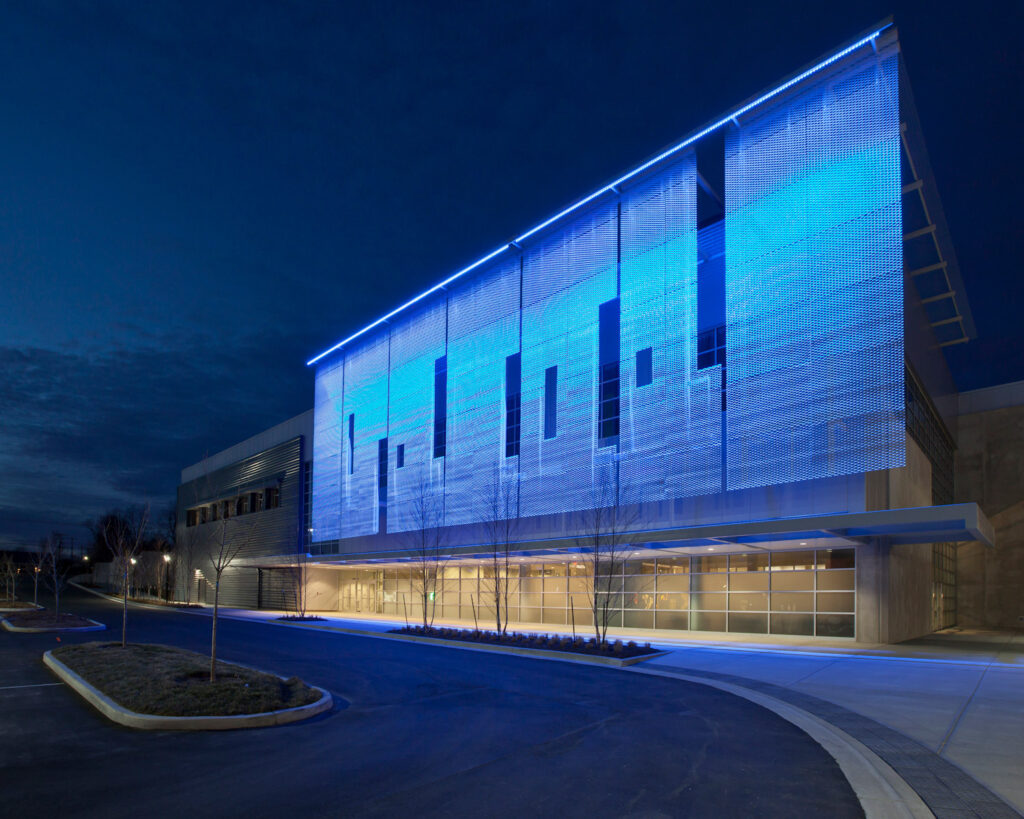
7 – Prepare for Lighting
Because of the texture and open nature of expanded mesh, the material naturally lends itself to dramatic lighting with amazing reflections, glowing, and shadow play. A solid lighting plan will significantly improve your design if your budget allows it.
8 – Selecting a Finish
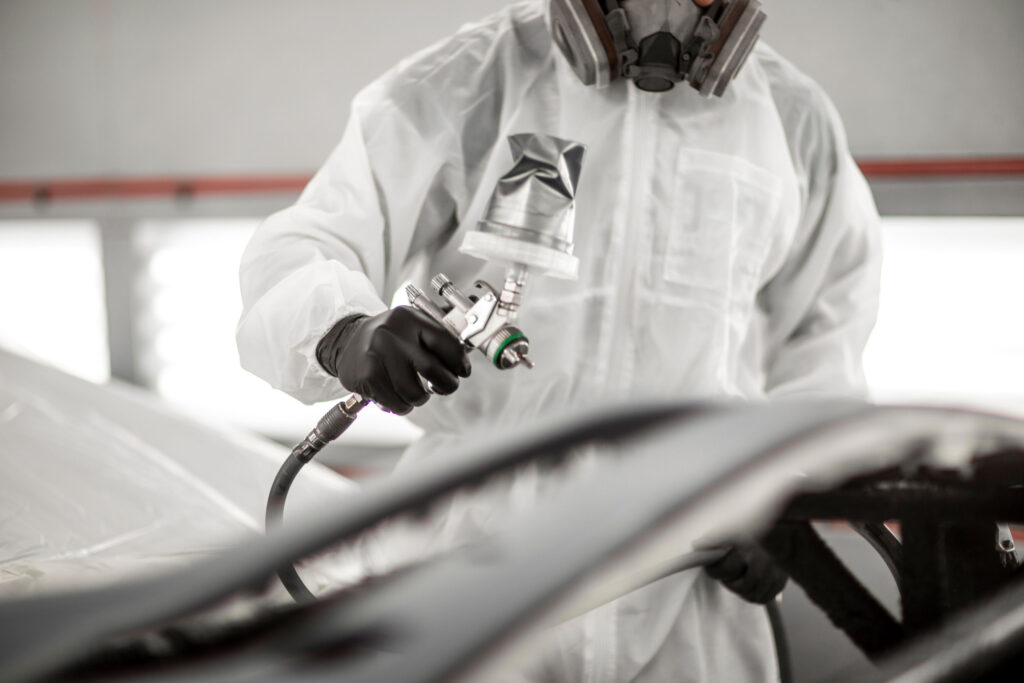
AMICO is not tied to a single finish method, though most of our installations are powder-coated or fluoropolymer-painted. Natural finishes like weathering steel are also possible for our manufacturing process. For a deep dive into how you go about selecting a finish, click here

9 – Adding Imagery
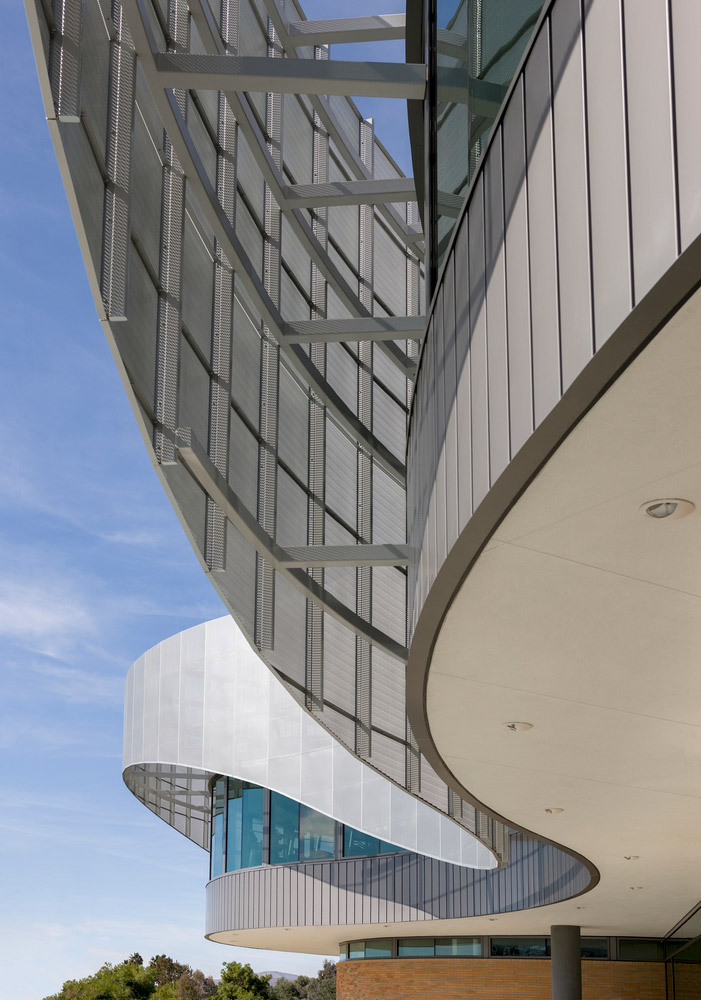
In some cases, you may need imagery applied to your perforated metal. If this is the situation, AMICO can help with a process called Image Sublimation. Through a unique powder-coating process, the image of your design and choice can be transferred onto the surface of our metals.
10 – Designing for Attachment
Support and attachment of the perforated panels in your design is a critical topic. Our materials can be anchored into any surface as long as they allow for mechanical fastener penetration and support the load of the material. AMICO also works with 3rd party engineers to provide engineering stamping within the project’s jurisdiction.
Picture PERFect Perforated Metal
1 – What is Picture PERFect
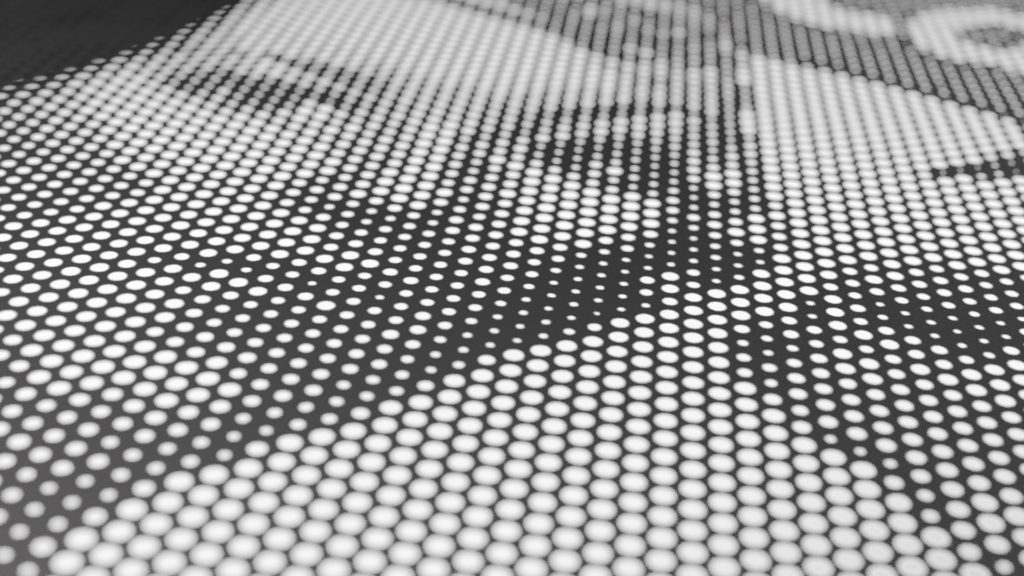
This is a process where AMICO can take any photo, graphic, or texture and convert it to a perforated pattern.
2 – Selecting an Image
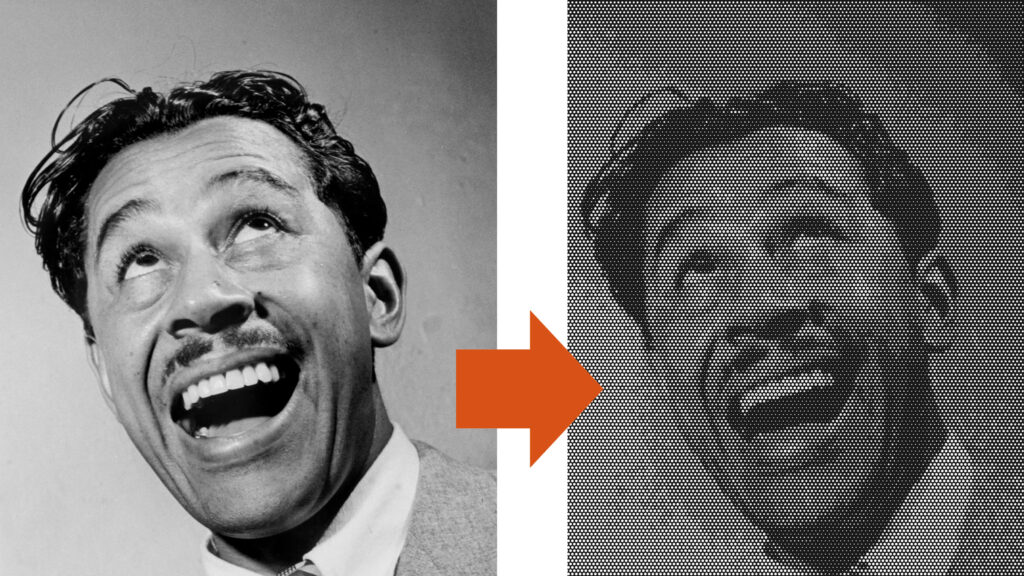
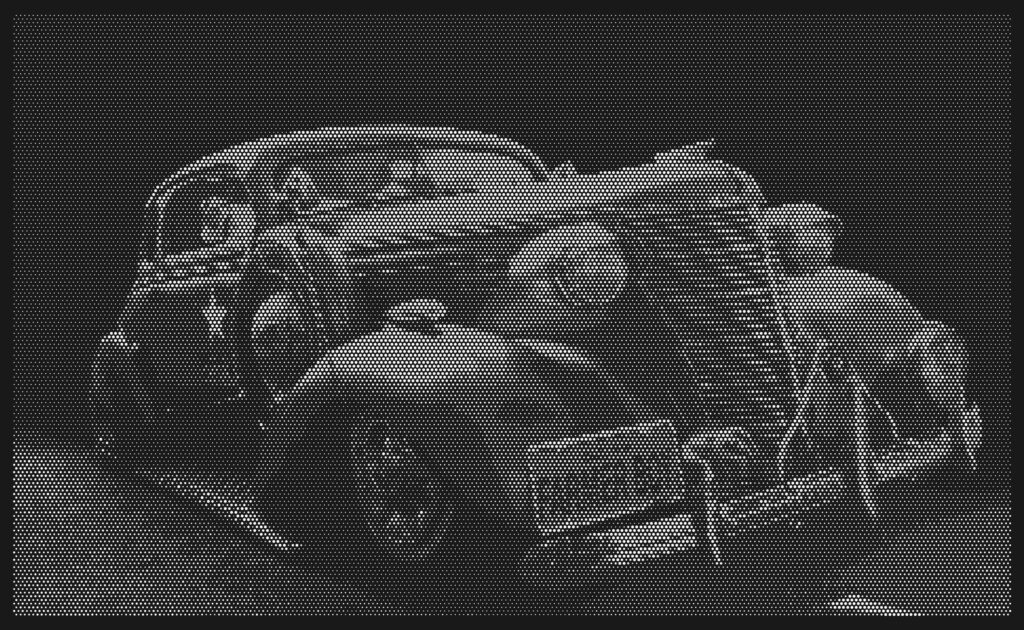
Images that are most successful when perforated have a clear focal point with minimal extraneous background noise to distract the viewer’s eye. Removing image backgrounds may be needed. In the image above, you can see how removing the background would improve image visibility.
3 – Crafting a Balance of Contrast
Successful Picture PERFect project images have a high level of contrast. When manipulating an image in Photoshop or another program, it is important to take some time with the dodge and burn tools to make key highlight areas bright and important shadow areas dark. AMICO is happy to assist with this process if needed.
4 – Selecting the Right Background Surface
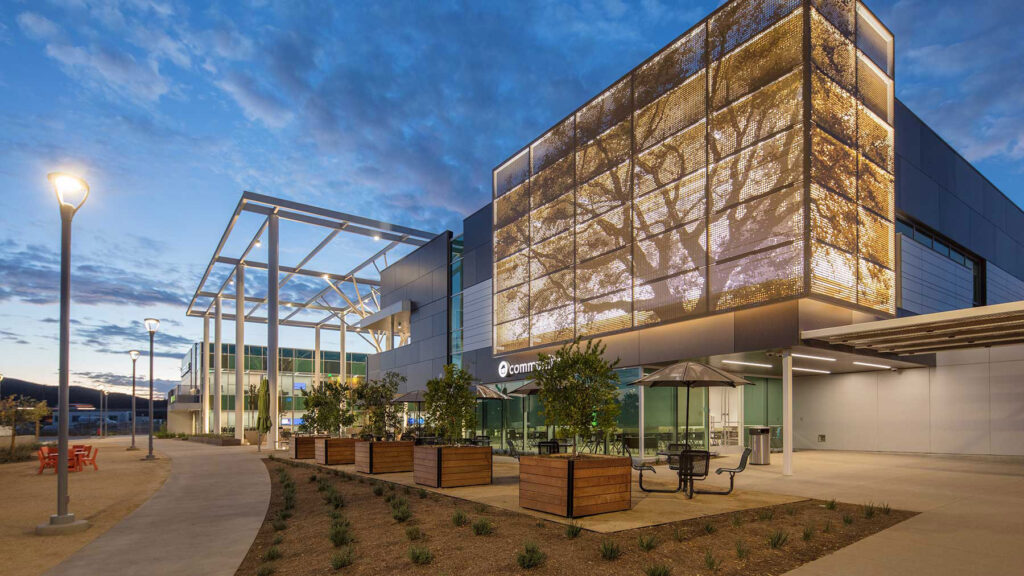
Defining your background is important because if done incorrectly, the image may come across reading as a negative image. For instance, in the tree image above, because the background is lit up, punching holes in the sky around the tree silhouette is most appropriate. However, if a dark background were behind the perforated panel, punch holes where the tree silhouette appears would likely produce the best image.
5 – Sizing the Image File
Ideally, the image provided would be cropped at the exact aspect ratio of the surface; this will ensure critical image elements are not inadvertently lost in the translation process.
6 – Say Something with Text
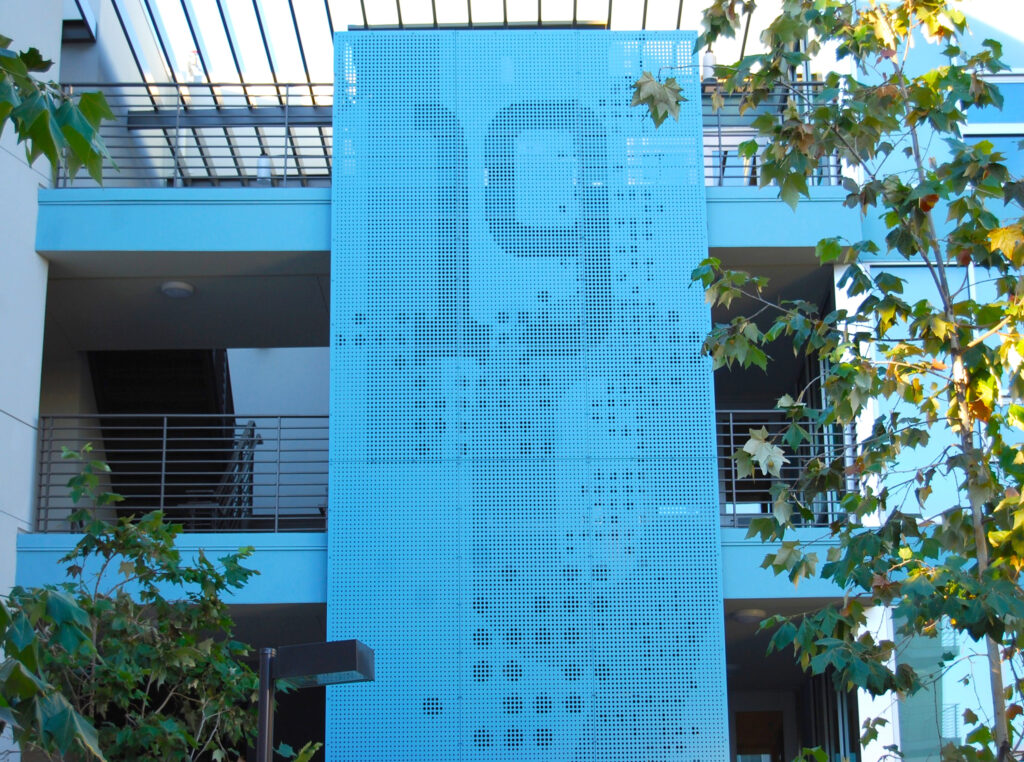
Text can be punched into perforated panels as well; however, it is highly recommended that the text be as large and bold as possible to ensure it is readable.
Laser Cut Metal Panels
1 – Defining the Panel Size
Standard sheets are typically 4’x8’, 5’x10’, and 5’x12’. Any break forming required for your design would, of course, have to be taken into consideration and further reduce the space available for the “face” of your panel. Typical break form returns are 2”. When thinking through a panel design, efficiently consuming the entire sheet will help contribute to cost efficiencies.
2 – Designing a Pattern
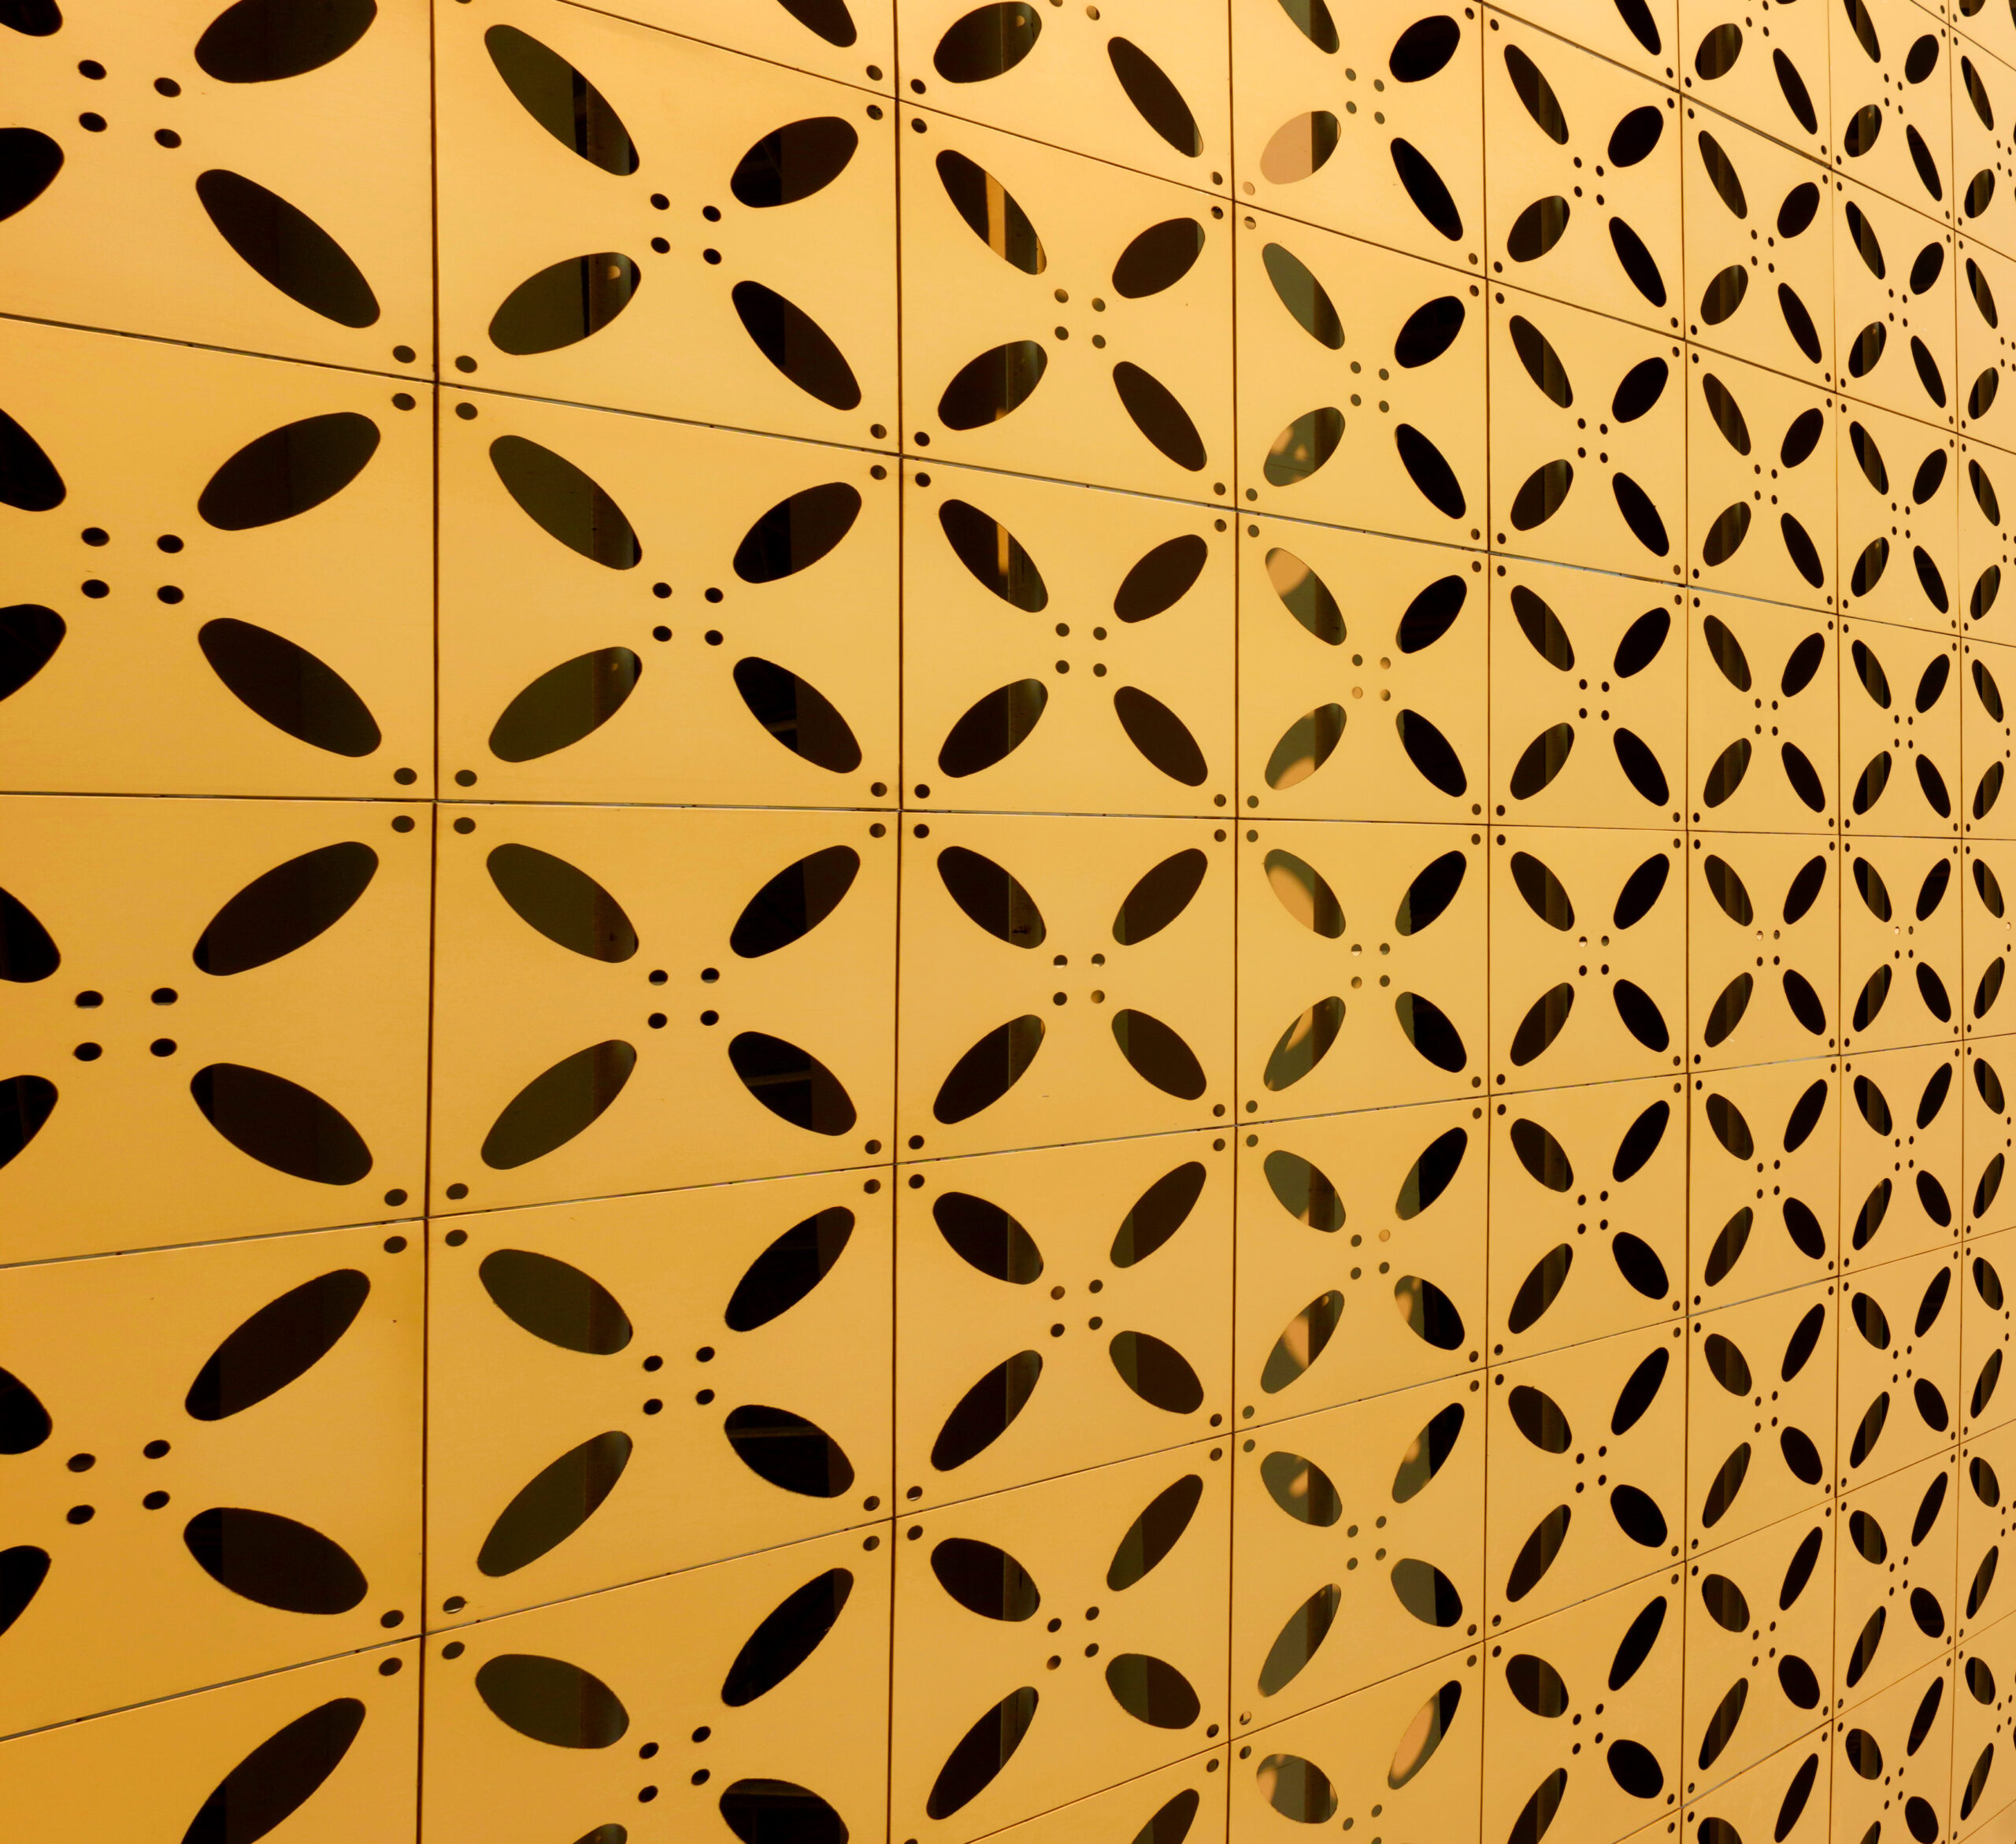
You can design your own panel pattern, use a standard pattern from AMICO, or work with AMICO to develop a custom pattern. When scaling your design to meet your budget, patterns with more cuts will ultimately cost more because they take longer to cut. Planning a minimum opening of at least ¾” and the distance between should be at least 2x the thickness of the material. Click here to view some of AMICO’s patterns.
3 – Simplify – Repeated Panels
Using a single panel repeatedly throughout a design makes the manufacturing and installation processes easier and more cost-efficient. To achieve a more complex look while minimizing panel variation, one can simply rotate the same panel by 180 degrees. This will add variability to the design without adding complexity.
4 – Prepare for Lighting
Because of the texture and open nature of expanded mesh, the material naturally lends itself to dramatic lighting with amazing reflections, glowing, and shadow play. A solid lighting plan will significantly improve your design if your budget allows it.
5 – Selecting a Finish
AMICO is not tied to a single finish method, though most of our installations are powder-coated or fluoropolymer-painted. Natural finishes like weathering steel are also possible for our manufacturing process. For a deep dive into how you go about selecting a finish, click here
6 – Adding Imagery
In some cases, you may need imagery applied to your perforated metal. If this is the situation, AMICO can help with a process called Image Sublimation. Through a unique powder-coating process, the image of your design and choice can be transferred onto the surface of our metals.
7 – Designing for Attachment
Support and attachment of the laser cut panels in your design is a critical topic. If you want to learn more about our multiple attachment systems, click here. Our materials can be anchored into any surface as long as they allow for mechanical fastener penetration and support the load of the material. AMICO also works with 3rd party engineers to provide engineering stamping within the project’s jurisdiction.
